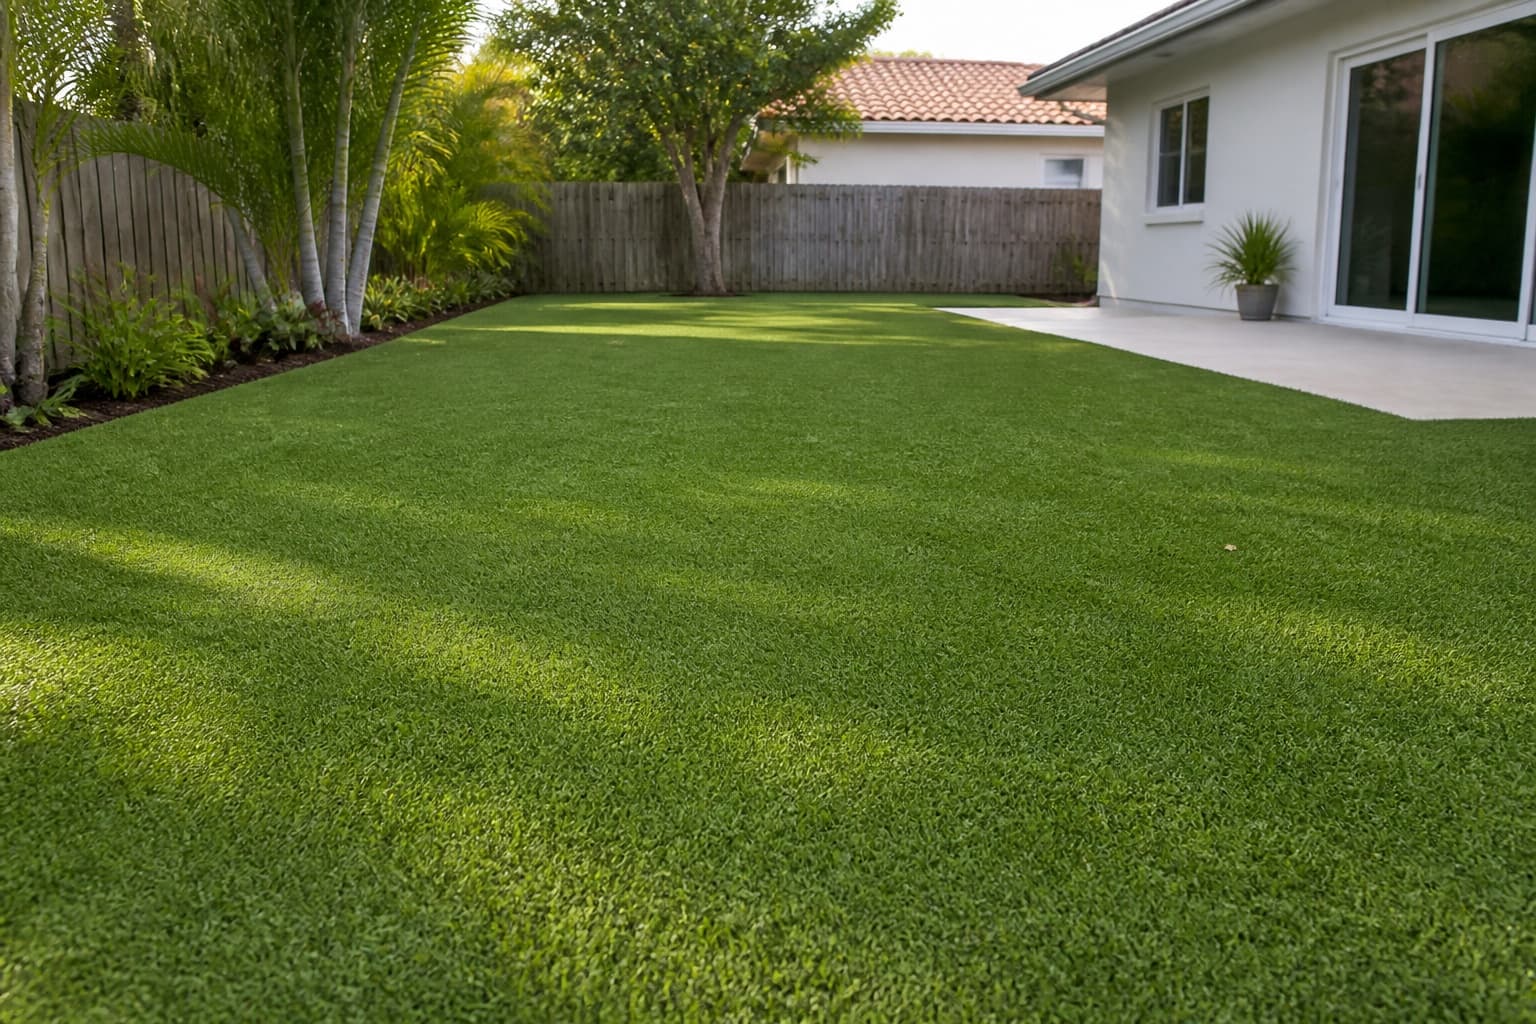
Assess the Damage and Its Cause
Before any repair work begins, thoroughly inspect the damaged area. Identify the type of damage, such as tears, burns, lifting seams, matted spots, or areas where infill has been displaced. Understanding the cause of the damage is crucial for preventing recurrence.
For instance, a tear might be from heavy foot traffic or sharp objects, while matted spots could indicate insufficient brushing or drainage issues. Lifting seams often point to improper adhesive application or base preparation. Documenting the damage with photos and measurements will be helpful for material ordering and planning.
Matching Your Existing Artificial Turf
The most critical step in a successful repair is finding replacement turf that closely matches your existing installation. Artificial turf varies significantly in pile height, color, blade shape, and density. A mismatch will be noticeable.
Ideally, you would have leftover pieces from the original installation. If not, you'll need to identify the closest possible match. Consider these factors:
Pile Height: Measure the height of the blades on your existing turf. This is often expressed in millimeters or inches.
Color: Artificial turf comes in various shades of green, sometimes with brown thatch layers for a more natural look. Compare samples in natural light.
Blade Profile and Texture: Observe the shape of the individual blades (e.g., C-shape, S-shape, flat) and their texture. This affects how the turf reflects light and feels.
Density: This refers to how many blades are packed into a given area. Denser turf often feels softer and more resilient. Some of our professional artificial turf options, such as Wembley or Anfield, are designed for specific performance and appearance characteristics. Wembley combines performance with resistance to wear and tear, while Anfield offers durability and brightness. Stanford is noted for its majestic cross-section, which contributes to a natural and dense appearance. Celtic is described as an environmentally friendly choice with a soft feel. (S1)
Backing Type: While less visible, the backing material can affect how the new piece integrates with the old. Some turf uses different backing materials that might require specific adhesives or seaming tape.
Gathering Tools and Materials for Repair
Once you've identified the replacement turf, gather the necessary tools and supplementary materials:
Replacement Turf: Ensure you have enough to cover the damaged area, plus a small margin for trimming.
Utility Knife or Turf Cutter: A sharp blade is essential for clean, precise cuts.
Seaming Tape: Used to join two pieces of turf together. It's typically a non-woven fabric.
Turf Adhesive: A specialized adhesive designed for outdoor use, often polyurethane-based, to bond the turf to the seaming tape.
Infill Material: If your turf uses infill (e.g., crumb rubber, sand, or specialty infills), you'll need to replenish it in the repaired area.
Stiff Bristle Broom or Power Brush: For brushing the turf fibers upright and blending the new section.
Measuring Tape and Straightedge: For accurate cutting and alignment.
Gloves: For protection when handling adhesive.
Repair Techniques: Patches and Seam Repair
The specific repair technique depends on the nature and size of the damage:
Patching Small Damaged Areas: For isolated burns, tears, or heavily matted spots, carefully cut out the damaged section in a neat square or rectangle using a utility knife. Use this removed piece as a template to cut an identical shape from your new turf. Ensure the grain direction of the new patch matches the surrounding turf. Apply seaming tape beneath the edges of the opening, extend it slightly beyond the cut, and apply turf adhesive to the tape. Carefully place the new patch, pressing firmly to ensure good contact. Once the adhesive cures, apply infill and brush the fibers.
Repairing Lifting Seams: If a seam is lifting, gently pull back the turf along the seam. Clean any old adhesive or debris from the backing and the base. Lay down new seaming tape directly over the existing base, centered under where the seam will be. Apply turf adhesive evenly to the seaming tape. Carefully press both edges of the turf down onto the adhesive, ensuring the seam is tight and flat. Apply weight or pressure until the adhesive sets. Afterward, brush the turf fibers to blend the seam.
Addressing Matted or Flattened Areas (without physical damage): For areas that are simply matted down, often from heavy foot traffic or furniture, a thorough brushing with a stiff bristled broom or power brush can often restore the pile. If infill is compacted or depleted, adding more and then brushing it in can help the fibers stand upright again. This is typically a maintenance task rather than a repair.
Worked Example: Repairing a 2x3 Foot Burn Mark
Let's consider a hypothetical scenario: a 2-foot by 3-foot section of artificial turf in a backyard has been damaged by a grill, leaving a distinct burn mark that cannot be brushed out. The existing turf is identified as Wembley, with a specific pile height and color. We have a remnant piece of Wembley turf from the original installation that is 4 feet by 4 feet.
1. Identify and Source Material: The existing turf is Wembley (S1). We have a matching 4x4-foot remnant.
2. Prepare the Area: Clear any debris from around the burn mark. Using a straightedge and utility knife, cut out a precise 2-foot by 3-foot rectangle around the burn mark. Take care to cut through the backing and remove the damaged section.
3. Prepare the Patch: Place the removed damaged section on the 4x4-foot Wembley remnant. Align the grain direction of the remnant with the grain of the surrounding turf. Trace the 2x3-foot rectangle onto the remnant and carefully cut out the new patch.
4. Install Seaming Tape: Lay seaming tape underneath the edges of the 2x3-foot opening. Ensure the tape extends at least 6 inches beyond each edge of the opening. The tape should be centered, so half of its width is under the existing turf and half is exposed in the opening.
5. Apply Adhesive: Apply a continuous, even bead of turf adhesive to the exposed seaming tape within the opening. Ensure good coverage without excessive pooling.
6. Place the Patch: Carefully lower the new 2x3-foot patch into the opening, aligning its edges perfectly with the existing turf. Press down firmly across the entire patch, especially along the seams, to ensure the adhesive makes good contact. You can walk across the patch or place weights on it for a few hours.
7. Infill and Finish: Once the adhesive has cured (refer to adhesive manufacturer's instructions for curing time), apply infill material evenly over the new patch. Use a stiff bristled broom or power brush to work the infill down into the turf fibers and to blend the fibers of the new patch with the surrounding turf. This helps the new patch visually integrate and provides necessary support for the blades.
Before you order
- Identify the exact type and extent of damage (tear, burn, lifting seam, matted area).
- Determine the cause of the damage to prevent future issues.
- Verify if you have leftover matching turf from the original installation.
- If no leftovers, obtain samples to match pile height, color, blade profile, and density.
- List all necessary tools: utility knife, seaming tape, adhesive, infill, broom.
- Measure the area to be repaired accurately to determine replacement turf quantity.
- Decide on the appropriate repair technique (patching or seam repair).
- Plan for proper infill replenishment and brushing after the repair.
Confirm installation details, approved uses and warranty terms in the current instructions for the exact product and profile. Your installer should verify the substrate, structure and applicable project requirements.
Questions to help you decide
How do I ensure the new turf patch matches the old turf's color?
Color matching artificial turf can be challenging due to variations in dye lots and sun exposure on existing turf. The best approach is to compare physical samples of new turf against your existing installation in natural daylight. If you have a small, inconspicuous area of your existing turf that you can carefully cut a small sample from, this can be invaluable for accurate comparison. Keep in mind that even a perfect match might show a slight difference initially, which often diminishes as the new turf weathers.
Can I repair artificial turf myself, or do I need a professional?
Many minor artificial turf repairs, such as patching small tears or re-seaming lifted edges, can be undertaken by a diligent homeowner with the right tools and materials. The key is precision in cutting, proper application of seaming tape and adhesive, and careful infill work. However, for large areas of damage, complex shapes, or if you are unsure about matching materials or techniques, consulting with a professional installer is advisable to ensure a high-quality, long-lasting repair.
What if my artificial turf doesn't have infill?
Some artificial turf products are designed as 'no-infill' systems, often featuring denser pile or specialized backing materials. If your existing turf does not use infill, you will not need to add it during the repair process. For these systems, ensuring clean cuts, strong seams, and proper alignment of the turf fibers are the main priorities for a successful repair. Always refer to the original product specifications or manufacturer's recommendations for your specific turf type.
Request a Material Quote for Your Artificial Turf Repair Project
Planning an artificial turf repair? Provide your project dimensions, desired turf profile, and ZIP code to request a material quote. We can help confirm current availability and service options for the artificial turf and accessories you need.
Request a material quote →