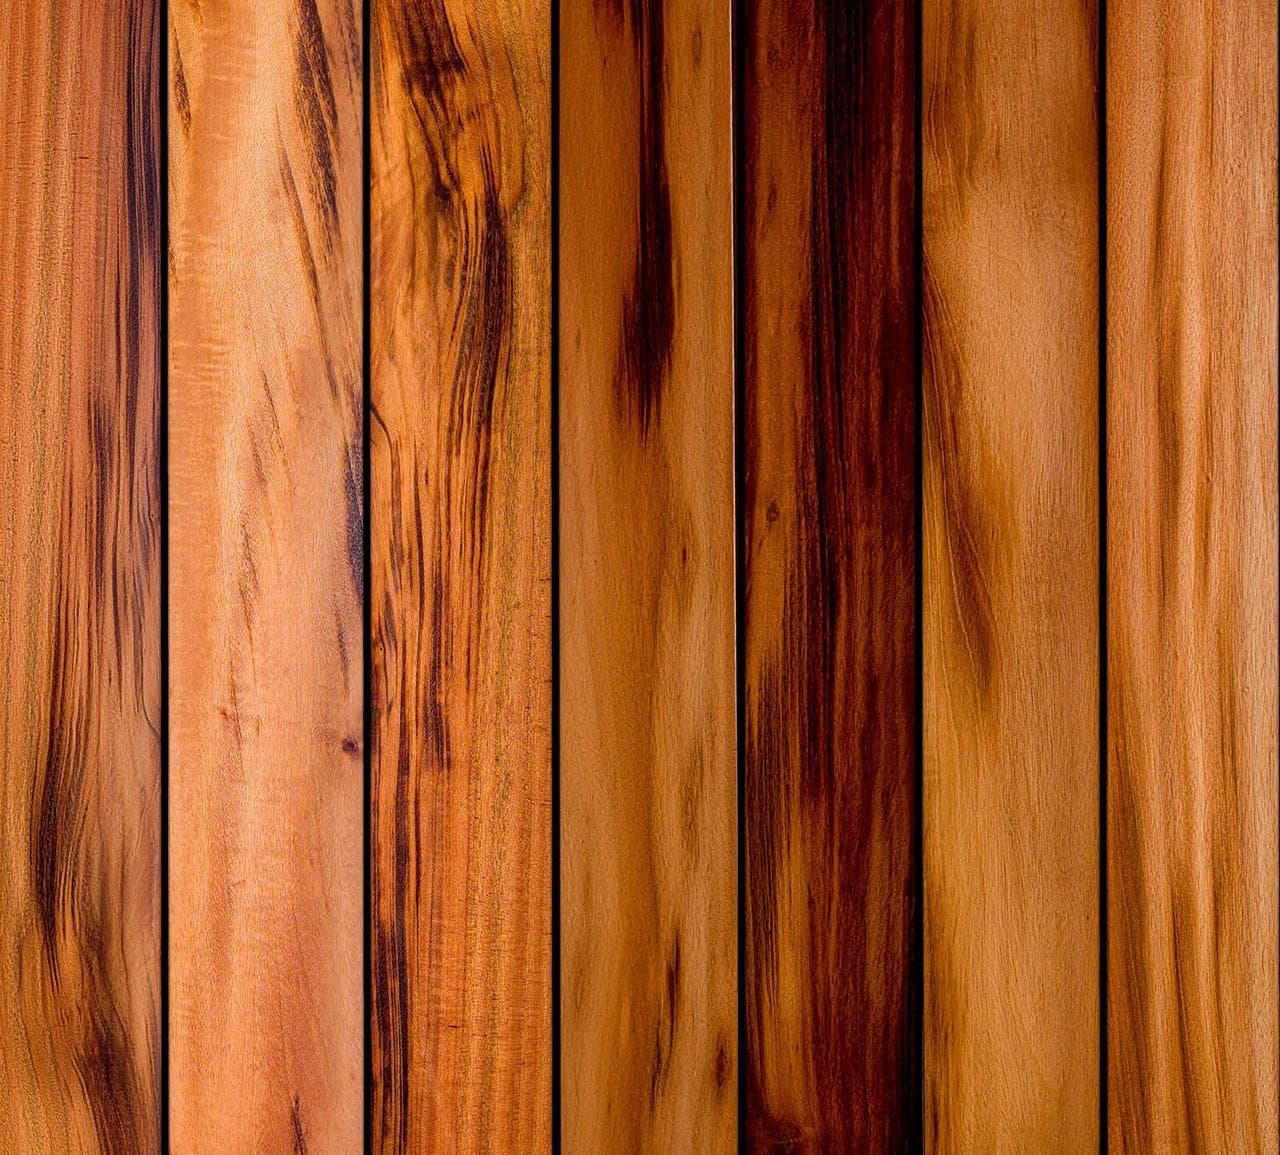
Understanding the Picture-Frame Concept
A picture-frame border involves running one or more decking boards around the perimeter of the deck, perpendicular to the direction of the main field boards. This creates a distinct visual frame. For Tigerwood, this design choice can either create a subtle transition or a bold contrast, depending on the number of border boards and their orientation. The border boards typically conceal the cut ends of the field boards, offering a clean, finished edge.
Beyond aesthetics, a picture-frame border can simplify certain installation aspects, such as managing board lengths and minimizing visible end grains. However, it also introduces specific framing and fastening requirements that differ from a standard deck layout.
Designing Your Tigerwood Picture Frame Border
The first step is to decide on the width of your picture frame. This is determined by the number of border boards you choose. A single board creates a minimalist frame, while two or more boards can create a more substantial perimeter. Consider the overall size of your deck; a larger deck might accommodate a wider frame without appearing overwhelmed.
Next, determine the orientation. The border boards are usually laid perpendicular to the main decking. This creates a clear visual break and allows the unique grain of the Tigerwood to be showcased from different angles. For example, if your main deck boards run horizontally, the picture frame boards would run vertically along the edges.
Tigerwood decking is available in profiles such as 5/4"x6" (actual 1" x 5.5"). This standard width provides a good foundation for most border designs. (Source: S1)
Structural Support for the Border
Implementing a picture-frame border requires specific blocking and framing underneath to support the perimeter boards. Unlike field boards that typically span multiple joists, border boards often run parallel to the rim joist. This means additional blocking or sistered joists are necessary to provide adequate fastening points.
For a single picture-frame board, you will need to install blocking between the joists, flush with the top of the joists, to support the inside edge of the border board. The outside edge will rest on the rim joist. If you opt for a wider frame with multiple border boards, additional blocking will be required to support each subsequent board. Proper blocking ensures stability and prevents deflection of the border boards over time.
Material Takeoff Example: A 10x12 Foot Deck with a Single Picture Frame
Let's consider a hypothetical 10-foot by 12-foot rectangular deck using 5/4"x6" (1" x 5.5") Tigerwood decking boards. We'll plan for a single picture-frame border.
First, calculate the linear feet for the border. The perimeter is (10 ft + 12 ft) * 2 = 44 linear feet. Allowing for cuts and waste, we might round up to 48 linear feet. Since each board is 5.5 inches wide, the border will consume 5.5 inches from each edge of the main field area.
The interior field area dimensions would be: (10 ft - 2 * 5.5 inches) by (12 ft - 2 * 5.5 inches). Converting 5.5 inches to feet (5.5/12 = 0.458 ft), the field dimensions are approximately (10 - 2*0.458) = 9.084 ft by (12 - 2*0.458) = 11.084 ft.
Total area for the border: 44 linear feet * (5.5/12 ft) = 20.17 square feet. The field area is approximately 9.084 ft * 11.084 ft = 100.70 square feet.
For the border, assuming 12-foot lengths are available, you would need 4 boards (two for the 12-foot sides, two for the 10-foot sides, cut from 12-foot stock with some waste). For the field, if boards are laid along the 12-foot length, you'd need approximately 100.70 sq ft / (5.5/12 ft) = 219.7 linear feet. If boards are typically available in 12-foot lengths, this would be 219.7 / 12 = 18.3 boards, so 19 boards. Always add a percentage for waste, typically 5-10% for hardwoods.
This example illustrates how the border impacts the dimensions and quantity needed for the main field. It also highlights the need to account for specific board lengths and cuts. Tigerwood is available in lengths from 3 to 24 feet, offering flexibility for minimizing waste. (Source: S1)
Fastening and Spacing Considerations
Tigerwood is a dense hardwood, which means pre-drilling is essential for all fasteners to prevent splitting. Professional-grade tools and carbon-tipped saw blades are recommended for working with this material. (Source: S1) For a picture-frame border, consider using hidden fasteners for a clean look, or face-fasten with screws that are color-matched or strategically placed.
Proper spacing between Tigerwood boards is crucial for drainage and to accommodate natural expansion and contraction. Even with a dense material like Tigerwood, some movement can occur due to changes in humidity and temperature. Follow the manufacturer's specific recommendations for board spacing to ensure the longevity of your deck. This applies to both the field boards and the border boards, as well as the joint where the field meets the border.
Coordinating with Fascia and Other Edges
A picture-frame border works in conjunction with the deck fascia, which covers the rim joist and provides a finished vertical edge. The border boards will typically sit flush with the top of the fascia. Ensure that the thickness of your fascia boards complements the overall aesthetic and provides adequate coverage for the subframe.
When planning, consider how the picture-frame border will interact with any stairs, railings, or other architectural elements. Consistent detailing around all edges contributes to a cohesive and professional appearance. Tigerwood's durability and resistance to moisture make it suitable for exterior joinery, including fascia. (Source: S1)
Before you order
- Determine the desired width of your picture frame (number of border boards).
- Confirm the orientation of border boards relative to field boards.
- Verify the necessary subframe blocking for border support.
- Calculate linear footage for border boards, accounting for cuts and waste.
- Calculate linear footage for main field boards, adjusting for the border.
- Choose your preferred fastening method (hidden or face-fastened).
- Confirm board spacing requirements for Tigerwood.
- Plan how the border integrates with fascia, stairs, and railings.
Confirm installation details, approved uses and warranty terms in the current instructions for the exact product and profile. Your installer should verify the substrate, structure and applicable project requirements.
Questions to help you decide
Can I use different widths of Tigerwood for the picture frame and the main deck?
While Tigerwood decking is commonly available in a standard profile like 5/4"x6" (1" x 5.5"), it is possible to use different widths if they are available for your specific project. However, ensure that the varying widths do not compromise the structural integrity or the fastening system. Always check for compatible profiles and consult with your supplier or contractor.
Is a picture frame border compatible with all types of deck fasteners?
Most hidden fastener systems are designed for field boards and may require specific starter clips or alternative methods for the perimeter boards of a picture frame. If you plan to use a hidden fastener system, verify its compatibility with a picture-frame layout. Face-fastening is often a straightforward option for border boards, especially for the outermost board.
How does a picture frame border affect drainage on the deck?
Proper spacing between all decking boards, including those in the picture frame, is essential for drainage. The border itself should not impede drainage if correctly installed with adequate gaps. Ensure that water can flow off the deck freely and is not trapped by the border or fascia. Regular cleaning to prevent debris buildup in the gaps is also important for maintaining drainage.
Ready to Plan Your Tigerwood Decking Project?
For a material quote tailored to your project dimensions, desired profile, and ZIP code, contact us today. Our team can help confirm current availability and service options for Tigerwood decking.
Request a material quote →