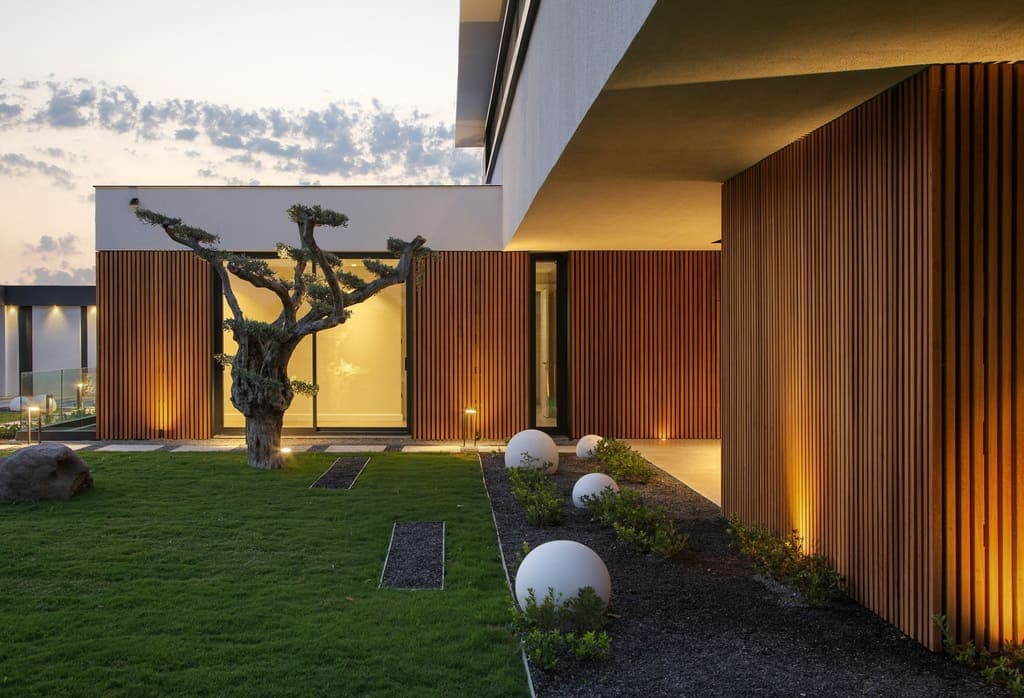
Initial Wall Assessment: Identifying Water Damage
Before any new material is installed, a comprehensive inspection of the existing wall structure is essential. Water damage is a primary concern in many retrofit projects, as it can compromise structural integrity and lead to mold or rot. Begin by looking for visible signs such as staining, discoloration, peeling paint, or bulging on both exterior and interior surfaces of the wall.
Beyond surface indicators, investigate areas prone to moisture intrusion, including around windows, doors, rooflines, and ground-level transitions. Use a moisture meter to detect hidden moisture within the wall assembly. Pay close attention to any areas where previous repairs have been made, as these can sometimes be points of failure. Document all findings with photographs and detailed notes to inform subsequent repair and preparation steps.
Understanding Your Existing Substrate
The existing wall substrate provides the foundation for your new thermally modified wood cladding. Common substrates include plywood, oriented strand board (OSB), concrete, or existing siding materials. Each type has specific requirements for preparation and attachment. For instance, a sound plywood or OSB sheathing typically offers a stable surface for direct attachment, provided it is free from damage and properly secured.
If the existing substrate is stucco, brick, or another rigid material, you may need to add furring strips to create a level, ventilated surface for the thermally modified wood. This also helps establish a rainscreen assembly, which is beneficial for moisture management. Ensure that any existing materials are firmly attached and capable of supporting the additional weight of the new cladding and its fasteners. Deteriorated or improperly installed substrates must be repaired or replaced before proceeding.
Repairing and Preparing the Substrate
Once water damage is identified, it must be fully remediated. This may involve removing damaged sections of drywall, insulation, and sheathing. Allow any wet areas to dry completely, and address the source of water intrusion to prevent recurrence. Replace any compromised structural elements to ensure the wall's integrity.
After repairs, prepare the substrate surface. This includes cleaning, leveling, and ensuring all fasteners are secure. For wood-based sheathing, verify that all panels are flat and gaps are appropriately sealed. If installing over furring strips, ensure they are plumb, level, and spaced correctly according to the chosen thermally modified wood profile and local building practices. A weather-resistive barrier (WRB) is typically installed over the sheathing before furring strips, providing an additional layer of protection against moisture.
Choosing Thermally Modified Wood Profiles for Retrofit
Thermally modified wood is available in various profiles, such as tongue-and-groove, shiplap, and square-edge. The choice of profile impacts both the aesthetic and the installation method. For a retrofit, consider how the chosen profile will integrate with existing architectural features and how easily it can be installed over the prepared substrate.
For example, a shiplap profile offers a clean, overlapping joint that can help conceal minor substrate imperfections and provide a distinct shadow line. Tongue-and-groove profiles offer a tighter fit and can be installed horizontally or vertically. Consider the NORX siding products available, which come in various dimensions and profiles suitable for exterior applications. For specific product details, refer to the product pages for Thermally Modified Wood and Siding and Cladding.
Worked Example: Retrofitting a 100 Sq Ft Wall Section
Let's consider a hypothetical 10-foot by 10-foot wall section (100 square feet) requiring a retrofit. The existing wall is clad with deteriorated T1-11 siding over wood studs, showing signs of moisture staining near the bottom.
1. **Inspection & Remediation:** A moisture meter reveals elevated readings in the bottom 2 feet of the wall. Upon removal of the T1-11, the plywood sheathing behind it is found to be rotted in the affected area. The source is determined to be inadequate flashing at the foundation. The damaged sheathing is cut out and replaced with new 4x8-foot plywood panels. New flashing is installed.
2. **Substrate Preparation:** A house wrap (WRB) is applied over the entire 10x10 section. Vertical furring strips, 3/4-inch thick and 1.5 inches wide, are installed over the WRB, spaced 16 inches on center, aligned with existing studs. This creates a rainscreen gap.
3. **Material Selection:** NORX thermally modified spruce shiplap siding, with a nominal face width of 5.5 inches (actual coverage 5 inches), is selected. The material is typically supplied in random lengths. For calculation purposes, we will assume 12-foot lengths are purchased to minimize cuts and waste on a 10-foot wall.
4. **Quantity Calculation:** The wall is 10 feet (120 inches) high. With a 5-inch coverage per board, 120 / 5 = 24 boards are needed vertically. The wall is 10 feet (120 inches) wide. If using 12-foot lengths, each length will cover 10 feet of horizontal run. Therefore, 24 boards of 12-foot length are needed. Total linear footage: 24 boards * 12 feet/board = 288 linear feet. To account for cuts, waste, and future repairs, an additional 10-15% should be added. For this example, 15% waste: 288 LF * 1.15 = 331.2 LF. This would round up to purchasing 28 lengths of 12-foot boards (336 LF) to ensure enough material.
Manufacturer-recommended clearances are maintained at the base and around any openings. Field cuts are sealed as required.
Before you order
- Thoroughly inspect the existing wall for all signs of water damage, both visible and hidden.
- Identify the type and condition of your existing wall substrate (e.g., plywood, OSB, stucco, brick).
- Remediate all water damage and address the source of moisture intrusion before proceeding.
- Repair or replace any compromised sections of the substrate to create a sound, level surface.
- Install a weather-resistive barrier (WRB) over the prepared sheathing.
- Determine if furring strips are necessary to create a rainscreen gap and provide a level fastening surface.
- Select a thermally modified wood profile (e.g., shiplap, tongue-and-groove) that suits your aesthetic and installation needs.
- Calculate the required material quantity, including an allowance for waste and cuts.
Confirm installation details, approved uses and warranty terms in the current instructions for the exact product and profile. Your installer should verify the substrate, structure and applicable project requirements.
Questions to help you decide
Can I install thermally modified wood directly over old siding?
Generally, it is not recommended to install new thermally modified wood siding directly over old siding. The existing siding may not provide a stable, flat, or code-compliant substrate. It is best practice to remove the old siding, inspect and repair the underlying sheathing, install a weather-resistive barrier, and potentially add furring strips to create a rainscreen assembly before installing the new material. This approach helps ensure proper drainage, ventilation, and long-term performance.
What is a rainscreen, and is it necessary for a retrofit?
A rainscreen is a wall assembly that creates a small air gap between the exterior cladding (thermally modified wood) and the weather-resistive barrier on the sheathing. This gap allows for drainage of any moisture that penetrates the cladding and promotes ventilation, helping the wall assembly dry out. While not always strictly mandated by all local codes for every retrofit, implementing a rainscreen assembly is highly recommended for exterior walls, especially in areas prone to moisture. It significantly enhances the durability and performance of the wall system by managing moisture effectively.
How do I calculate the amount of thermally modified wood needed for my retrofit?
To calculate the amount of thermally modified wood, first measure the total area of the wall(s) you intend to clad. Subtract any large openings like windows and doors. Then, consider the actual coverage width of the specific thermally modified wood profile you've chosen (e.g., a 6-inch nominal board might have a 5.5-inch actual coverage). Divide the total wall area by the area covered by a single board to get an initial quantity. Always add an overage, typically 10-15%, to account for cuts, waste, and potential future repairs. For example, if you need 200 square feet, and your chosen board covers 5 square feet per board, you'd need 40 boards, plus a 10% waste factor would bring it to 44 boards. It's often easier to work with linear footage based on the wall dimensions and board lengths.
Ready to Transform Your Wall with Thermally Modified Wood?
Request a material quote today. Provide your project dimensions, desired profile, and ZIP code to confirm current availability and service options for your retrofit project.
Request a material quote →