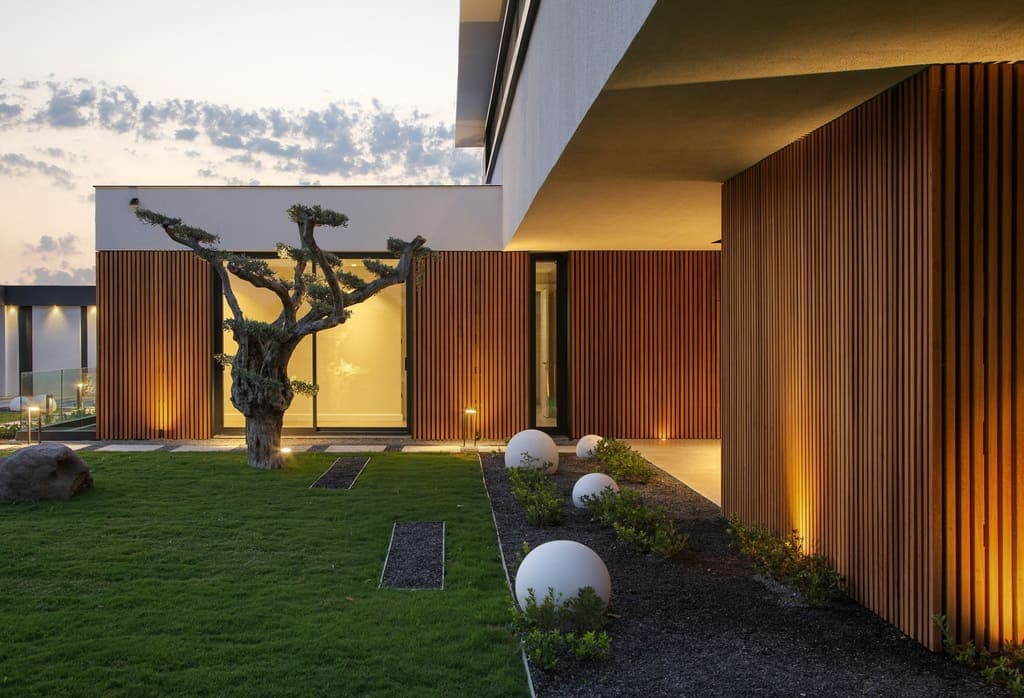
Understanding Thermally Modified Wood for Renovation
Thermally modified wood undergoes a high-heat process that changes its cellular structure, resulting in material with enhanced dimensional stability and reduced moisture absorption. These characteristics make it a suitable choice for exterior applications like siding and cladding, where exposure to weather is a factor. For renovation projects, these properties can be advantageous, offering a potential upgrade in performance compared to traditional untreated wood.
However, integrating thermally modified wood into an existing structure requires more than just material selection. It demands an understanding of how the new material will interact with the old, especially regarding ventilation, drainage, and structural support. The goal is to leverage the benefits of thermally modified wood while addressing any limitations imposed by the existing building envelope.
Assessing the Existing Substructure
The condition and type of your existing substructure are paramount. Thermally modified wood siding, for instance, requires a stable and sound backing. Inspect the current sheathing, studs, or furring strips for signs of rot, insect damage, or structural weakness. Any compromised areas must be repaired or replaced before installation begins. For a vertical siding application, the substructure needs to provide adequate attachment points.
Consider the material of the existing substructure. Is it wood, masonry, or another material? Each presents different attachment challenges and requirements for creating a proper rainscreen gap. Ensure that the substructure can safely support the weight of the new thermally modified wood. If a rainscreen system is not currently in place, a renovation is an opportune time to incorporate one to enhance moisture management and ventilation behind the new cladding.
Evaluating Drainage and Ventilation Requirements
Effective drainage and ventilation are crucial for the long-term performance of any exterior cladding, including thermally modified wood. In a renovation, you must assess how existing window sills, door frames, and foundation details manage water. Are there existing drip edges, flashing, and weep holes? If not, these elements may need to be added or upgraded to prevent water intrusion behind the new material.
Thermally modified wood benefits from a rainscreen assembly, which creates an air gap between the cladding and the weather-resistive barrier. This gap allows moisture to drain away and promotes airflow, helping to dry out the wall assembly. If your current renovation does not include a rainscreen, evaluate the feasibility of installing furring strips or a dedicated rainscreen mat. This often means adjusting the depth of window and door trim to accommodate the added thickness.
Considering Architectural Fit and Aesthetic Goals
Thermally modified wood offers a distinct aesthetic, often characterized by its consistent color and potential for a natural, weathered appearance over time if left unfinished. Before proceeding, consider whether this look complements the existing architectural style of your home or building. A modern thermally modified wood facade might clash with a very traditional structure without careful design integration.
Think about the desired outcome: do you want a uniform, maintained look, or are you embracing the natural graying process? The choice of profile (e.g., tongue and groove, shiplap, board and batten) and the orientation (horizontal or vertical) will also significantly impact the final appearance. Review existing architectural details like eaves, gables, and corner treatments to ensure the thermally modified wood can be integrated seamlessly. You may need to adapt existing trim or consider new trim elements to achieve a cohesive design.
Worked Example: Renovating a 10x12 Foot Shed Wall
Imagine you are renovating one 10-foot-high by 12-foot-wide wall of an existing garden shed, currently clad in untreated cedar siding. Your goal is to upgrade to thermally modified wood for improved weather resistance.
First, you inspect the existing cedar. You find some areas of rot near the base and around a small window. The existing wall studs (2x4s, 16 inches on center) appear sound, but there's no weather-resistive barrier or rainscreen. The window trim is flush with the existing siding.
Your renovation assessment would proceed as follows:
1. **Remove Existing Siding:** Carefully remove the old cedar siding.
2. **Repair Substructure:** Replace the rotted sections of sheathing and any compromised stud ends. Apply a new weather-resistive barrier (WRB) over the entire wall.
This will require new, deeper window and door trim to accommodate the added thickness of the furring strips and the new thermally modified wood siding.
4. **Flashing:** Install new flashing around the window and at the base of the wall to direct water away from the assembly.
5. **New Siding:** Install the thermally modified wood siding horizontally, fastening it through the furring strips into the studs. For a 10-foot-high wall and 12-foot-wide wall, using 1x6 (nominal) thermally modified wood shiplap siding (actual coverage approximately 5.125 inches per board), you would need approximately 24 boards for the height (10 ft x 12 in/ft / 5.125 in/board 23.4 boards, rounded up). For the 12-foot width, you would need 12-foot lengths. You would purchase full boards, likely 24 pieces of 12-foot long boards, accounting for cuts and potential waste. The window opening would reduce the required lineal footage, but it's often prudent to account for full lengths for ease of ordering and cutting.
This example highlights the need to address substructure integrity, moisture management, and trim adjustments when renovating with thermally modified wood. The total area is 120 square feet.
Material Compatibility and Fastener Selection
When renovating, ensure that the fasteners chosen for your thermally modified wood are compatible with both the new material and the existing substructure. Stainless steel fasteners are generally recommended for thermally modified wood to resist corrosion and prevent staining of the wood. Using incompatible fasteners can lead to premature failure or unsightly streaking.
Consider any existing metal components on the building, such as flashing, vents, or electrical boxes. Ensure that these elements are compatible with thermally modified wood or that appropriate isolation measures are taken to prevent galvanic corrosion if dissimilar metals are in contact. The goal is to create a durable, integrated system, not just replace one material with another.
Planning for Maintenance and Long-Term Performance
While thermally modified wood is known for its durability, a renovation project should also include a plan for its long-term maintenance. Decide if you will apply a finish to maintain its original color or allow it to weather naturally to a silver-gray patina. If you choose to finish it, plan for periodic reapplication, which might be more challenging on an existing structure with complex details.
Consider accessibility for future maintenance. Will all areas be easily reachable for cleaning or refinishing? Are there any existing features, like landscaping or adjacent structures, that might impede access or affect the performance of the thermally modified wood? Addressing these practicalities during the planning phase can save time and effort later.
Before you order
- Is the existing substructure sound and free from rot or damage?
- Does the existing wall assembly provide adequate drainage and ventilation for new cladding?
- Can a rainscreen gap be integrated into the renovation, and what modifications will be needed for windows and doors?
- Does the aesthetic of thermally modified wood align with the existing architectural style and your design goals?
- Are appropriate corrosion-resistant fasteners available and specified for the renovation?
- What is the long-term maintenance plan for the thermally modified wood, and is it practical for the renovated structure?
- Have potential conflicts with existing building elements (e.g., HVAC units, electrical fixtures) been identified and addressed?
Confirm installation details, approved uses and warranty terms in the current instructions for the exact product and profile. Your installer should verify the substrate, structure and applicable project requirements.
Questions to help you decide
Can I install thermally modified wood directly over old siding?
Generally, it is not recommended to install thermally modified wood directly over old siding. For optimal performance, the old siding should be removed to inspect the substructure, apply a weather-resistive barrier, and create a rainscreen gap for drainage and ventilation. This ensures the new cladding performs as intended and helps prevent moisture issues.
Do I need special tools for cutting thermally modified wood during a renovation?
Thermally modified wood can typically be cut with standard woodworking tools. However, due to its increased hardness and potential for dust, using sharp carbide-tipped blades is recommended. Always wear appropriate personal protective equipment, including eye protection and a dust mask, when cutting.
How does thermally modified wood react to existing paint or finishes on the substructure?
Thermally modified wood should not be installed directly over existing paint or finishes on the substructure. The substructure should be clean, dry, and free of any loose materials. Ideally, a weather-resistive barrier is applied over the sheathing, and then furring strips are installed to create a rainscreen gap, ensuring the thermally modified wood is not in direct contact with old finishes.
Request a Material Quote for Your Renovation Project
Ready to plan your thermally modified wood renovation? Provide your project dimensions, desired profile, and ZIP code to request a material quote. We can help you confirm current availability and service options for your specific needs.
Request a material quote →