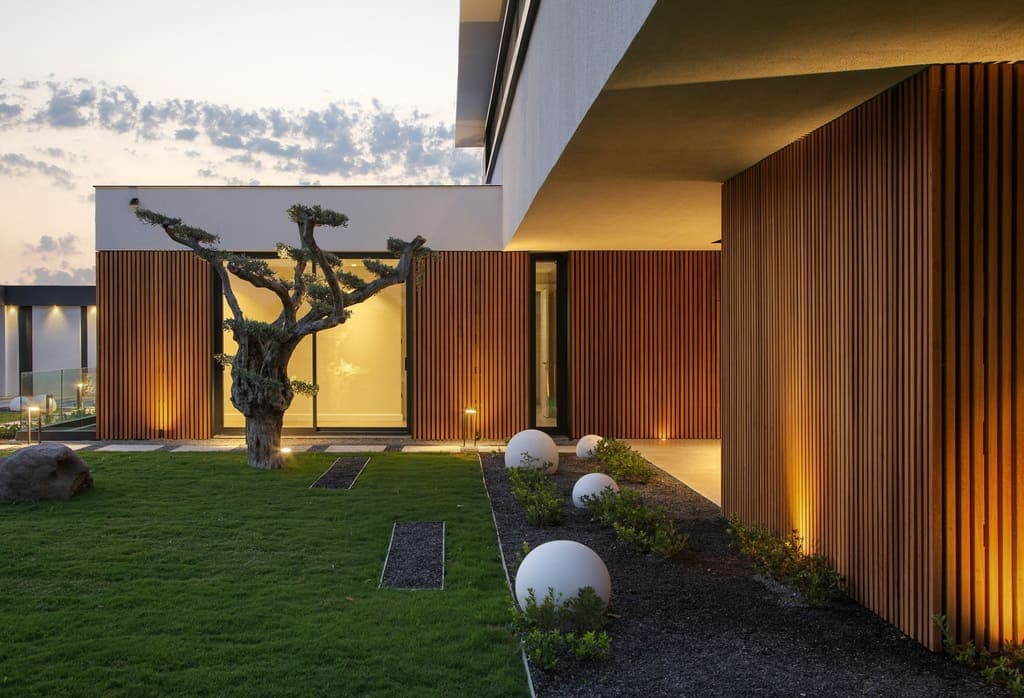
The Visual Impact of Horizontal Cladding
Horizontal cladding lines tend to draw the eye across a building, making it appear wider and potentially lower. This effect can be used to anchor a structure to its site or to create a sense of expansive calm. The consistent horizontal lines can also provide a strong visual rhythm, especially when combined with various profile types that create different shadow lines.
Consider the overall scale of your project. On larger, taller buildings, horizontal lines can help break up vertical mass and reduce the perceived height. For smaller structures, they can enhance a sense of breadth and stability. The profile chosen—whether a traditional lap siding, shiplap, or a tongue-and-groove with a subtle reveal—will further define the visual texture and depth of the horizontal pattern.
Coordinating Courses with Window and Door Openings
A critical aspect of horizontal cladding design is how the courses align with window and door openings. A well-planned layout can create a clean, intentional appearance, while a haphazard approach can lead to awkward cuts and an unprofessional finish. The goal is often to minimize narrow strips of cladding above or below openings, or to have courses terminate cleanly at jambs.
Begin by establishing a datum line, typically starting from the bottom of the wall, considering appropriate ground clearance. Then, map out the course layout, taking into account the full width of the cladding profile, including any overlap or reveal. Adjusting the starting course height by a small margin can sometimes allow for better alignment with window sills and heads, reducing the need for custom-width cuts around every opening. This pre-planning can simplify installation and improve the overall visual flow of the facade.
Fastening Considerations for Horizontal Thermally Modified Wood
Horizontal cladding typically relies on fasteners driven into vertical furring strips or studs. The type of fastener, its placement, and whether it's exposed or concealed are important decisions. For thermally modified wood, which offers enhanced dimensional stability, fastening methods are generally straightforward, but manufacturer recommendations should always be followed.
Common fastening methods include face fastening, where fasteners are visible on the surface of the board, and concealed fastening, where fasteners are hidden within the profile's tongue or groove. Face fastening offers strong mechanical attachment and is often preferred for wider boards or in areas prone to high winds. Concealed fastening provides a cleaner aesthetic but requires specific profiles and careful installation to ensure adequate hold. Stainless steel fasteners are generally recommended to prevent staining of the wood and ensure long-term durability.
When using a rainscreen assembly, which is often recommended for exterior cladding, the horizontal cladding boards are typically fastened to vertical furring strips, which in turn are attached to the wall sheathing. This creates a ventilation gap behind the cladding, promoting drainage and drying. The furring strips provide a consistent plane for fastening and help manage moisture.
Worked Example: Horizontal Cladding Layout for a Window
Let's consider a hypothetical wall section with a window. Assume we are using a thermally modified wood shiplap profile with an exposed face width of 5.5 inches (5-1/2"). The window measures 36 inches high by 48 inches wide, with its sill 30 inches from the finished grade and its head 66 inches from the finished grade.
Since the board has an exposed face width of 5.5 inches, the top edge of the first board will be 11.5 inches from grade (6" + 5.5").
2. **Calculate Number of Full Courses Below Window:** The window sill is at 30 inches. From the top of the first board (11.5 inches), we have 30" - 11.5" = 18.5 inches of vertical space before the sill. Dividing this by the 5.5-inch exposed width: 18.5" / 5.5" \(\approx\) 3.36 courses. This means we can fit 3 full courses below the window, leaving a partial course.
3. **Adjusting for Clean Lines:** To avoid a very narrow strip directly below the window, we might adjust the starting height of the first course. If we want the course directly below the window to be a full 5.5 inches, we would need the top of that course to align with the sill (30 inches). This would mean the bottom of that course is 30" - 5.5" = 24.5 inches from grade. This space could accommodate 3 full 5.5-inch courses (3 x 5.5" = 16.5") plus a 2-inch filler strip at the very bottom, or the first course could be cut to 4.125 inches (18.5" / 4 = 4.625, so four courses of 4.625 inches each). Alternatively, if the 3.36 result is acceptable, the course below the window would be cut to 3.36 * 5.5 = 18.5 inches.
4. **Courses Above Window:** The window head is at 66 inches. If the course directly above the window starts at 66 inches, its top edge will be 66" + 5.5" = 71.5 inches. Continue upwards, calculating how many full courses fit to the top of the wall or next architectural feature. This iterative process helps identify where cuts will occur and allows for adjustments to minimize waste and improve aesthetics.
This example highlights the need for precise measurements and a systematic approach to planning each course, especially around openings, to achieve a professional and visually appealing horizontal layout.
Profile Selection for Horizontal Layouts
Lumber Plus offers a range of profiles suitable for horizontal applications. Each profile creates a distinct shadow line and plays a role in water shedding. Common options include:
**Shiplap:** This profile features an overlapping rabbet joint, creating a distinct shadow line and providing good weather protection. The overlap helps direct water away from the wall structure.
**Tongue and Groove:** With a tight-fitting joint, tongue and groove profiles offer a smooth, continuous surface. They can be installed with a slight V-groove or a flat face, depending on the desired aesthetic. This profile often requires careful attention to expansion and contraction, though thermally modified wood's stability reduces this concern compared to untreated wood.
**Lap Siding:** Traditional lap siding involves boards overlapping each other, creating a classic, textured appearance. The degree of overlap influences the shadow line and weather resistance.
Consider the desired visual effect and the local climate when selecting a profile. Profiles with deeper reveals can create more dramatic shadow lines, while tighter joints offer a more contemporary, monolithic look. You can explore available profiles like those for our [Thermally Modified Wood](/thermally-modified-wood) products to see the range of options.
Complementary Materials and Detailing
Horizontal thermally modified wood cladding can be effectively paired with other materials to create a dynamic facade. Stone, stucco, or metal accents can provide textural contrast and highlight architectural features. For instance, a base course of stone could ground a wall clad in horizontal wood, or metal panels could frame a window opening.
Detailing around corners, soffits, and the base of the wall is crucial for a complete and durable horizontal system. Outside corners can be finished with mitered joints for a seamless look, or with corner boards for a more traditional aesthetic. Inside corners typically use a simple butt joint or a corner trim piece. Ensure that all detailing allows for proper water drainage and ventilation, especially at the base of the wall where clearance from grade is essential. Considerations for [Siding and Cladding](/siding-and-cladding) in general apply here, as do specific product lines like [NORX](/brands/norx) and [Maximo Accoya](/products/maximo-accoya) which offer various profiles and finishes suitable for these applications.
Before you order
- Have I considered the visual impact of horizontal lines on the overall structure's perceived width and height?
- Have I planned the course layout to minimize awkward cuts around windows and doors?
- Have I selected an appropriate fastening method (face vs. concealed) based on the profile and desired aesthetic?
- Is the chosen thermally modified wood profile suitable for horizontal installation and local weather conditions?
- Have I planned for proper ground clearance and ventilation at the base of the wall?
- Are details for corners, soffits, and other architectural transitions considered?
- Have I reviewed manufacturer guidelines for the specific thermally modified wood product being used?
Confirm installation details, approved uses and warranty terms in the current instructions for the exact product and profile. Your installer should verify the substrate, structure and applicable project requirements.
Questions to help you decide
What is the typical ground clearance for horizontal thermally modified wood cladding?
This helps prevent moisture wicking from the ground into the wood and protects against splash-back during rain. Always refer to specific manufacturer guidelines for the product you are using, as requirements can vary.
Can I mix horizontal and vertical thermally modified wood on the same facade?
Yes, mixing orientations can create visual interest and highlight different architectural zones. For example, a main body of horizontal cladding could be complemented by a vertical accent panel around an entry or stairwell. Careful planning is needed to ensure seamless transitions between the two orientations and proper water management at these junctions.
Are there specific profiles best suited for horizontal application?
Shiplap, tongue and groove, and traditional lap siding profiles are all well-suited for horizontal application. Shiplap and lap siding naturally shed water effectively due to their overlapping design. Tongue and groove can also work well, especially with a V-groove or reveal that helps direct water. The best profile depends on the desired aesthetic and specific project requirements, including local climate considerations.
Request a Material Quote for Your Horizontal Cladding Project
Ready to design your exterior with thermally modified wood? Provide your project dimensions, desired profile, and ZIP code to request a material quote. We can help confirm current availability and service options for your specific needs.
Request a material quote →