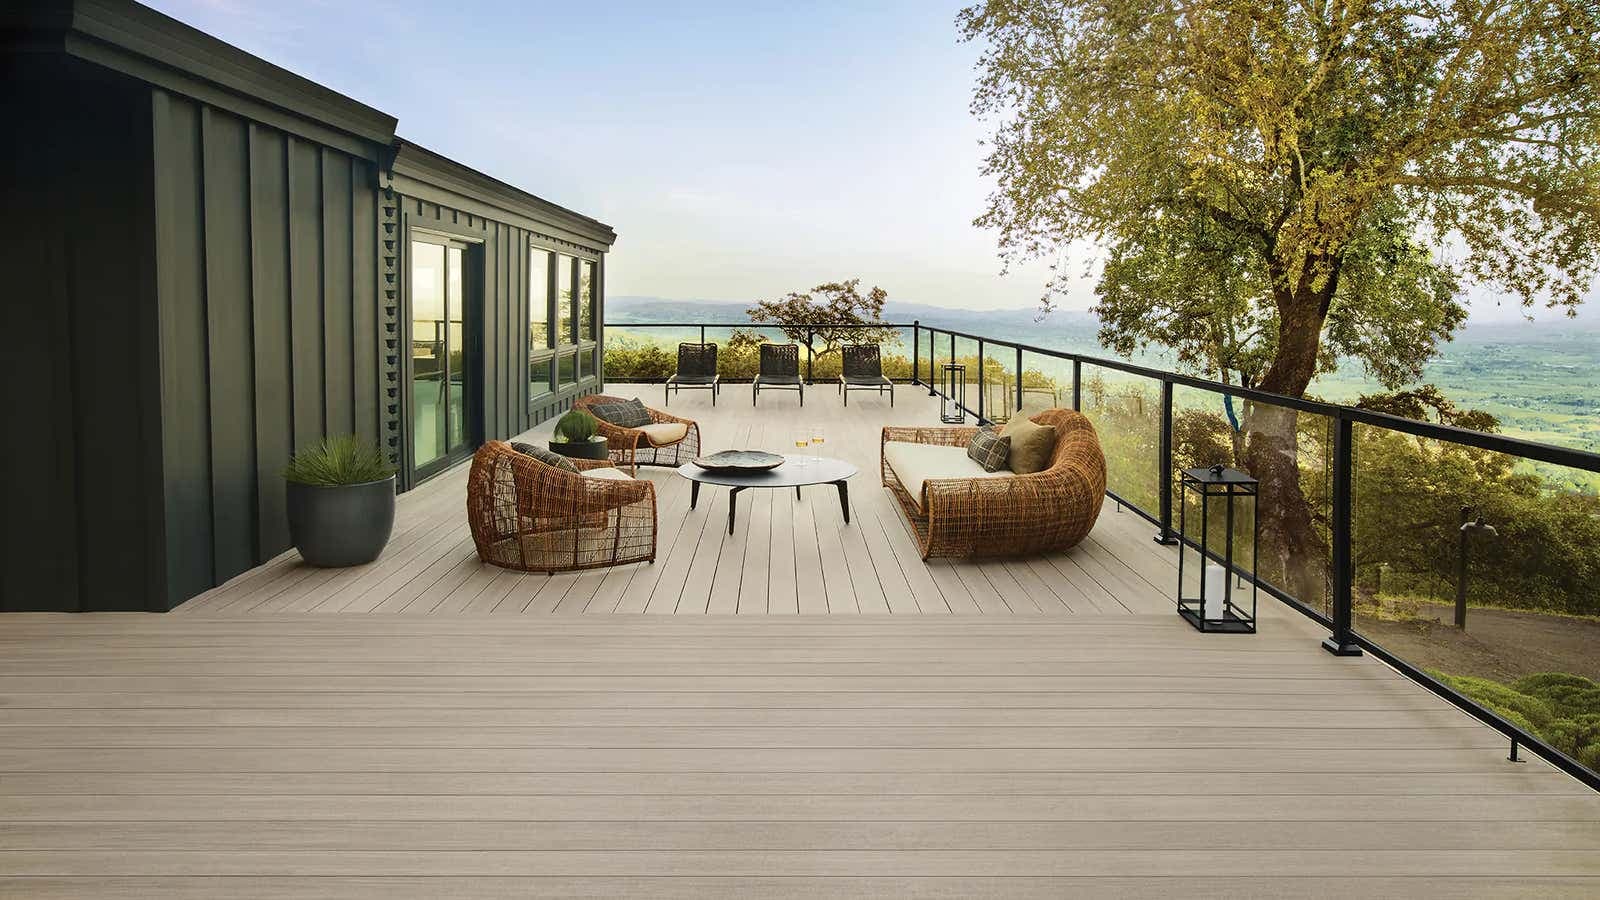
The Picture-Frame Decision: Why and Where?
Choosing a picture-frame border is a design decision that adds a finished, custom look to a deck. It typically involves running one or more decking boards perpendicular to the main field boards along the perimeter. This creates a visual "frame" around the deck surface.
Common reasons for this design choice include: enhancing visual appeal, providing a contrasting color or texture, defining distinct zones on a large deck, or concealing the exposed ends of the main field boards, particularly when using grooved edge boards for hidden fasteners. This detail is especially effective on decks visible from multiple angles or those with prominent edges, such as elevated decks or those adjacent to patios and walkways.
Substructure and Blocking Requirements
A critical aspect of a picture-frame border is ensuring adequate support for the perimeter boards. Unlike field boards that typically span multiple joists, the framing boards of a picture frame often run parallel to the rim joist or at specific angles. This necessitates additional blocking within the subframe.
For a single picture-frame board, you will need to install blocking between the outermost joists, running parallel to the rim joist. These blocks provide the necessary fastening surface for the picture-frame board. If you plan for a double picture frame, two rows of blocking will be required. The spacing of this blocking should match the joist spacing and be positioned to fully support the picture-frame boards along their entire length. This attention to detail in the subframe ensures stability and proper fastening for the border.
Consider the type of composite decking you are using. Some manufacturers may have specific recommendations or requirements for blocking when installing picture frames, especially regarding fastener types and spacing. Always consult the product's installation guide.
Selecting Boards and Fascia for the Frame
The choice of composite boards for the picture frame can significantly influence the deck's final appearance. You can select boards that match the main deck color for a subtle, integrated look, or choose a contrasting color or even a different profile to create a more defined border.
When selecting boards, ensure they are compatible with your chosen fastening system. If using hidden fasteners for the main deck, you'll likely need square-edge boards for the picture frame, which are typically face-fastened. The width of the picture-frame board(s) should also be considered in relation to the overall deck dimensions and desired aesthetic.
Fascia boards are essential for finishing the vertical edges of the deck, concealing the rim joist and the ends of the deck boards. Ensure the fascia color and texture complement or match your picture-frame boards or the main deck boards, depending on your design intent. Lumber Plus offers a range of composite decking options from Trex, TimberTech, and Fiberon, providing various colors and profiles for both deck boards and coordinating fascia. (Source: S1)
Review the available profiles and dimensions for your chosen composite line. Some manufacturers offer dedicated fascia boards that are thinner and designed for vertical application, offering a cleaner finish than using a full-thickness deck board.
Worked Example: Single Picture Frame on a Rectangular Deck
Let's consider a hypothetical rectangular deck measuring 12 feet by 16 feet, intended to have a single picture-frame border using a contrasting composite board. The main field boards will run parallel to the 16-foot dimension.
1. **Deck Dimensions:** 12 ft (width) x 16 ft (length).
2. **Picture Frame Board:** We'll use a standard 5.5-inch wide composite board for the picture frame.
For the picture frame, we need to add blocking.
These blocks should be cut to fit snugly between joists and fastened securely.
The ends of the main field boards will butt into this picture-frame board. The joists themselves will provide direct support.
4. **Board Calculation (Illustrative):**
* **Main Field Boards:** The effective width for the main field boards will be 12 ft - (2 x 5.5 inches for picture frame) = 12 ft - 11 inches = 11 ft 1 inch. The number of field boards needed will depend on the exact board width and spacing.
* **Picture Frame Boards:** You will need two 16-foot boards for the long sides and two 12-foot boards for the short ends. However, for mitered corners, you would purchase slightly longer boards to allow for precise cuts. For straight butt joints, the exact lengths might suffice, but always allow for waste. In practice, purchasing 20-foot lengths for the long sides and 16-foot lengths for the short sides (if available) provides flexibility for cuts and error correction.
5. **Fascia:** For a 12x16 deck, you would need approximately 2 x (12 ft + 16 ft) = 56 linear feet of fascia. Again, allow for waste and corner details. If using 12-foot fascia boards, you would need 5 boards (5 x 12 ft = 60 ft) to cover the perimeter, with some cuts and joins.
Fastening and Finishing Details
Fastening for picture-frame boards typically involves face-fastening, as hidden fasteners are often designed for grooved edge boards and continuous runs. Use color-matched screws specifically designed for composite decking to minimize visibility and ensure proper hold. Predrilling might be recommended by some manufacturers to prevent splitting.
For a professional finish, consider how the corners of the picture frame will be joined. Mitered corners (45-degree cuts) offer a seamless appearance, while butt joints are simpler to execute. If using mitered corners, ensure the cuts are precise and the boards are securely fastened to prevent separation over time. Proper spacing between boards, as specified by the manufacturer, is also crucial to accommodate thermal expansion and contraction.
The fascia boards should be installed after the deck surface boards are in place. They are typically face-fastened to the rim joist and any blocking. Ensure the fasteners are evenly spaced and countersunk slightly for a clean look. Some composite fascia systems use specialized clips or fasteners; refer to the specific product's instructions for installation.
Before you order
- Confirm desired picture-frame width and number of border boards.
- Verify subframe blocking requirements for all picture-frame boards.
- Select composite board type and color for the frame (matching or contrasting).
- Choose coordinating fascia boards for the deck perimeter.
- Decide on corner joint type (mitered or butt joint).
- Identify suitable fastening methods and compatible fasteners for frame and fascia.
- Account for thermal expansion gaps as per manufacturer instructions.
- Calculate linear footage of picture-frame boards and fascia, including waste.
Confirm installation details, approved uses and warranty terms in the current instructions for the exact product and profile. Your installer should verify the substrate, structure and applicable project requirements.
Questions to help you decide
Can I use hidden fasteners for a picture-frame border?
Generally, hidden fasteners are designed for grooved edge composite boards used in the main field of the deck, allowing for consistent spacing and an uninterrupted surface. Picture-frame boards, especially those at the perimeter, often require square-edge boards that are face-fastened with color-matched screws. Some specialized hidden fastening systems might accommodate picture frames, but always consult the specific product's installation guide to confirm compatibility and recommended methods.
Do I need special tools for cutting composite decking for a picture frame?
Standard woodworking tools like a miter saw or circular saw with a fine-tooth blade are typically used for cutting composite decking. A carbide-tipped blade is often recommended for cleaner cuts and to prolong blade life. For precise mitered corners, a high-quality miter saw is beneficial. Always wear appropriate safety gear, including eye protection, when cutting composite materials.
How much spacing should I leave between the main deck boards and the picture-frame boards?
The spacing between composite deck boards, including between field boards and picture-frame boards, is critical for proper drainage and to accommodate thermal expansion and contraction. This spacing is determined by the specific composite decking product and local climate conditions. Always refer to the manufacturer's installation instructions for the exact required gap. Failing to follow these guidelines can lead to buckling, warping, or other issues.
Ready to Plan Your Composite Deck with a Picture Frame?
For a material quote tailored to your project, provide your deck dimensions, preferred composite decking profile, desired colors for field and frame boards, and your project ZIP code. We can help you confirm current availability and service options for Trex, TimberTech, and Fiberon composite decking.
Request a material quote →