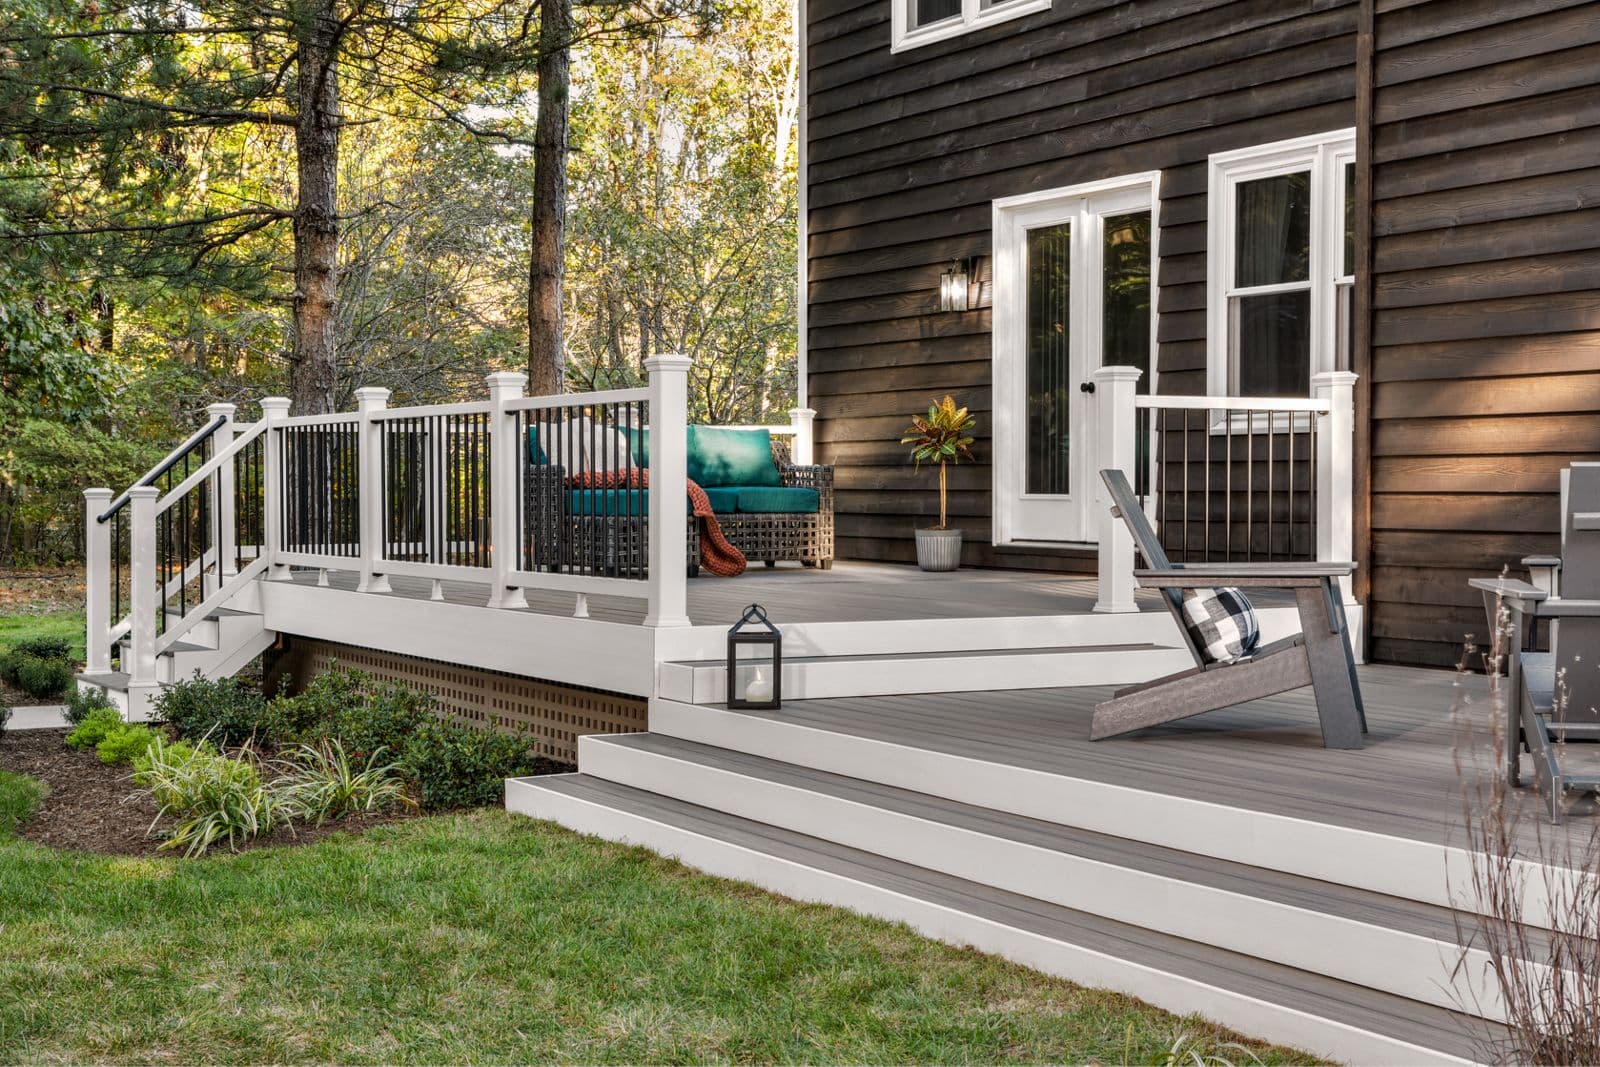
Understanding Available Trex Decking Board Lengths
Trex decking is typically manufactured in standard lengths designed to accommodate a wide range of deck sizes and layouts. Knowing these available lengths is the first step in planning your project efficiently. Trex decking boards are commonly available in 12-foot, 16-foot, and 20-foot lengths. These options provide flexibility for various deck dimensions, from smaller patios to expansive outdoor living areas.
The choice of length impacts how many seams your deck will have and where they will be located. Longer boards can reduce the number of visible seams, contributing to a more continuous look, especially on larger decks. However, longer boards can also be more challenging to transport and handle, and may result in more offcut waste if not planned carefully. Always confirm current available lengths with your supplier, as inventory can vary.
The Role of Seams in Deck Design
Seams are unavoidable in any decking project that exceeds the maximum available board length. How these seams are managed significantly influences the deck's final appearance. There are two primary types of seams to consider: butt joints and mitered joints. Each has distinct aesthetic and structural implications.
Butt joints are the most common type of seam, where the ends of two boards meet squarely. When installing Trex decking, it's crucial that butt joints occur over a joist or blocking to ensure adequate support. This prevents deflection and helps maintain a flat, even surface. While visible, well-executed butt joints can be minimized by staggering them and aligning them with logical breaks in the deck design.
Mitered joints, often used for picture-frame borders or angled deck sections, involve cutting boards at an angle (typically 45 degrees) to meet at a corner. These joints can create a clean, finished look but require precise cuts and careful support. For Trex decking, mitered joints also need proper blocking or joist support underneath to prevent movement and maintain integrity. The expansion and contraction of composite decking must be considered when planning mitered joints, as gaps can become more apparent.
Optimizing Board Layout to Minimize Waste and Maximize Aesthetics
Strategic board layout is key to both cost savings and a visually appealing deck. The goal is to use full-length boards whenever possible and to plan cuts so that offcuts can be reused elsewhere in the project. This involves sketching your deck plan and identifying areas where shorter pieces might be needed.
Consider the overall length and width of your deck. If your deck is, for example, 18 feet deep, using 20-foot boards will result in 2-foot offcuts for each full run. If these 2-foot pieces cannot be used for shorter sections, such as a border or a stair tread, they become waste. Conversely, using 12-foot and 16-foot boards might require more seams but could reduce waste if your deck dimensions align better with these lengths.
Staggering butt joints is a common practice to avoid a continuous seam line across the deck, which can be visually jarring. Instead, aim for a random or offset pattern for your seams, similar to how hardwood flooring is installed. This distributes the visual impact of the joints and creates a more cohesive look. When planning, try to place seams in less conspicuous areas or where they naturally align with deck features like railings or steps.
Worked Example: Planning a 28-Foot Deck Section
Let's consider a hypothetical deck section that is 10 feet wide and 28 feet long. We want to deck this section using Trex boards, which are available in 12-foot, 16-foot, and 20-foot lengths. Our goal is to minimize visible seams and material waste.
Option 1: Using 20-foot boards. For a 28-foot run, you would need one 20-foot board and one 8-foot board. The 8-foot board would need to be cut from another 20-foot board, leaving a 12-foot offcut. This means for every two 28-foot runs, you would purchase two 20-foot boards, yielding two 20-foot sections and two 8-foot sections, plus two 12-foot reusable offcuts. The seam would be at the 20-foot mark.
Option 2: Using 16-foot and 12-foot boards. For a 28-foot run, you could use one 16-foot board and one 12-foot board. This option perfectly matches the required length without significant waste per run. The seam would be at the 16-foot mark. This approach might require more careful staggering of the 12-foot and 16-foot boards across the deck width to avoid a visually dominant seam line.
Option 3: Using two 16-foot boards. This would give you 32 feet of coverage. Each 16-foot board would be cut to 14 feet, resulting in a 2-foot offcut per board, or 4 feet of waste per 28-foot run if the offcuts cannot be used. This creates a seam at the 14-foot mark.
For this 28-foot section, Option 2 (one 16-foot and one 12-foot board per run) appears to be the most material-efficient choice, as it uses standard lengths with minimal offcut. However, if the aesthetic preference is for fewer seams, Option 1 might be chosen, accepting the larger 12-foot offcuts for potential reuse or waste. Always consider the overall deck dimensions and how these offcuts can be integrated into other parts of the project, such as stairs or smaller sections.
Essential Considerations for Trex Decking Installation
Beyond length planning, several installation details are critical for Trex decking. Always refer to the specific Trex installation guide for the product line you choose, as requirements can vary. For instance, proper gapping between boards is essential to accommodate thermal expansion and contraction, which is a characteristic of composite materials. Incorrect gapping can lead to buckling or excessive gaps.
Substructure requirements are also vital. Trex decking must be installed over a structurally sound and properly spaced joist system. The maximum joist spacing will be specified by Trex and must be strictly followed to prevent board deflection. For butt joints, ensure that there is adequate blocking or a double joist to support both ends of the boards.
Fastening methods also play a role in the finished appearance. Trex offers both hidden fastening systems and compatible face screws. Hidden fasteners create a smooth, unblemished surface, while face screws are visible but offer a secure attachment. Your choice of fastener may also influence how you plan your board ends and seams, especially if you are using grooved-edge boards with hidden clips.
Before you order
- Confirm current available Trex board lengths from your supplier.
- Measure your deck's exact dimensions, including any angles or curves.
- Sketch a detailed layout of your deck, noting all board runs and potential seam locations.
- Calculate how many full-length boards you need for each section.
- Identify where butt joints will be necessary and plan to stagger them for better aesthetics.
- Determine if offcuts from longer boards can be reused for shorter sections (e.g., stairs, borders).
- Verify joist spacing and blocking requirements for all seam locations.
- Consider the impact of fastening methods (hidden vs. face) on your layout and material order.
- Account for proper board gapping to allow for thermal expansion and contraction.
Confirm installation details, approved uses and warranty terms in the current instructions for the exact product and profile. Your installer should verify the substrate, structure and applicable project requirements.
Questions to help you decide
Can I mix different Trex board lengths on my deck?
Yes, you can absolutely mix different Trex board lengths (e.g., 12-foot, 16-foot, 20-foot) on your deck. In fact, this is often recommended for optimizing material use and minimizing waste, especially for decks with dimensions that don't perfectly align with a single board length. The key is to plan your layout carefully to ensure seams are properly supported and aesthetically staggered.
How do I hide seams in Trex decking?
While it's impossible to completely hide seams in Trex decking, you can minimize their visual impact. The most effective method is to stagger butt joints across the deck surface, avoiding a single, continuous line of seams. You can also strategically place seams in less visible areas, such as under railings or near transitions to other deck features. Using a picture-frame border can also help define the deck perimeter and contain the main field boards, making internal seams less prominent.
Do Trex boards expand and contract with temperature changes?
Yes, like all composite decking materials, Trex boards will expand and contract slightly with changes in temperature. This is why proper gapping between boards and at butt joints is critical during installation. Always follow Trex's specific installation guidelines for gapping to ensure the boards have room to move without buckling or creating excessive gaps.
Request a Material Quote for Your Trex Decking Project
Ready to plan your Trex deck? Provide your project dimensions, desired Trex profile, and ZIP code to receive a material quote. We can help confirm current availability and service options for your area.
Request a material quote →