What is an Ipe Picture-Frame Border?
A picture-frame border, also known as a perimeter border, is a decking design where boards are laid around the edge of the deck, perpendicular to the main field boards. This creates a distinct visual frame, similar to how a picture frame surrounds artwork. For Ipe decking, this detail not only enhances the aesthetic but also provides a robust edge, particularly useful for decks with varied shapes or those that transition to other outdoor elements.
The border can consist of one or more boards, depending on the desired width and visual impact. It often contrasts subtly with the main deck area, either through board orientation or sometimes by using a different board width, though maintaining consistent Ipe across the entire surface is also common for a cohesive look.
Structural Support for the Picture Frame
Implementing a picture-frame border requires specific structural support beneath the perimeter boards. Unlike field boards that typically run across joists, border boards run parallel to the outer joists. This means additional blocking or sistered joists are necessary to provide adequate fastening points.
For a single border board, you may need to install blocking between the outermost joists, perpendicular to them, to support the border's width. Proper blocking ensures that each border board has solid material to fasten into, preventing movement and ensuring the long-term stability of your deck's edge. Ipe is a dense wood, so secure fastening into substantial backing is crucial.
Selecting Ipe Boards for Borders
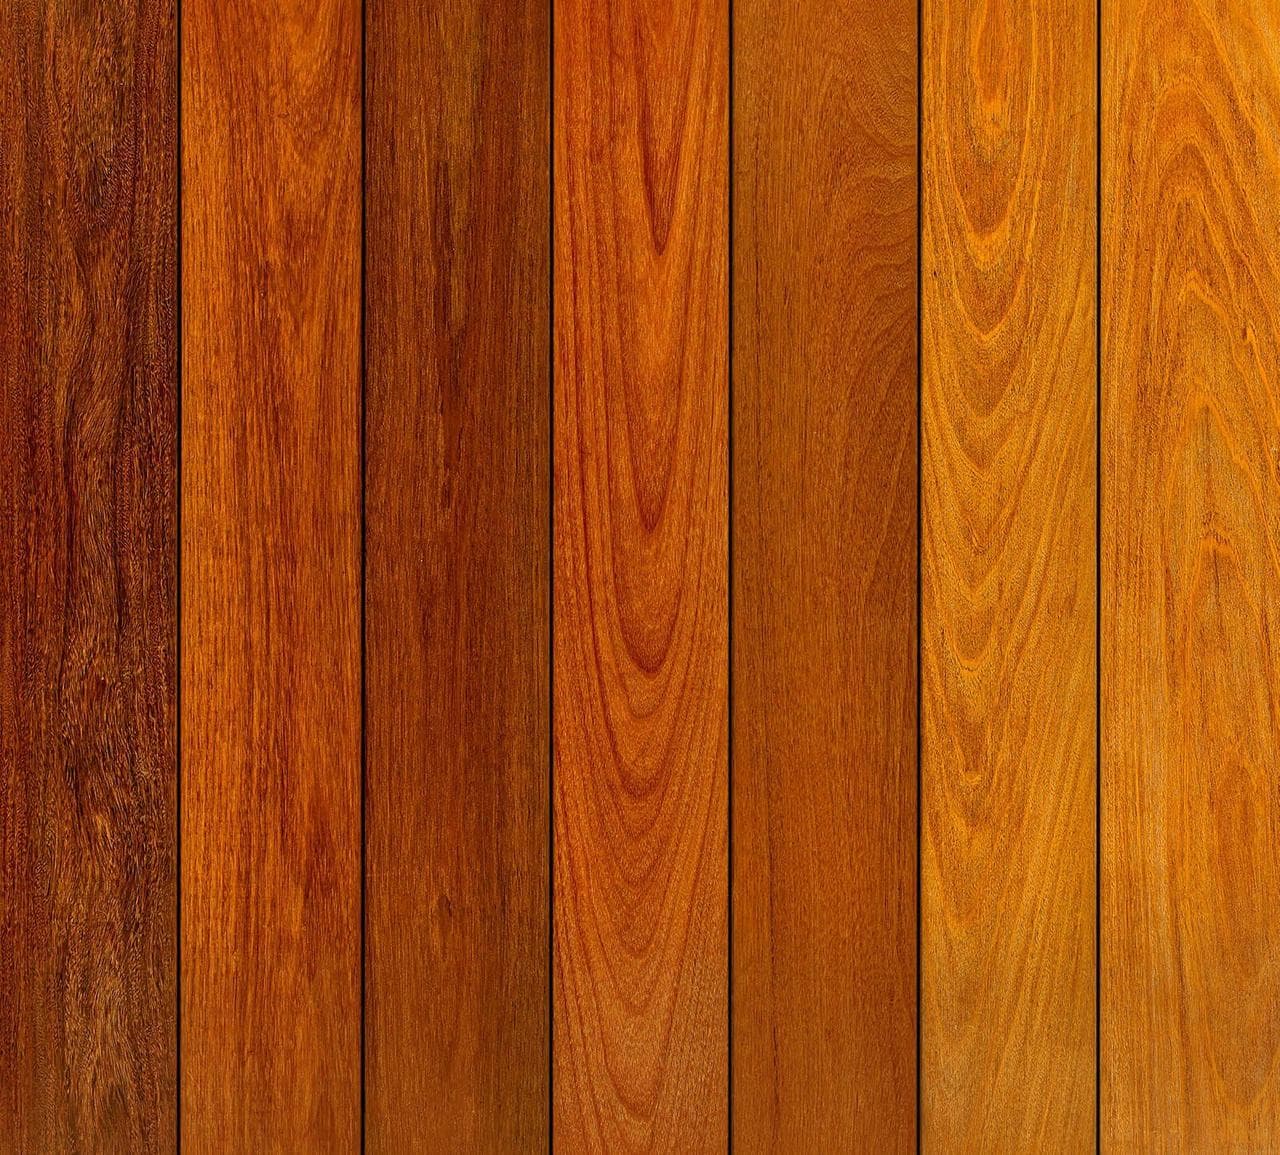
Ipe wood is known for its density and durability, offering a rich range of reddish-brown to olive-brown tones (S1). When selecting boards for your picture frame, aim for consistency in color and grain if you desire a uniform look, or embrace natural variations for a more organic appeal. Ipe is available in various profiles and sizes, including 1x6 and 5/4x6 dimensions (S1).
Consider using square-edge Ipe boards for the picture frame, as they often create cleaner lines for the mitered corners or butt joints commonly used in border designs. Grooved boards are typically used with hidden fastening systems for the main deck field, but square-edge boards offer more flexibility for edge fastening and finishing in the border area. Ensure that the chosen board width for the border complements the field boards and the overall scale of your deck.
Worked Example: Designing a Picture Frame for a 10x12-foot Deck
Let's consider a hypothetical 10-foot by 12-foot Ipe deck, where the main field boards will run parallel to the 12-foot dimension. We want to add a single Ipe picture-frame board, using 1x6 (nominally 5.5 inches wide) square-edge Ipe boards for the border.
First, determine the layout. The 10-foot ends will have border boards running the full 10-foot width. The 12-foot sides will have border boards running between the end border boards. This means the side border boards will be slightly shorter than 12 feet, accounting for the width of the end border boards. For mitered corners, each corner joint will consume 5.5 inches of board length from both sides.
Always verify the specific fastening requirements for Ipe and ensure sufficient material for secure attachment.
For a 10x12 deck with a single 5.5-inch border, you would need two 10-foot boards for the ends and two boards for the sides. If using mitered corners, the side boards would be approximately 12 feet minus two times the width of the border board (12 feet - 2 * 5.5 inches = 12 feet - 11 inches = 11 feet 1 inch). For butt joints, the side boards would be 12 feet long, and the end boards would be 10 feet minus two times the width of the border board (10 feet - 11 inches = 9 feet 1 inch). Always purchase slightly longer lengths to allow for precise cuts.
This example assumes standard board dimensions and a simple rectangular deck. More complex shapes or multiple border boards will require more detailed calculations for blocking and board lengths.
Coordinating Fascia and Edge Finishes
The picture-frame border works in conjunction with the deck's fascia to create a complete and finished edge. Fascia boards are typically installed vertically along the perimeter of the deck frame, covering the rim joists and any exposed substructure. Using Ipe fascia boards that match your decking ensures a consistent and high-quality appearance.
When planning your picture frame, consider how the border boards will meet the fascia. The top edge of the fascia should align neatly with the underside of the picture-frame boards. This might involve careful shimming or specific framing details to achieve a flush transition. For a refined look, consider routing a small chamfer or bullnose detail on the exposed edge of the picture-frame boards. This subtle detail can soften the edge and contribute to a polished finish.
For a cohesive look, consider using our Ipe decking for the fascia, available at our product page: <a href="/decking/hardwood/ipe">Ipe Decking</a>
Fastening and Expansion Considerations
Ipe is a very dense hardwood, which means it requires specific fastening techniques. Pilot holes are essential for all fasteners to prevent splitting the wood. Stainless steel fasteners are recommended to prevent staining and ensure long-term durability. Depending on whether you use square-edge or grooved boards for the border, you might opt for face fastening with color-matched plugs or a hidden fastening system if the border boards are also grooved and compatible with the system.
While Ipe exhibits minimal movement post-installation (S1), proper spacing between boards is still important to allow for any minor expansion or contraction due to changes in humidity. Follow the manufacturer's recommended spacing for Ipe decking to ensure adequate ventilation and prevent cupping or buckling. This applies to the gaps between border boards and between the border and the main field boards.
Before you order
- Determine the desired width of your picture-frame border (single or multiple boards).
- Plan the structural blocking or sistered joists required to support the perimeter boards.
- Select Ipe board profiles (e.g., 1x6, 5/4x6) and edge types (square-edge recommended) for the border.
- Decide on corner joint type: mitered for a seamless look, or butt joints for simpler installation.
- Calculate precise board lengths for the border, accounting for corner details and overall deck dimensions.
- Choose matching Ipe fascia boards to cover the deck's rim joists.
- Confirm fastening method (face-fastened with pilot holes and plugs, or hidden fasteners if applicable).
- Verify manufacturer-recommended board spacing for Ipe to accommodate natural movement.
Confirm installation details, approved uses and warranty terms in the current instructions for the exact product and profile. Your installer should verify the substrate, structure and applicable project requirements.
Questions to help you decide
Can I use different wood species for the picture frame?
While technically possible, using the same Ipe wood for both the picture frame and the main deck field is generally recommended for consistency in appearance, durability, and maintenance requirements. Different wood species may react differently to weathering and require different care routines.
What tools are needed for cutting Ipe picture-frame boards?
Due to Ipe's density, sharp, high-quality saw blades designed for hardwoods are essential. A miter saw is ideal for precise angle cuts for mitered corners. Pre-drilling all fastener holes is crucial, so a good quality drill and appropriate drill bits are also necessary.
How do I maintain the Ipe picture frame?
Ipe is naturally resistant to rot, insects, and mold, and can last up to 75 years with proper care (S1). Occasional cleaning and sealing will help preserve its natural beauty. If left untreated, Ipe will weather to a silvery-gray patina. If you prefer to maintain its original reddish-brown to olive-brown color, apply a UV-blocking sealer (S1). The maintenance for the picture frame will be the same as for the rest of your Ipe deck.
Request a Quote for Ipe Decking Materials
Ready to plan your Ipe deck with a picture-frame border? Contact us with your project dimensions, desired Ipe profile, and ZIP code to request a material quote. We can help confirm current availability and service options for your project.
Request a material quote →