
Understanding Your Rental Agreement and Landlord Approval
Before selecting any materials, review your rental agreement for clauses related to modifications, outdoor spaces, and balcony use. Many agreements prohibit permanent alterations. Even if not explicitly forbidden, it is advisable to seek written approval from your landlord or property management before installing deck tiles.
When requesting approval, present a clear plan that emphasizes the temporary and reversible nature of deck tiles. Explain that no permanent fasteners, adhesives, or structural changes will be made. Highlight how the tiles can be removed without leaving a trace, returning the balcony to its original condition. Providing product information, such as the type of wood (Garapa) and tile dimensions, can aid in their decision-making. Document all communications and approvals in writing.
Selecting Garapa Deck Tiles for Reversible Installation
Garapa deck tiles are a suitable choice for rental balconies due to their modular design. They typically feature an interlocking plastic base that allows them to be laid directly over an existing hard, flat surface without adhesives or nails. This design is key to a reversible installation.
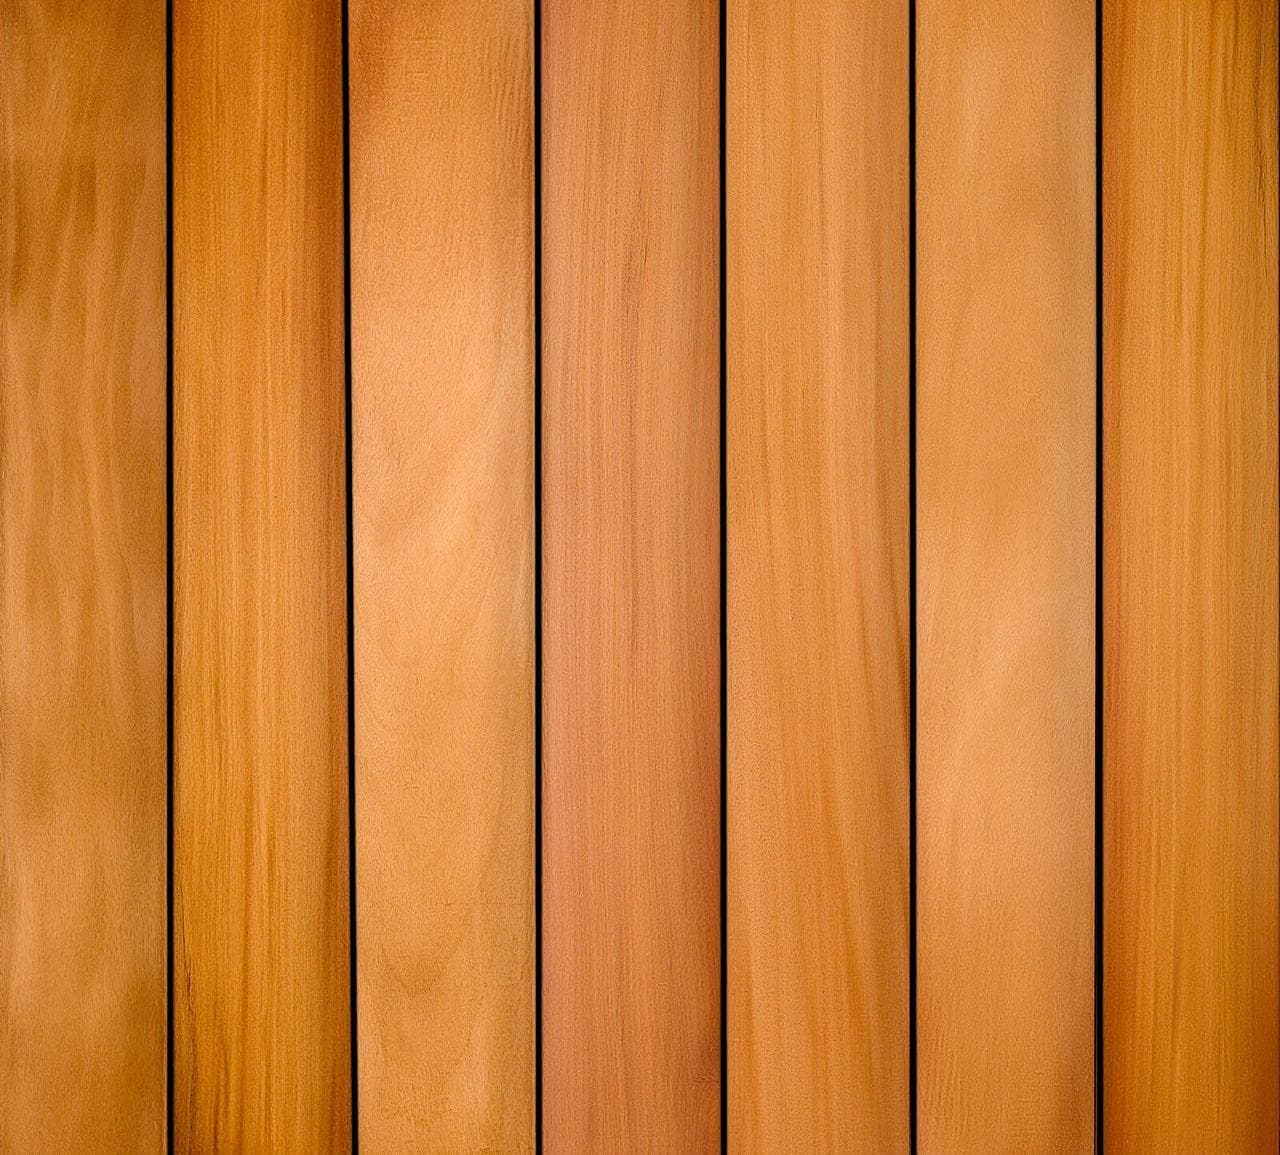
The 12 x 12 inch tiles are compact and can be easier to handle and store if removal is necessary. The 24 x 24 inch tiles cover more area per tile, potentially reducing the number of pieces to install and remove. Both sizes offer the same warm golden tones of Garapa wood, which can enhance the aesthetic of a balcony. Consider the overall dimensions of your balcony when choosing between these two sizes, as a larger tile might require fewer cuts for a clean edge, while smaller tiles offer more flexibility for irregular shapes.
Link: Garapa Deck Tiles: /deck-tiles/garapa
Preparing the Balcony Surface
A clean, level, and well-draining surface is essential for installing deck tiles. Sweep the balcony thoroughly to remove all debris, dirt, and loose particles. If the surface is concrete, ensure it is free of cracks or significant unevenness that could affect the stability of the tiles. Any standing water issues should be addressed before installation, as proper drainage beneath the tiles is important to prevent moisture buildup.
While Garapa deck tiles can be laid directly, consider placing a thin, permeable membrane or geotextile fabric beneath them, especially if the existing surface is prone to collecting moisture or has minor imperfections. This can provide a clean separation, potentially protect the existing surface, and aid in drainage. Ensure any such layer does not impede water flow to existing drains.
Planning the Layout and Calculating Quantities
Accurate measurement is critical. Measure the length and width of your balcony. Create a simple sketch to visualize the layout. For a rental, minimizing cuts can simplify installation and removal. Try to align tile edges with existing balcony features as much as possible.
Let's consider a hypothetical balcony measuring 8 feet 6 inches by 5 feet 3 inches. We will use 24 x 24 inch (2 ft x 2 ft) Garapa deck tiles. The area is 8.5 ft * 5.25 ft = 44.625 square feet.
For the length (8.5 feet), you would need 8.5 / 2 = 4.25 tiles. This means 4 full tiles and a partial tile. For the width (5.25 feet), you would need 5.25 / 2 = 2.625 tiles. This means 2 full tiles and a partial tile.
To cover the area, you would need 5 tiles along the length and 3 tiles along the width, totaling 5 * 3 = 15 tiles. This accounts for cuts. The leftover pieces from cuts might be reusable for other sections, but it is safer to plan for full tiles for each dimension. Each 24 x 24 inch tile covers 4 square feet.
Therefore, you would purchase 15 tiles. This accounts for the need to cut tiles to fit the dimensions and ensures you have enough material, including for potential errors or future replacements. The total purchased area would be 15 tiles * 4 sq ft/tile = 60 square feet. This provides enough material for the 44.625 square foot area, allowing for necessary cuts and potential waste.
Installation Considerations for Rental Properties
Install Garapa deck tiles by interlocking them directly over the prepared surface. Begin in a corner and work your way across the balcony. For edges that require cuts, use appropriate woodworking tools. Remember, the goal is a non-permanent installation, so avoid any methods that could damage the existing balcony surface.
Ensure that the installed tiles do not impede the function of balcony drains or access to any utility panels. Maintain a small gap around the perimeter of the balcony to allow for drainage and potential expansion/contraction of the wood. This gap also facilitates easier removal later. Do not glue or nail the tiles down. The weight of the tiles themselves, combined with their interlocking design, provides stability for typical balcony use.
Complementary products like low-profile outdoor furniture or planters with soft feet can enhance the space without damaging the tiles or the underlying balcony. Consider lightweight, movable items that can be easily rearranged or removed.
Removal and Storage of Deck Tiles
One of the key advantages of deck tiles for rental properties is their ease of removal. To remove them, simply unlock the tiles in reverse order of installation. For cut pieces, carefully lift them out. Store the tiles in a dry, covered area to protect them from weather and moisture if you plan to reuse them.
Before moving out, thoroughly clean the original balcony surface. Check for any marks, scratches, or debris left behind. Address any issues to ensure the balcony is returned to its original condition, fulfilling the terms of your rental agreement. Proper planning for removal and storage helps avoid potential deductions from your security deposit.
Before you order
- Review rental agreement for modification clauses.
- Obtain written landlord approval for deck tile installation.
- Measure balcony dimensions accurately.
- Choose Garapa deck tile size (12x12 or 24x24) based on layout and handling ease.
- Clean and prepare the existing balcony surface for levelness and drainage.
- Plan tile layout to minimize cuts and ensure reversibility.
- Confirm no adhesives or permanent fasteners will be used.
- Ensure tiles do not obstruct drains or utility access.
- Plan for easy removal and storage of tiles when needed.
- Consider complementary, non-damaging outdoor furnishings.
Confirm installation details, approved uses and warranty terms in the current instructions for the exact product and profile. Your installer should verify the substrate, structure and applicable project requirements.
Questions to help you decide
Can I install Garapa deck tiles directly on any rental balcony surface?
Garapa deck tiles are designed for installation over hard, flat, and stable surfaces like concrete, existing tile, or low-pile carpet. Ensure the surface is clean and level. Avoid installing on uneven or soft surfaces, as this can lead to instability and potential damage to the tiles or the underlying surface.
How do Garapa deck tiles handle water drainage on a balcony?
Garapa deck tiles feature a plastic grid base that elevates the wood planks slightly, allowing water to drain through the gaps between the planks and flow underneath the tiles to the existing balcony drains. It's crucial that the underlying balcony surface has proper drainage and that the tiles do not block access to any drain points.
What maintenance do Garapa deck tiles require for a rental property?
For a rental property, simple and regular maintenance is usually sufficient. Sweep the tiles to remove debris. For deeper cleaning, a mild soap and water solution can be used, followed by rinsing. Avoid harsh chemicals or pressure washing, which can damage the wood. If you wish to maintain the golden color, you might apply a penetrating oil designed for hardwoods; otherwise, the Garapa will naturally weather to a silver-gray patina over time. Always ensure any chosen maintenance product is landlord-approved if applied regularly.
Ready to Transform Your Rental Balcony?
Request a material quote for Garapa deck tiles. Provide your project dimensions, desired tile profile (12x12 or 24x24), and ZIP code to confirm current availability and service options.
Request a material quote →