
The Foundation: Garapa Deck Tiles
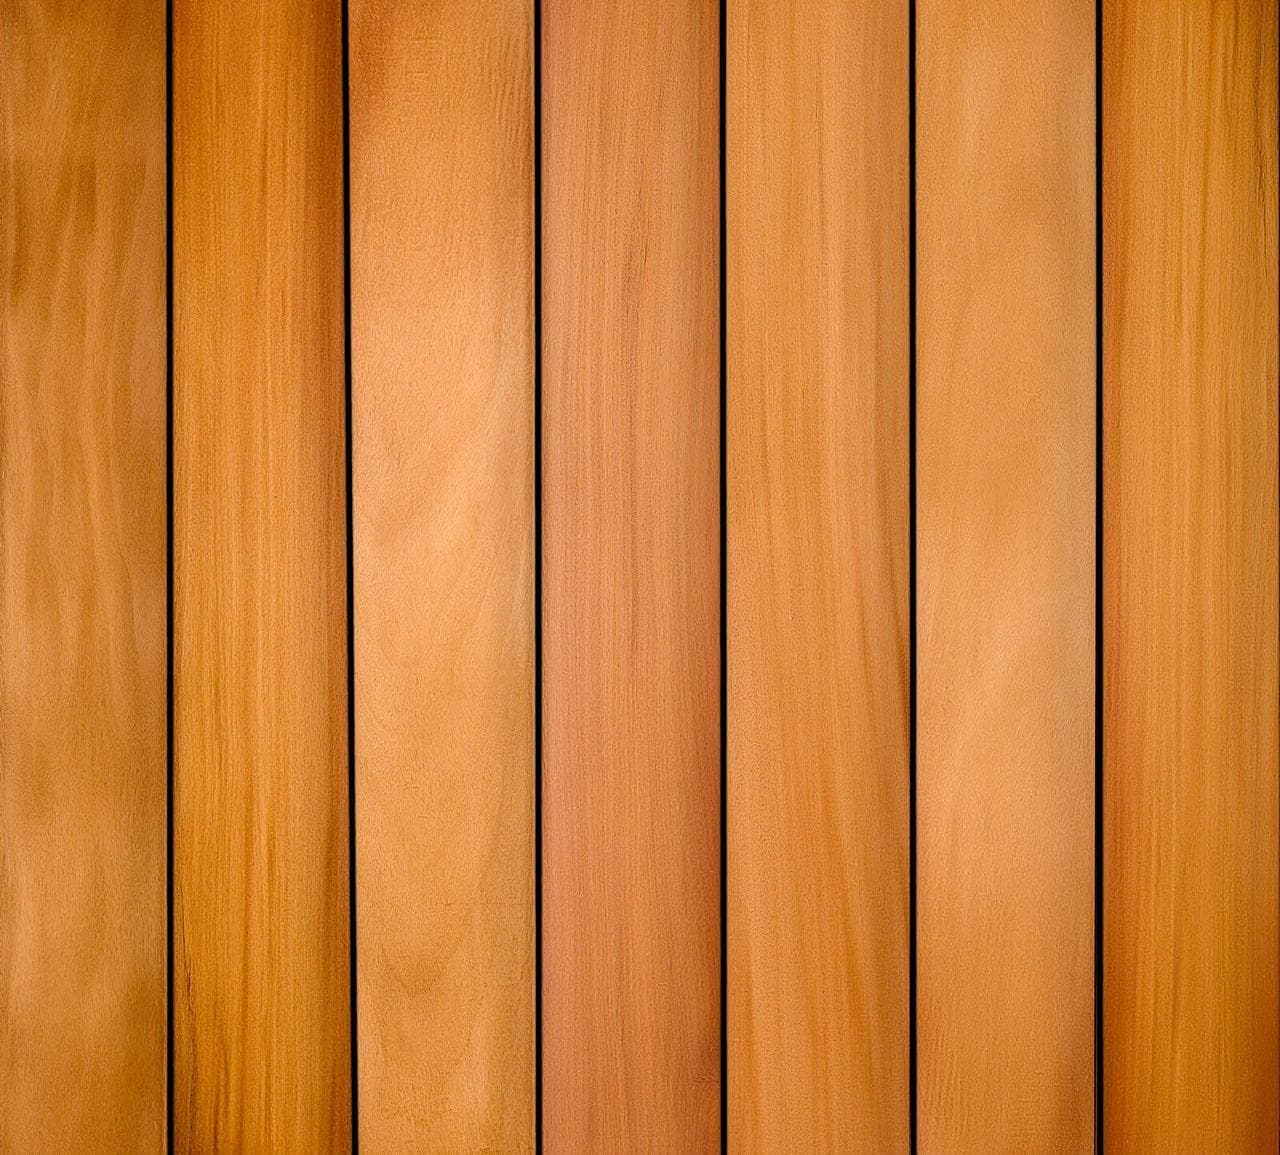
Garapa deck tiles offer a bright, golden-toned surface that can instantly elevate an outdoor space. Known for their warm appearance, these tiles provide a durable and attractive base for any outdoor room project. They come in standard sizes, typically 12 x 12 inches (1 square foot per tile) and 24 x 24 inches (4 square feet per tile), allowing for flexibility in layout depending on the scale and complexity of your design. The choice of tile size can influence the visual flow and the number of seams in your finished surface. For larger, open areas, 24 x 24 inch tiles can create a more expansive look with fewer visible lines, while 12 x 12 inch tiles might be suitable for intricate layouts or smaller balconies.
Before integrating other elements, ensure your Garapa deck tile installation is complete and stable. This involves preparing the sub-surface, whether it's concrete, an existing patio, or a rooftop membrane, to ensure proper drainage and support for the tiles. The tiles themselves are the ground layer upon which your privacy and seating elements will be built, so their proper installation is foundational to the entire project's success.
You can explore the available Garapa deck tile options at our product page: [https://www.lumberplus.com/deck-tiles/garapa](https://www.lumberplus.com/deck-tiles/garapa)
Defining Space with Privacy Screens
Privacy screens are essential for creating a sense of enclosure and seclusion in an outdoor room. They can block unwanted views, reduce wind, and define the boundaries of your new space. When integrating screens with Garapa deck tiles, consider both the aesthetic and structural aspects. Screens can be freestanding, anchored to a perimeter wall, or supported by posts that are securely fastened to the underlying structure, not directly to the deck tiles.
Screen materials vary widely, from slatted wood panels that complement the natural tones of Garapa, to metal, composite, or even living green walls. The design of the screen should align with the overall aesthetic you envision for your outdoor room. For instance, vertical Garapa slats used in a screen can create a cohesive look with the deck tiles, enhancing the golden tones of the wood. Remember that any screen installation requires careful planning for anchorage to ensure stability, especially in areas subject to wind. The deck tiles themselves are a finishing surface and are not designed to bear the structural load of screens or posts.
Integrating Seating for Comfort and Function
Built-in seating can transform an open deck tile area into a functional outdoor room. Unlike freestanding furniture, built-in benches or banquettes offer a permanent design element that can be integrated directly into your privacy screen or perimeter. This approach maximizes space, creates a cohesive look, and can provide additional storage if designed with hinged tops.
When planning built-in seating, consider the height and depth that will be most comfortable. A common design strategy is to construct the seating frame separately and then finish it with materials that complement the Garapa deck tiles, such as matching Garapa boards or a contrasting material. Ensure that the seating structure is self-supporting and does not rely on the deck tiles for stability. The deck tiles should simply run up to or under the seating structure, maintaining a clean and finished edge.
For a seamless look, consider using other tropical hardwood options for custom seating elements, such as Ipe or Cumaru, which can be found here: [https://www.lumberplus.com/deck-tiles/ipe](https://www.lumberplus.com/deck-tiles/ipe) [https://www.lumberplus.com/deck-tiles/cumaru](https://www.lumberplus.com/deck-tiles/cumaru)
A Cohesive Layout Example: The Urban Retreat
Imagine a 10-foot by 12-foot urban terrace that needs to become a private oasis. We will use Garapa 24 x 24 inch deck tiles for the main surface. This area is equivalent to 120 square feet, requiring 30 tiles (120 sq ft / 4 sq ft per tile).
To create privacy, we'll install an L-shaped privacy screen along two adjacent sides of the terrace: one 10-foot section and one 8-foot section, leaving a 4-foot opening for access. These screens will be constructed with vertical Garapa slats and anchored securely to the building's facade and the underlying structural elements, not the deck tiles. The screen posts will be positioned adjacent to the tile grid, allowing the tiles to butt up against them.
Integrated seating will be built along the 10-foot privacy screen. This bench will be 18 inches high and 20 inches deep, constructed from a durable frame and finished with Garapa boards to match the deck tiles. The bench will be self-supporting, with its legs resting on the structural sub-surface, and the deck tiles will be cut to fit precisely around its base. This design creates a continuous line from the privacy screen to the seating, making the space feel larger and more intentional. The remaining open area of Garapa deck tiles provides flexible space for a small table or planters.
This layout transforms an exposed terrace into a defined outdoor room, offering both privacy and comfortable seating, all anchored by the inviting warmth of Garapa deck tiles.
Key Considerations for Your Project
Before finalizing your design, consider these practical aspects: structural support, drainage, and maintenance. All privacy screens and built-in seating must have independent structural support that is appropriate for your specific site conditions and local building codes. Never rely on the deck tiles or their underlying support system to carry the load of these additional elements. Ensure that your design allows for proper water drainage across the entire deck tile surface, preventing pooling around screen bases or seating structures. Regular maintenance of Garapa, including cleaning and optional oiling, will preserve its golden hue and extend its lifespan. Plan for how you will access all areas for cleaning, especially behind and under fixed structures.
Always review the manufacturer's instructions for any specific installation requirements related to Garapa deck tiles or the structural components of your screens and seating. If you are unsure about structural integrity or installation methods, consult with a qualified contractor or engineer.
Before you order
- Confirm the structural capacity of your sub-surface (e.g., roof, balcony, patio) for the combined weight of deck tiles, screens, and seating.
- Choose Garapa deck tile size (12x12 or 24x24) based on project scale and desired visual effect.
- Select privacy screen material and design to complement Garapa tiles and meet privacy needs.
- Plan screen anchorage points: ensure they are secured to the main structure, not just the deck tiles.
- Design built-in seating for comfort, dimensions, and integration with screens or perimeter.
- Confirm seating structure is self-supporting and does not rely on deck tiles for stability.
- Map out drainage paths to prevent water accumulation around fixed elements.
- Consider future access for cleaning and maintenance of both tiles and integrated structures.
- Verify local building codes and obtain any necessary permits for screen or seating installations.
Confirm installation details, approved uses and warranty terms in the current instructions for the exact product and profile. Your installer should verify the substrate, structure and applicable project requirements.
Questions to help you decide
Can I attach privacy screens directly to Garapa deck tiles?
No, privacy screens should not be attached directly to Garapa deck tiles. Deck tiles are a finished surface and are not designed to provide structural support for screens. Screens must be independently anchored to the building's facade, a perimeter wall, or the underlying structural elements of your terrace or balcony, ensuring stability and safety.
How do I ensure proper drainage around built-in seating and screens?
When designing built-in seating and screens, ensure that the deck tile surface maintains its natural drainage path. Avoid creating pockets where water can collect. The base of screens and seating should be designed to allow water to flow freely underneath or around them, preventing moisture buildup. You might need to adjust the slope of the sub-surface or include small gaps at the base of structures for water to escape.
What maintenance is required for Garapa deck tiles when combined with other structures?
Garapa deck tiles require regular cleaning to remove dirt and debris. You can also apply a UV-inhibiting oil to help maintain their golden color, though they will naturally silver over time if left untreated. When integrated with screens and seating, ensure you can access all areas for cleaning. This might involve planning for removable panels or sufficient gaps to clean under and behind fixed structures. The maintenance schedule for the screens and seating will depend on their specific materials.
Ready to Design Your Outdoor Room?
Request a material quote with your project dimensions, desired Garapa deck tile profile, and ZIP code to confirm current availability and service options for your privacy screen and seating project.
Request a material quote →