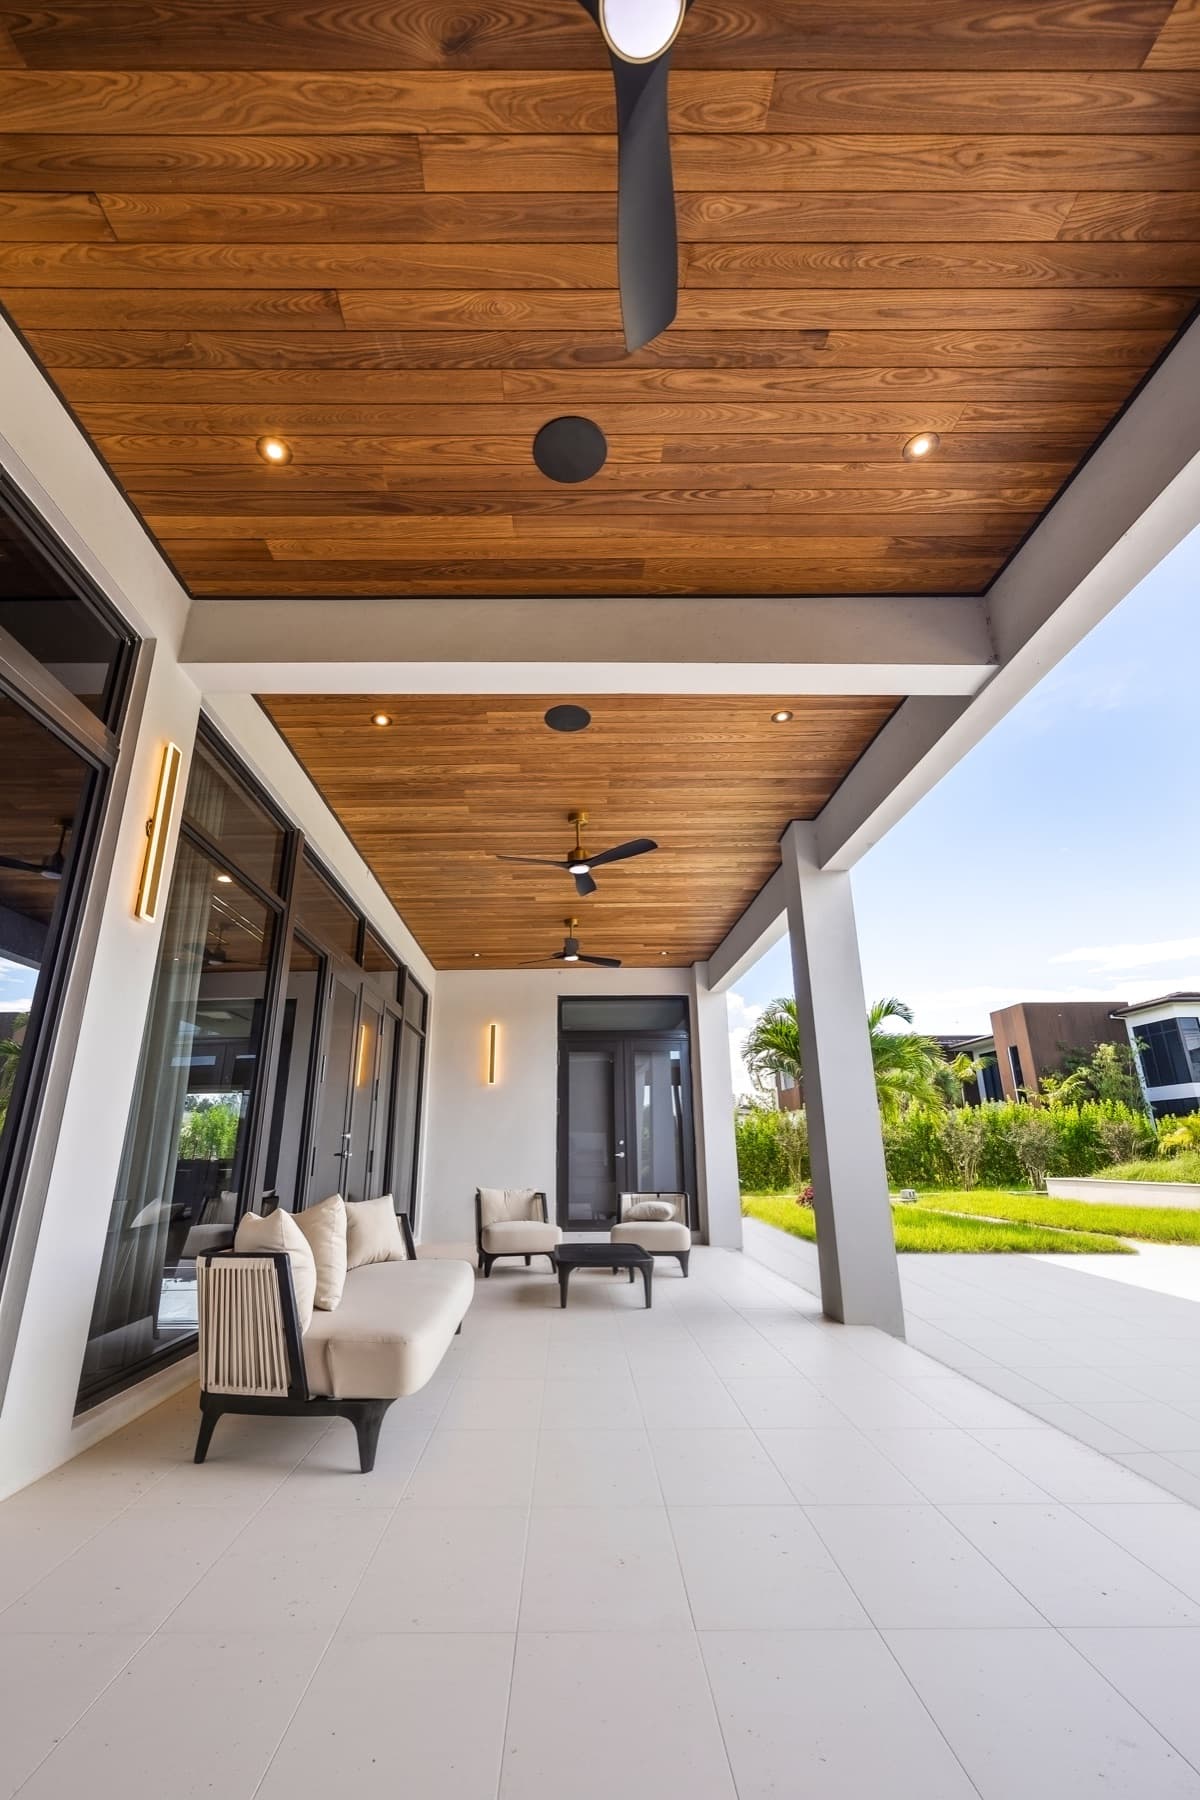
Understanding Material Movement and Clearances
Wood and some composite materials used for ceilings and soffits naturally expand and contract with changes in temperature and humidity. Failing to account for this movement can lead to buckling, gaps, or damage to the trim or the ceiling/soffit boards themselves.
The specific clearance needed will depend on the material type, the length of the boards, and the expected environmental conditions. Always consult the manufacturer's installation guidelines for the exact product you are using to determine recommended expansion gaps. These gaps are typically concealed by the perimeter trim, allowing the material to move freely underneath.
For example, a solid wood product like a Brazilian hardwood or thermally modified wood will exhibit more movement than a composite material. The trim must be installed in a way that accommodates this, often by fastening it to the framing rather than tightly nailing it to the ceiling/soffit boards themselves.
Common Perimeter Trim Profiles
Several trim profiles are suitable for finishing ceiling and soffit perimeters, each offering a distinct aesthetic and functional benefit:
L-Molding: This is a versatile trim, typically used to create a clean right-angle transition. It can cover the edge of the ceiling/soffit material and provide a finished look against a wall or beam.
J-Channel or F-Channel: Often found with panelized or composite systems, these profiles are designed to accept the edge of a board, offering a secure, often hidden, fastening point while allowing for movement.
Crown Molding: For a more traditional or decorative look, crown molding can be used. It transitions from the ceiling/soffit plane to the wall at an angle, providing a substantial visual element. When using crown molding with wood products, ensure sufficient clearance behind it for material expansion.
Flat Stock or Square Trim: Simple flat strips or square profiles can offer a minimalist finish. These are often used when a subtle edge is desired, and they can be painted or stained to match or contrast with the ceiling/soffit material. They are also useful for creating custom trim details.
Selecting Trim Material to Match Your Ceiling/Soffit
The choice of trim material should complement your ceiling or soffit boards. For wood ceilings, consider matching wood species or a paintable trim that can be finished to coordinate.
Thermally modified wood ceilings, such as those made from Ayous or Ash, often benefit from matching trim or a high-quality paint-grade trim that can be stained to a similar tone. For composite ceiling and soffit options, it is often best to use the manufacturer's recommended trim profiles if available, as these are designed for specific compatibility and movement allowances.
For example, if installing Scandinavian thermally modified wood, a natural wood trim that can be stained to match the Nordic character of the ceiling can create a cohesive look.
Consider the exposure conditions. For exterior soffits, trim must be as durable and weather-resistant as the soffit material itself. PVC trim, for instance, offers durability and low maintenance for exterior applications, and can often be painted.
Installation Techniques for Perimeter Trim
Proper installation is key to both aesthetics and performance. Here are general considerations for installing perimeter trim:
Measure and Cut Accurately: Precision cuts are essential for tight joints, especially at corners. Use a miter saw for clean, angled cuts.
Pre-Drill Pilot Holes: For wood trim, pre-drilling pilot holes can prevent splitting, especially when fastening near the ends or edges.
Fastening: Trim is typically fastened to the underlying framing or blocking, not directly to the ceiling/soffit boards. This allows the boards to move independently beneath the trim. Use appropriate fasteners for the trim material and substrate, such as finish nails or screws.
Mitered Corners: For inside and outside corners, 45-degree miter cuts are common. For more decorative trim like crown molding, cope joints can provide a tighter, more forgiving fit, especially in older homes where walls may not be perfectly square.
Finishing: Once installed, trim can be painted, stained, or sealed to match the desired aesthetic. Ensure any gaps are filled with appropriate caulk before finishing.
Worked Example: Finishing a Porch Ceiling with Thermally Modified Ayous
Let's consider a hypothetical porch ceiling, 12 feet long by 8 feet wide, using thermally modified Ayous ceiling boards (approximately 5.5 inches wide, nominal). The boards will run parallel to the 12-foot length.
1. Material Selection: We choose thermally modified Ayous boards for their stability and appearance. For trim, we select a paint-grade L-molding (1.5 inches x 0.75 inches) that will be painted to match the porch's existing trim color. This trim will cover the edge of the Ayous boards and meet the house wall.
2. This gap will be hidden by the L-molding.
3. Trim Length Calculation: We need two 12-foot lengths and two 8-foot lengths of L-molding. To allow for miter cuts and potential waste, we will order two 14-foot lengths and two 10-foot lengths of trim stock, or adequate lineal footage to accommodate cuts.
4. Installation Steps:
a.
b. Cut the L-molding to length, using 45-degree miter cuts for the corners. The longer leg of the 'L' will be against the wall, and the shorter leg will cover the edge of the Ayous boards.
c. Position the L-molding against the wall, ensuring it covers the expansion gap. Fasten the trim through its thicker section into the wall framing using finish nails, ensuring the nails do not penetrate the Ayous boards.
d. Complete all four sides, checking for tight mitered joints.
e. Fill any small gaps at the mitered corners with paintable caulk and then paint the trim to match the porch's existing trim.
This approach ensures the Ayous boards can expand and contract as needed, preventing stress on the ceiling system, while the trim provides a clean, finished edge.
Before you order
- Identify the specific ceiling or soffit material and its movement characteristics (e.g., solid wood, thermally modified wood, composite).
- Consult manufacturer guidelines for required expansion gaps at the perimeter.
- Determine the aesthetic goal: modern minimalist, traditional, decorative?
- Select a trim profile (L-molding, J-channel, crown, flat stock) that suits the aesthetic and covers the expansion gap.
- Choose a trim material compatible with your ceiling/soffit material and exposure conditions (e.g., wood, PVC).
- Plan for fastening the trim to the underlying structure, not the ceiling/soffit boards, to allow for movement.
- Calculate the lineal footage of trim needed, allowing for waste and miter cuts.
- Confirm finishing requirements for the trim (paint, stain, seal) and ensure compatibility with the trim material.
Confirm installation details, approved uses and warranty terms in the current instructions for the exact product and profile. Your installer should verify the substrate, structure and applicable project requirements.
Questions to help you decide
Can I use the same trim for interior and exterior ceiling perimeters?
Not always. While some trims might be suitable for both, exterior applications require materials that can withstand weather exposure, humidity, and temperature fluctuations without warping, rotting, or degrading. PVC trim is a common choice for exteriors due to its durability and low maintenance. For wood trims, ensure they are rated for exterior use and properly finished to protect against the elements.
How do I deal with irregular or uneven walls when installing trim?
Irregular or uneven walls can be challenging. For minor imperfections, a flexible caulk can help bridge small gaps between the trim and the wall before finishing. For more significant unevenness, scribe molding or custom-cut trim may be necessary to match the contour of the wall. In some cases, shims can be used behind the trim to bring it flush with the wall, though this requires careful measurement and installation.
What if my ceiling/soffit material is very thin or flexible?
For very thin or flexible ceiling/soffit materials, the perimeter trim might need to offer more structural support to the edges, or the material itself might require more frequent fastening along its perimeter. J-channel or F-channel profiles are often designed for thinner panelized systems, providing a secure slot for the material. Always refer to the manufacturer's specific installation instructions for thin or flexible products to ensure proper edge support and prevent sagging or bowing.
Ready to Plan Your Ceiling or Soffit Project?
Request a material quote with your project dimensions, exact profile, and ZIP code. We can help confirm current availability and service options for all your ceiling and soffit material needs, including compatible trim. Visit our main page for more information on our full range of products, including Thermally Modified Wood and Versatex.
Request a material quote →