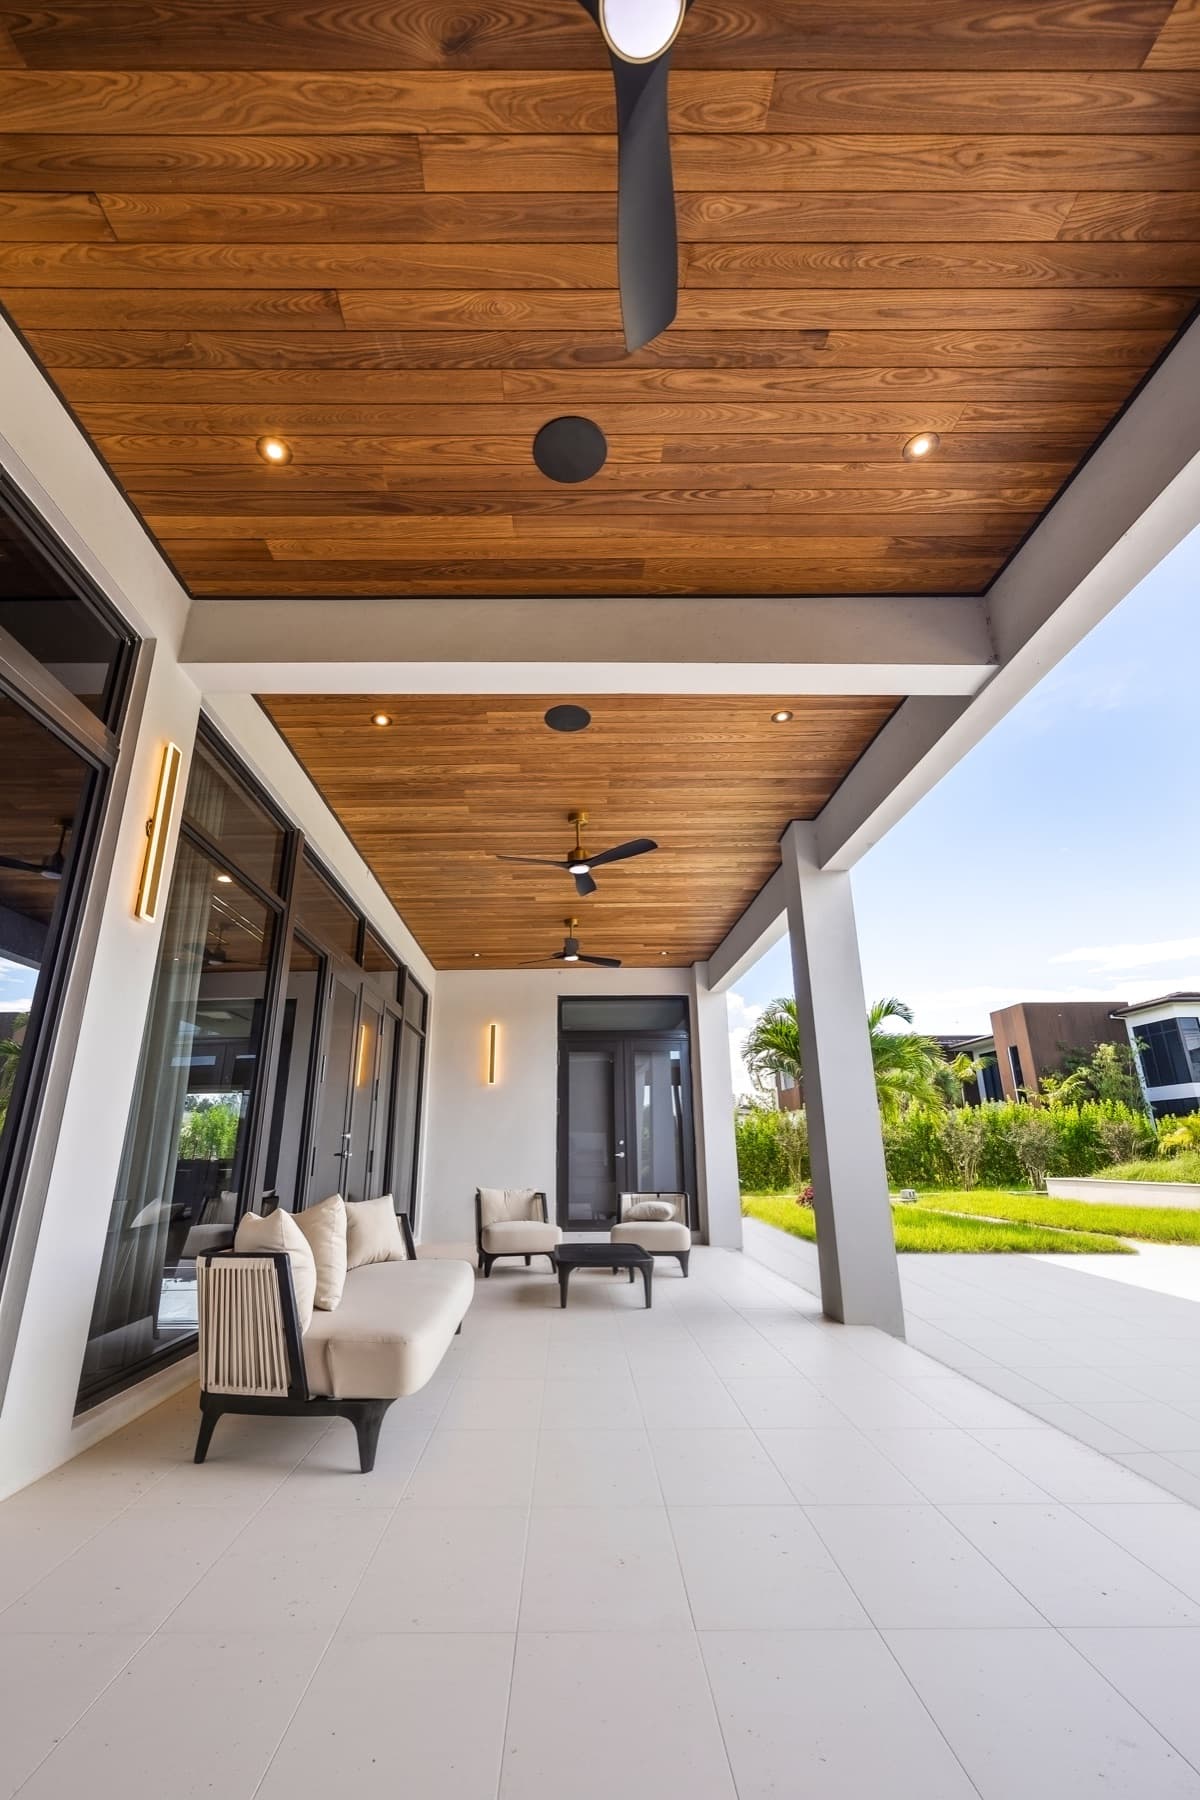
Understanding Your Beams and Structural Context
Before selecting any ceiling or soffit material, it is crucial to thoroughly understand the existing beams. Note their dimensions (width, depth, spacing), material (wood, steel, concrete), and condition. Assess whether they are truly structural or decorative. This information will influence everything from material choice to fastener selection and the overall installation strategy.
Consider the span of the beams and any potential deflection. For exterior soffits, also evaluate how the beams integrate with the roof structure and any existing ventilation pathways. The goal is to enhance, not detract from, the structural integrity and aesthetic of the space.
Material Selection for Beam Coordination
The choice of ceiling and soffit material can significantly impact how well it integrates with exposed beams. For wood beams, options like thermally modified wood or hardwood boards can create a harmonious, natural look. Thermally modified Ayous and Ash offer clean grain and stability, suitable for contemporary designs, while species like Ipe or Cumaru provide deeper tones.
If your beams are painted or have a more industrial feel, composite options like Norx can offer a consistent finish and color. The key is to select a material that complements the beam's appearance and the overall design intent. Consider the board width and thickness in relation to the beam dimensions; a material that is too thin might look disproportionate next to a substantial beam.
Lumber Plus offers a range of options, including Scandinavian Thermally Modified Wood and various hardwood collections, which can be explored at our Ceiling and Soffit page: [https://lumberplus.com/ceiling-and-soffit](https://lumberplus.com/ceiling-and-soffit). For alternative materials, consider brands like Versatex, available here: [https://lumberplus.com/brands/versatex](https://lumberplus.com/brands/versatex), or other thermally modified wood products: [https://lumberplus.com/thermally-modified-wood](https://lumberplus.com/thermally-modified-wood).
Layout Strategies: Parallel, Perpendicular, or Integrated
There are several common layout strategies when coordinating ceiling or soffit materials with exposed beams:
1. **Parallel Layout:** Running the ceiling/soffit boards parallel to the beams can create a sense of length and continuity. This often involves fastening the boards to joists or furring strips between the beams. The challenge here is ensuring consistent spacing and a clean finish where the boards meet the beam sides.
2. **Perpendicular Layout:** Installing boards perpendicular to the beams can emphasize the width of the space and create a more structured pattern. This approach may involve cutting boards to fit precisely between beams or running them continuously underneath, allowing the beams to project below the material. This method often requires careful planning for end cuts and support.
3. **Integrated Layout:** In some designs, the ceiling material is installed flush with the bottom of the beams, creating a seamless surface. This requires precise cutting and fastening, often with blocking or furring installed to bring the material's plane down to the beam's bottom edge. This can visually 'hide' the beam sides while maintaining the beam's presence.
Consider how each layout affects light reflection, sound, and the visual scale of the space. A detailed drawing or mock-up can help visualize the final outcome.
Worked Example: Ceiling Layout with Exposed Beams
Let's consider a hypothetical covered porch ceiling measuring 10 feet wide by 16 feet long, featuring two existing exposed wood beams, each 6 inches wide, running the 16-foot length, spaced 4 feet apart on center. We plan to use 5.5-inch wide thermally modified Ash ceiling boards. The goal is to run the boards perpendicular to the beams, fitting them precisely between the beams.
The layout will involve three distinct sections for the ceiling boards: one 4-foot wide section between the house wall and the first beam, one 3.5-foot wide section between the two 6-inch beams (4 feet minus 6 inches), and another 3.5-foot wide section between the second beam and the outer edge. The boards will be cut to fit these widths.
For the 4-foot wide section (48 inches), using 5.5-inch wide boards: 48 inches / 5.5 inches = approximately 8.73 boards. This means 8 full boards and one cut board. For the 3.5-foot wide sections (42 inches): 42 inches / 5.5 inches = approximately 7.63 boards. This means 7 full boards and one cut board.
Assuming minimal waste from cuts, for a 16-foot length, you'd need approximately 16 linear feet / (length of individual board) of each cut section. This example simplifies the purchase quantity; actual purchase should account for full board lengths available (e.g., 8-foot, 10-foot, 12-foot, 14-foot, 16-foot) and account for waste from cutting and potential unusable offcuts. For instance, if you purchase 16-foot boards, you could yield two 3.5-foot pieces from one board, but a 4-foot piece would leave a 12-foot offcut that may or may not be reusable depending on other project needs.
This approach requires precise measurements and cuts, especially where the boards meet the beam faces. It is critical to account for any slight variations in beam width or straightness, making small adjustments during installation. Always measure each opening individually rather than assuming uniform dimensions.
Managing Movement and Expansion
Wood-based ceiling and soffit materials, including thermally modified wood and hardwoods, will experience some degree of natural movement due to changes in temperature and humidity. When installing around fixed elements like exposed beams, it's essential to plan for this movement.
Typically, a small expansion gap is recommended where the ceiling or soffit material meets the beam. This gap, often concealed by trim or a small reveal, allows the material to expand and contract without buckling or creating undue stress on fasteners or the beams themselves. Consult the specific manufacturer's installation guidelines for recommended gap sizes.
For exterior applications like soffits, this movement can be more pronounced due to greater environmental fluctuations. Ensuring proper ventilation in the soffit area also contributes to managing moisture and minimizing material movement over time.
Finishing Details and Fastening
The finishing details around exposed beams are crucial for a polished look. Consider how the edges of your ceiling or soffit material will terminate against the beam. Options include a clean, square cut with a slight reveal, or using a small trim piece (such as a quarter round or shoe molding) to cover the expansion gap and create a finished edge.
Fastening methods should be appropriate for both the ceiling/soffit material and the substrate. Face fastening or concealed fastening systems can be used depending on the material and desired aesthetic. Ensure fasteners penetrate sufficiently into the structural support behind the ceiling or soffit material. For example, thermally modified wood boards can often be installed with concealed clips or screws through the tongue, providing a clean surface. Always refer to the product's specific installation instructions for fastener type and spacing.
Before you order
- Have I accurately measured the dimensions of all exposed beams (width, depth, spacing)?
- Have I identified the material and condition of the existing beams?
- Does my chosen ceiling/soffit material complement the beams aesthetically and structurally?
- Which layout strategy (parallel, perpendicular, integrated) best suits my design and practical needs?
- Have I planned for expansion gaps where the ceiling/soffit material meets the beams?
- Are the fastening methods compatible with both the ceiling/soffit material and the beam structure?
- Have I considered the finishing details (trim, reveals) for a clean transition?
- Have I accounted for potential waste in my material quantity calculations, especially with precise cuts around beams?
Confirm installation details, approved uses and warranty terms in the current instructions for the exact product and profile. Your installer should verify the substrate, structure and applicable project requirements.
Questions to help you decide
Can I install ceiling boards directly onto the side of an exposed wood beam?
Yes, but you will need to plan for proper fastening and account for the beam's material and any potential movement. It's often recommended to leave a small expansion gap between the ceiling board and the beam to allow for natural wood movement. Ensure fasteners are appropriate for both materials and provide adequate holding power.
What kind of trim should I use where the ceiling material meets an exposed beam?
The choice of trim depends on the desired aesthetic and the size of your expansion gap. Small, simple trims like quarter round or shoe molding can effectively cover a gap and provide a clean finish. Alternatively, a precisely cut square edge with a small, consistent reveal can create a modern, minimalist look without additional trim.
How do I ensure straight cuts when fitting ceiling boards between beams?
Accurate measurements are key. Measure each opening individually, as beams may not be perfectly parallel or uniform. Use a quality miter saw or track saw for precise, straight cuts. A jig or template can also be helpful for repetitive cuts. Always double-check measurements before cutting.
Request a Material Quote for Your Ceiling and Soffit Project
Ready to bring your vision to life? Request a material quote for your ceiling and soffit project. Provide your project dimensions, desired material profile, and ZIP code to confirm current availability and service options. Our team can help you select the right materials to coordinate with your exposed beams.
Request a material quote →