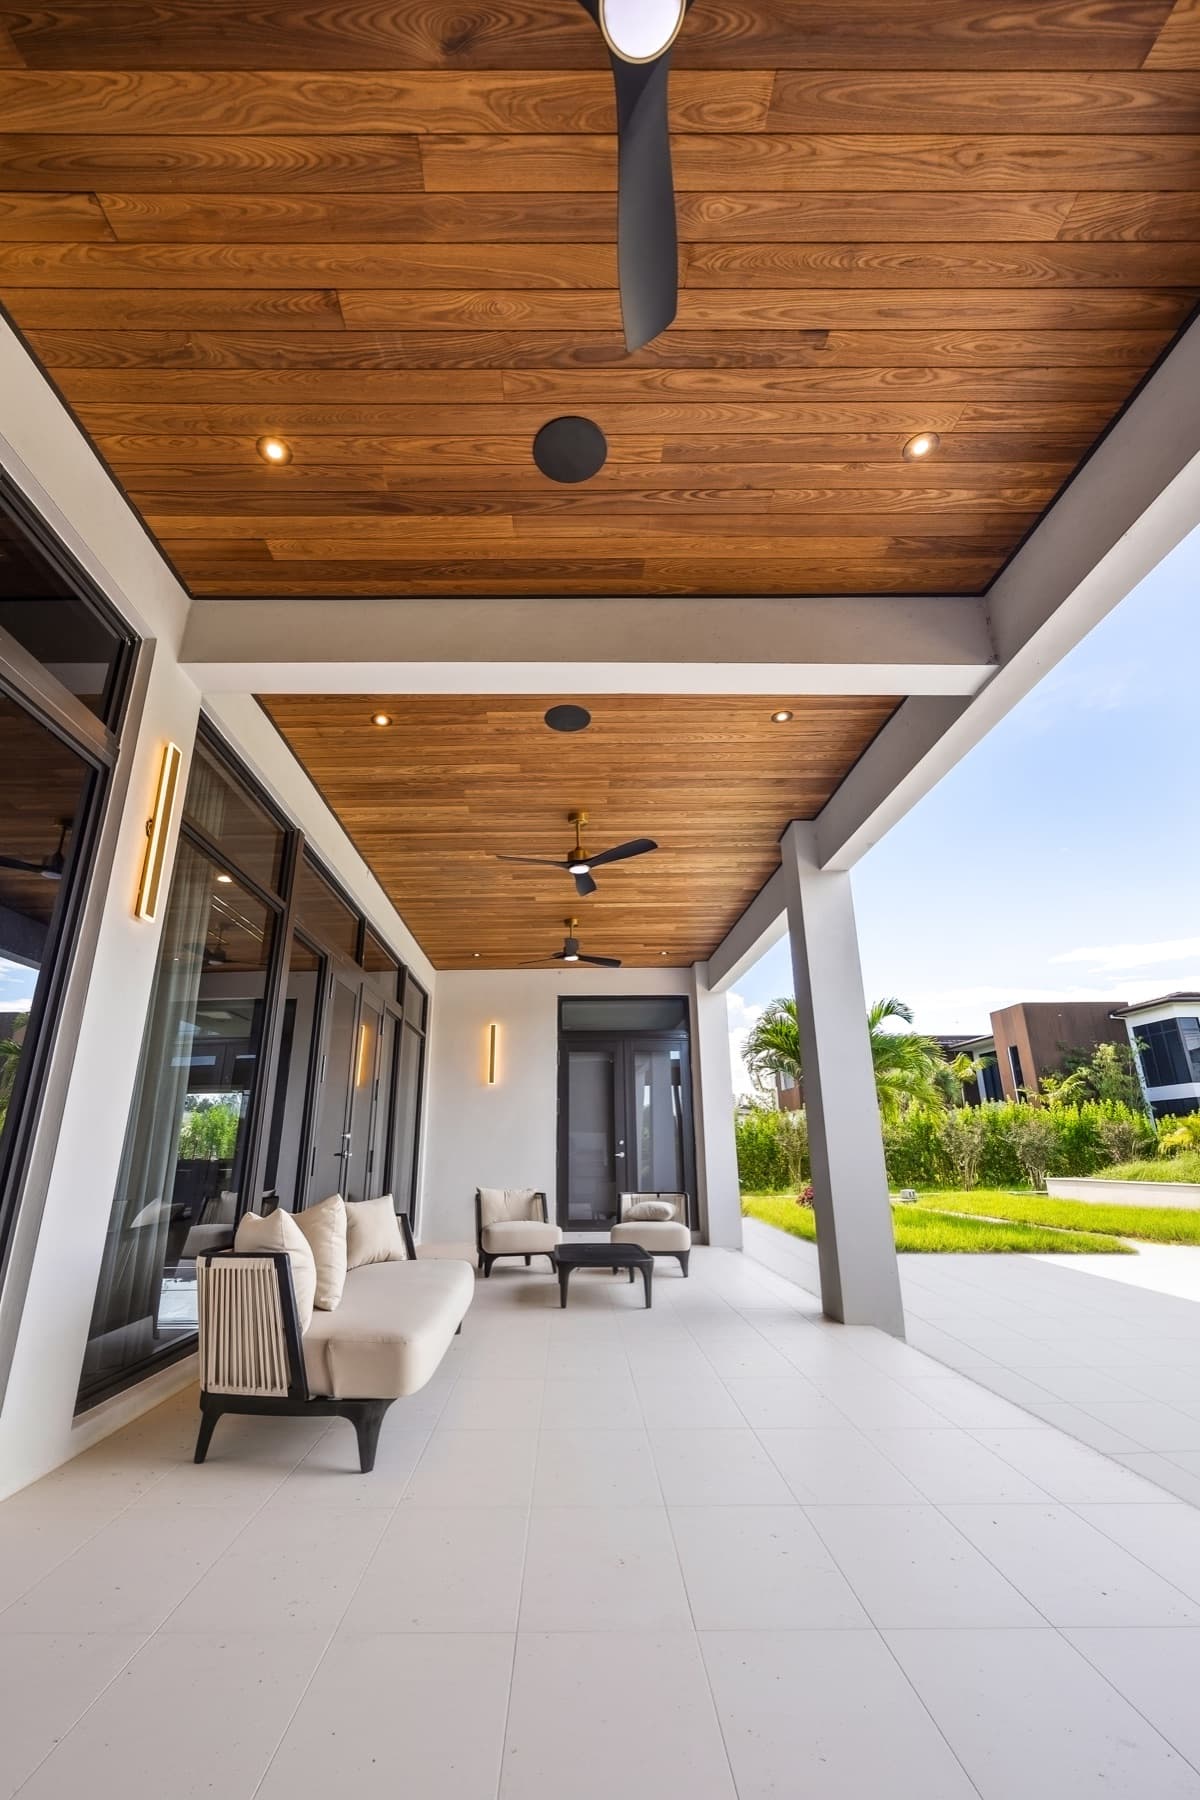
Why Access is Essential in Exterior Ceilings and Soffits
Exterior ceilings and soffits, whether for a porch, lanai, or deep eaves, often hide more than just framing. They can house junction boxes for recessed lighting, wiring for ceiling fans, security cameras, or even components of a sound system. In some cases, plumbing lines for outdoor showers or kitchen sinks might run through these spaces. Without planned access, any issue with these systems would necessitate dismantling a portion of your finished ceiling, damaging the material and incurring repair costs.
Even if no immediate services are planned, future needs or unexpected repairs can arise. A well-placed access panel offers a practical solution, allowing for inspection, maintenance, or upgrades without compromising the integrity or appearance of your ceiling or soffit.
Types of Access Panels for Ceiling and Soffit Materials
The choice of access panel depends largely on the material, desired visibility, and frequency of access. Here are common types:
Flush-Mount Panels: These are designed to sit flush with the surrounding ceiling surface, offering a discreet appearance. They can be painted or finished to match the ceiling material, though achieving an exact match with natural wood grains can be challenging. Some flush panels allow for an insert of the ceiling material itself, making them almost invisible.
Recessed Panels: These panels feature a frame that slightly recesses into the ceiling, creating a distinct border around the access point. While more visible than flush options, they can be a design choice, especially if the frame complements other architectural elements. They are often easier to install and offer robust protection.
Hinged Panels: Most access panels are hinged, allowing them to swing open for easy access. The hinge type (piano hinge, continuous hinge, or concealed hinge) influences both the panel's operation and its visible aesthetic.
Removable Panels: For less frequent access, some systems use panels that are entirely removable rather than hinged. These often use friction catches or twist latches and can be more challenging to reinstall perfectly flush, but offer a completely unobstructed opening.
Integrating with Wood and Composite Ceilings
When working with wood ceiling and soffit boards, such as those made from thermally modified wood like Ayous or Ash, or Brazilian hardwoods such as Ipe and Cumaru, the goal is often to maintain the natural aesthetic. For these materials, consider panels designed to accept an infill of the actual ceiling material. This allows the grain and finish to continue across the access point, minimizing its visual impact.
For composite materials like those from the Norx collection, which offer consistent colors and profiles, finding a panel that can be painted or stained to match is more straightforward. Some composite systems may also offer proprietary access solutions that integrate seamlessly with their specific profiles.
Regardless of material, ensure the access panel's frame is compatible with the thickness and fastening methods of your chosen ceiling and soffit boards. The frame should provide a secure and stable perimeter for the panel to rest within.
Placement Considerations for Access Panels
Strategic placement is key for both functionality and aesthetics:
Proximity to Services: Locate access panels directly above the utilities they need to service. Avoid placing them in awkward corners or directly against walls where they might be difficult to open.
Visual Impact: While functionality is paramount, consider the visual lines of your ceiling. Can the access panel be placed in a less conspicuous area, perhaps above a door or in a section of the soffit that is less frequently viewed directly?
Structural Support: Ensure the area chosen for the access panel has adequate structural framing to support both the panel's frame and the surrounding ceiling material. You may need to add blocking or additional framing.
Clearance: Verify that there is sufficient clear space above the panel for it to open fully, especially if it's hinged. Consider any pipes, ducts, or wires that might obstruct its swing.
Worked Example: Planning Access for a Porch Ceiling
Consider a porch measuring 12 feet wide by 8 feet deep, finished with thermally modified Ayous ceiling boards. The porch includes two recessed LED lights and a centrally located ceiling fan. The electrical junction boxes for these fixtures are located directly above them.
To provide access for potential fan or light maintenance, we'll plan for two access panels. One 12x12-inch panel will be centered above the ceiling fan junction box. Another 12x12-inch panel will be placed between the two recessed lights, specifically above the junction box for the light nearest the house, allowing access to both light circuits if needed.
We choose flush-mount access panels designed to accept an infill of the Ayous ceiling board. This ensures that when closed, the panels blend with the continuous grain of the wood. The framing around these panels will be reinforced with additional blocking to provide a solid attachment point for the panel frames.
The calculated area coverage for the Ayous ceiling boards is 96 square feet. If the boards are 5.5 inches wide, approximately 262 linear feet of material would be needed. The two 12x12-inch access panels will displace a small amount of this material, but the infill will utilize cut pieces from the purchased boards, ensuring material continuity. This planning allows for future maintenance without disturbing the finished Ayous ceiling.
Before you order
- Identify all services (electrical, plumbing, HVAC) located within the ceiling or soffit space.
- Determine the exact location of junction boxes, valves, or other components requiring access.
- Measure the necessary opening size to perform maintenance on each service.
- Select an access panel type (flush, recessed, hinged, removable) compatible with your ceiling material.
- Confirm the access panel's material and finish can be matched or complemented by your chosen ceiling boards.
- Verify the structural framing can support the access panel and surrounding ceiling material, adding blocking if necessary.
- Consider the visual impact of the access panel and its placement relative to key viewing angles.
- Ensure sufficient clearance for the access panel to open fully without obstruction.
- Plan for the integration of ceiling board infill if using a flush-mount panel with natural wood or composite materials.
Confirm installation details, approved uses and warranty terms in the current instructions for the exact product and profile. Your installer should verify the substrate, structure and applicable project requirements.
Questions to help you decide
Can I use a standard drywall access panel for an exterior wood ceiling?
It is generally not recommended to use standard drywall access panels for exterior wood or composite ceilings without careful consideration. Exterior applications require materials that can withstand environmental exposure, including moisture and temperature fluctuations. Standard drywall panels may not offer the necessary durability or weather resistance. Look for panels designed for exterior use or those that can be specifically integrated with your chosen wood or composite material to ensure longevity and proper sealing.
How do I make an access panel blend in with a natural wood ceiling?
To make an access panel blend with a natural wood ceiling, choose a flush-mount panel designed to accept an infill of your actual ceiling material. This allows you to cut a section of the wood board to fit into the panel's door, maintaining the continuous grain and finish. Careful alignment of the grain during installation is crucial for a seamless look. Using concealed hinges can also help minimize visible hardware.
What tools are needed to install an access panel in a finished ceiling?
Installing an access panel typically requires basic carpentry tools. You'll need a tape measure, a level, a pencil for marking, a utility knife or saw (jigsaw or oscillating tool) for cutting the opening, a drill for pilot holes and fasteners, and a screwdriver. Depending on the panel type, you might also need shims for leveling and caulk or sealant for weatherproofing if it's an exterior application. Always refer to the specific installation instructions provided by the access panel manufacturer.
Plan Your Ceiling and Soffit Project with Lumber Plus
Ready to select the right materials and plan for essential access in your exterior ceiling or soffit? Request a material quote today by providing your project dimensions, desired profile, and ZIP code. We can help confirm current availability and service options for your chosen wood or composite ceiling and soffit materials.
Request a material quote →