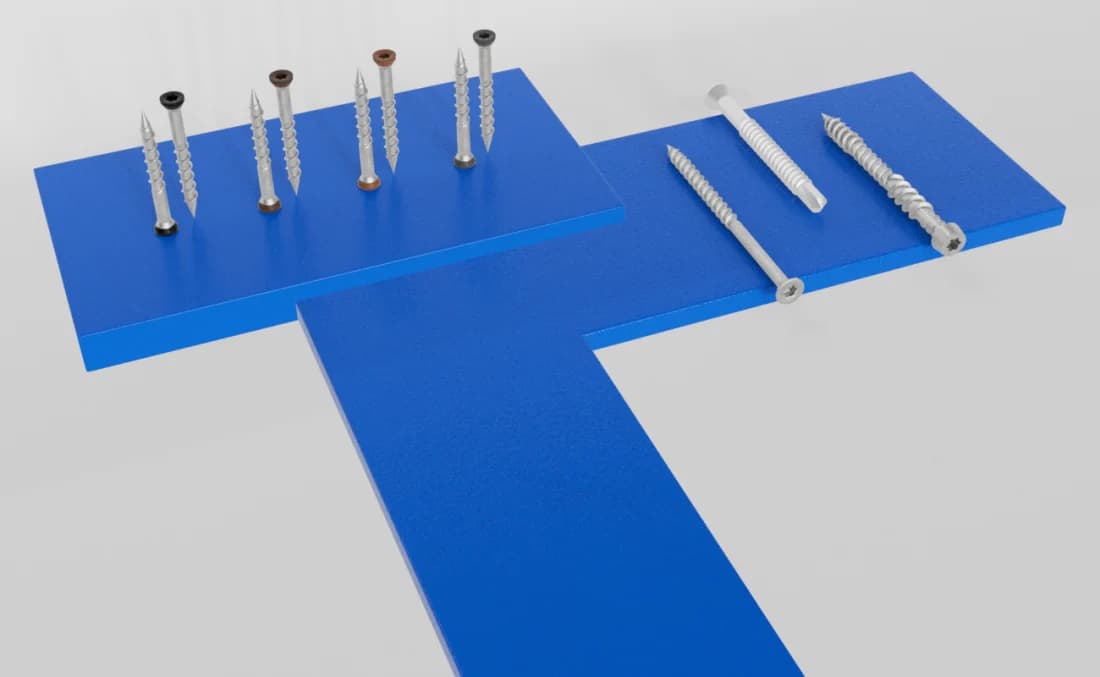
Why a Test Assembly is Crucial for Deck Hardware
Deck hardware, accessories, and deck boards are part of an integrated system. While individual components may meet certain standards, their performance together can vary significantly. Factors like material density, board thickness, substructure type, and even the specific fastening method can influence how well the hardware functions.
For example, a fastener designed for composite decking might behave differently when used with dense hardwood, potentially leading to pilot hole issues, stripping, or an unsatisfactory finish. Similarly, hidden clip systems require precise compatibility with the grooved profile of the deck boards and the substructure spacing to ensure a secure and level installation.
A test assembly allows you to observe these interactions firsthand, identify potential problems, and make adjustments before committing to a full material order. This proactive approach minimizes risks and helps achieve the desired aesthetic and structural integrity for your deck.
Components to Include in Your Test Assembly
To create a meaningful test assembly, gather small samples of every component intended for your final deck project. This includes:
1. **Deck Board Sample:** A short section (e.g., 2-3 feet) of the exact deck board material, profile, and thickness you plan to use. If you are using different board types for borders or stairs, include samples of those as well.
2. **Substructure Material Sample:** A short section of the framing material (e.g., pressure-treated lumber, steel, aluminum) that will support your deck boards. This is crucial for evaluating fastener penetration and hold.
Include different lengths or types if your project requires them (e.g., fascia screws, stair fasteners).
4. **Any Accessories:** If using hidden clips, spacers, plugs, or specialized tools like countersink bits, include these in your test.
5. **Installation Tools:** Use the actual drill, driver, and bits you plan to use for the installation. Tool settings (e.g., clutch, torque) can impact fastener performance.
Building and Documenting Your Test Assembly
Set up a small mock-up of your deck section.
As you assemble, pay close attention to:
* **Pilot Hole Requirements:** Does the fastener require a pilot hole? If so, what size? Is the pilot hole effective in preventing splitting or mushrooming in the deck board and ensuring proper screw engagement in the substructure?
* **Fastener Engagement:** Does the fastener drive smoothly? Does it strip out easily? Does it fully seat without overtightening or under-driving? For face-screws, is the head flush or slightly recessed as desired?
* **Hidden Clip Performance:** If using clips, do they seat properly in the board grooves? Do they hold the boards securely with the recommended gap? Are they compatible with the substructure material and thickness?
* **Finished Appearance:** Does the hardware create the desired aesthetic? Are screw heads consistent? Are plugs flush and color-matched?
Document your findings. Take notes on fastener types, pilot hole sizes, tool settings, and observations. Take photos of successful and unsuccessful attempts. This documentation is invaluable for ordering and for guiding your installation team.
Worked Example: Testing Hardwood Decking with Hidden Clips
One Ipe board is laid across, and then a second Ipe board is positioned next to it to test the clips.
The second Ipe board is then slid into place, engaging the clip. Observations are made regarding the ease of insertion, the resulting gap between boards, and the stability of the connection.
The team drills pilot holes and drives screws into the Ipe. They observe if the Ipe splits, if the screw head seats properly, and if the pilot hole size needs adjustment.
Photos are taken of the installed clips and face screws.
This process allows the team to confirm that the chosen hidden clips are compatible with the Ipe board profile and the pressure-treated joists, and to determine the correct pilot hole size for any face-screwed areas, preventing issues during the full installation.
Beyond the Test: Complementary Products and Considerations
While a test assembly focuses on the core fastening, remember to consider other related products:
* **Fascia Fasteners:** Fascia boards often require different fastening methods than deck boards. Test your chosen fascia screws or clips with a fascia board sample and the rim joist material. Consider the US4 brand for a range of fasteners that may suit various applications: [https://www.lumberplus.com/brands/us4](https://www.lumberplus.com/brands/us4).
* **Plugs and Sealants:** If using face screws and plugs, test the plug fit and color match with your deck board sample. If sealants are part of your plan, ensure they are compatible with the deck board material.
* **Installation Tools:** Ensure your drill bits, driver bits, and any specialized jigs are compatible with the hardware and material. Proper tools are key to a clean and efficient installation.
* **Lighting and Railing Hardware:** While not part of the primary deck board fastening, remember to verify compatibility for any integrated lighting or railing attachment hardware with your deck structure. You can explore a range of general hardware and accessories here: [https://www.lumberplus.com/hardware-and-accessories](https://www.lumberplus.com/hardware-and-accessories).
By thoroughly testing, you can approach your deck project with confidence, knowing that your chosen deck hardware and accessories will perform as expected.
Before you order
- Obtain samples of your exact deck boards (species, profile, thickness).
- Obtain samples of your exact substructure material (wood, steel, aluminum).
- Acquire samples of all primary fasteners (screws, clips, specialized hardware).
- Gather samples of any accessories (plugs, spacers, fascia screws).
- Use the actual installation tools (drill, driver, bits) for the test.
- Assemble a small mock-up replicating your deck's construction.
- Test pilot hole requirements and fastener engagement.
- Verify hidden clip functionality and board spacing.
- Assess the finished appearance of all installed components.
- Document all observations, measurements, and tool settings.
- Take photos of successful and unsuccessful test applications.
- Confirm compatibility for any fascia, stair, or border fastening.
- Verify compatibility for any integrated lighting or railing attachment points.
Confirm installation details, approved uses and warranty terms in the current instructions for the exact product and profile. Your installer should verify the substrate, structure and applicable project requirements.
Questions to help you decide
What if my deck boards have a unique groove profile for hidden clips?
If your deck boards have a unique groove, it is essential to use the specific hidden clip system recommended or approved by the deck board manufacturer. Generic clips may not fit correctly, leading to an insecure installation or an improper board gap. Always test the exact clip with your board sample.
How many fasteners should I test in my assembly?
This helps to account for minor variations in material or driving technique and provides a more reliable assessment of compatibility and performance.
Can I skip the test assembly if I'm using a manufacturer's recommended system?
Even when using a manufacturer-recommended system, a test assembly is still advisable. While the components are designed to work together, variations in installation technique, specific substructure materials, or even slight differences in material batches can sometimes lead to unexpected results. A quick test confirms everything works as expected with your specific project conditions.
Request a Material Quote for Your Deck Project
Ready to move forward with your deck? Provide your project dimensions, desired deck board profile, and ZIP code to request a comprehensive material quote. Our team can help confirm current availability and service options for all your deck hardware and accessory needs.
Request a material quote →