Why a Mock-Up is Crucial for Maximo Accoya
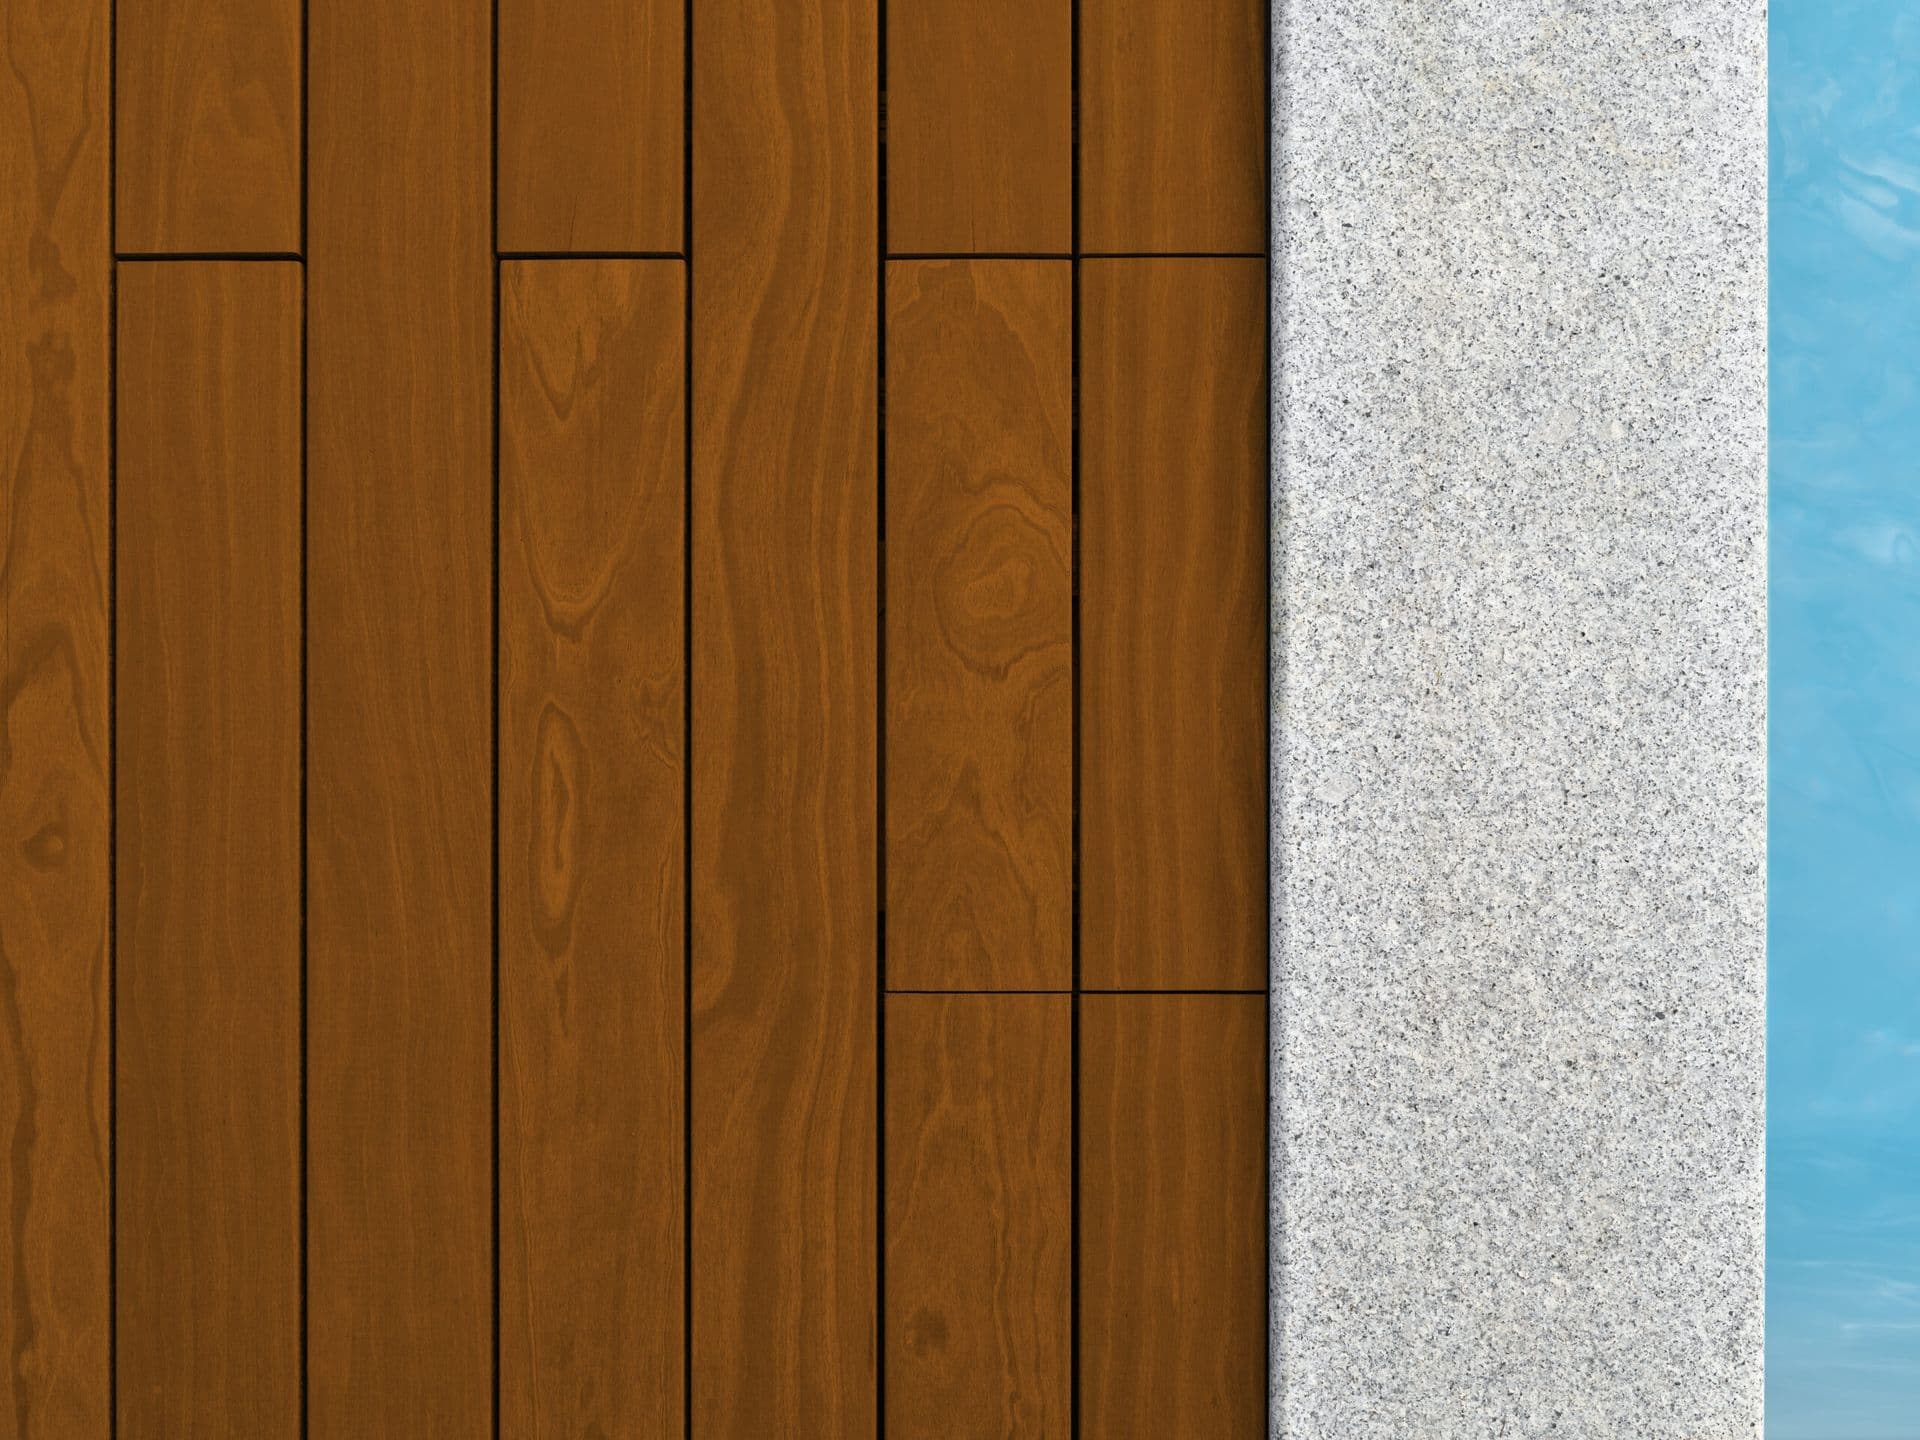
Digital renderings and small samples offer valuable insights, but they cannot fully replicate the real-world conditions of a finished wall. Maximo Accoya, a modified wood product, has distinct visual characteristics that can vary based on lighting, surrounding materials, and the specific profile selected. A mock-up provides a tangible representation.
It helps assess how your chosen Maximo Accoya profile, whether a lap siding or a modern rainscreen, will create shadow lines and depth. It also allows you to see the interplay between the wood's natural grain or selected finish (Maximo Accoya Grey, Ipe Brown, or Natural) and adjacent elements like windows, doors, and other facade materials. This visual confirmation can prevent costly surprises later in the project.
Defining Your Mock-Up Scope and Location
The most effective mock-ups focus on critical junctions and complex details. Consider areas where different materials meet, where cladding terminates, or where penetrations like windows and doors occur. These are often the most challenging aspects of an installation and where aesthetic and functional concerns are paramount.
Choose a location for your mock-up that closely mimics the actual project site's lighting conditions and environmental exposure. Ideally, this would be a section of the existing structure or a temporary frame erected on site. This allows for observation under various daylight conditions and helps you understand how the material might weather over time in that specific context. For instance, a mock-up for a sun-exposed elevation should be placed where it receives similar direct sunlight.
Selecting Materials for Your Maximo Accoya Mock-Up
Use the exact Maximo Accoya product you intend to specify. This includes the specific profile (e.g., tongue and groove, shiplap, or custom milling), dimensions, and finish. Maximo Accoya is available in Grey, Ipe Brown, and Natural appearances, and observing these on a larger scale is essential. Digital colors are references only; always confirm the final selection with a physical sample before ordering for the mock-up and the full project.
Gather all complementary materials that will interact with the Maximo Accoya. This includes trim boards, window frames, corner details, and any intended fasteners or finishes. If you plan to use a specific type of flashing or weather barrier, include these components in your mock-up to evaluate their integration and visual impact. Consider ordering a small quantity of each required item specifically for the mock-up phase.
Constructing Your Detailed Mock-Up
A typical mock-up might be a section approximately 4 feet wide by 8 feet tall, replicating a corner or a portion of a wall with a window opening. This size is large enough to showcase material transitions and shadow lines effectively.
Begin by building a simple stud frame that mimics the wall structure. Install any sheathing, weather barriers, and furring strips as you would in the actual project. Then, carefully install the Maximo Accoya cladding, paying close attention to spacing, fastener placement, and how boards terminate at corners and openings. Install a window or door frame if the mock-up includes one, and apply any specified trim.
This hands-on process not only helps visualize the final look but also provides valuable insights into the installation process, identifying potential challenges or areas where detailing needs refinement. Document the construction process with photos and notes.
Evaluating and Documenting Your Mock-Up
Once constructed, thoroughly evaluate your Maximo Accoya mock-up over several days. Observe it at different times of day to see how changing light conditions affect its appearance. Consider how it looks from various distances and angles, as well as from inside looking out if it includes a window.
Critically assess:
The overall aesthetic: Does it match your design vision?
Color and finish: Does the Maximo Accoya Grey, Ipe Brown, or Natural appearance meet expectations?
Profile and shadow lines: Are the visual effects of the chosen profile as desired?
Material transitions: How well do the Maximo Accoya and other materials integrate?
Detailing: Are the corners, window surrounds, and trim satisfactory?
Document your observations, including photos taken under different conditions. Share this documentation with your design team, contractor, and any other stakeholders to gather feedback and make informed adjustments before proceeding with the full material order.
Worked Example: Corner and Window Mock-Up
Imagine a project specifying Maximo Accoya shiplap siding in the 'Ipe Brown' appearance for a contemporary home. The design includes a prominent corner detail and several large windows. To ensure the design intent is realized, a mock-up is planned.
The mock-up will be a 4-foot by 8-foot section of wall, replicating an exterior corner and including a 3-foot by 3-foot window opening. The section is built on a temporary frame outside the project's garage, facing the same direction as the main elevation.
During evaluation, the design team notes that while the 'Ipe Brown' color is excellent, the chosen corner trim profile creates a shadow line that is too deep for the desired aesthetic. They decide to switch to a slimmer trim profile and verify that the new trim integrates well with the Maximo Accoya shiplap. This adjustment, made at the mock-up stage, avoids rework and ensures the final project aligns with the design vision.
This example illustrates how a mock-up provides a concrete basis for discussion and refinement, ensuring that the chosen Maximo Accoya profile and finish, along with adjacent materials, achieve the desired aesthetic and functional outcomes.
Before you order
- Identify critical architectural junctions (corners, windows, doors, material transitions) for the mock-up.
- Determine the appropriate size and location for the mock-up to simulate real-world conditions.
- Specify the exact Maximo Accoya profile, dimensions, and finish (Grey, Ipe Brown, or Natural).
- Gather all complementary materials: trim, window/door units, flashing, fasteners, and substructure elements.
- Construct the mock-up, paying attention to installation details and proper integration of all components.
- Evaluate the mock-up under various lighting conditions and from different perspectives.
- Document observations, feedback, and any necessary design or material adjustments.
- Confirm final material selections based on the mock-up's insights before placing the full order.
Confirm installation details, approved uses and warranty terms in the current instructions for the exact product and profile. Your installer should verify the substrate, structure and applicable project requirements.
Questions to help you decide
How large should a Maximo Accoya mock-up be?
The ideal size for a Maximo Accoya mock-up depends on the complexity of the detail you're testing. A common recommendation is a section roughly 4 feet wide by 8 feet tall. This allows enough surface area to assess the material's appearance, shadow lines, and how it interacts with adjacent elements like windows or corners, without being overly cumbersome to build.
Can I use smaller samples instead of a full mock-up?
Smaller samples are useful for initial color and texture evaluation, and we recommend requesting a current physical sample to confirm your selection. However, they cannot fully replicate the visual impact of Maximo Accoya cladding on a larger scale, especially concerning shadow lines, material transitions, and how light interacts with the profile across an entire section of a wall. A mock-up offers a more comprehensive and realistic assessment.
What if the mock-up reveals a problem with my design?
That is precisely the purpose of a mock-up. If it reveals an issue with the chosen Maximo Accoya profile, finish, or how it integrates with other materials, it provides an invaluable opportunity to make adjustments before committing to the entire project. Addressing these issues at the mock-up stage saves time, resources, and potential rework during the main installation.
Ready to Plan Your Maximo Accoya Project?
Request a material quote with your project dimensions, exact profile, and ZIP code. Confirm current availability and service options to get started.
Request a material quote →