Understanding Maximo Accoya Profiles for Horizontal Applications
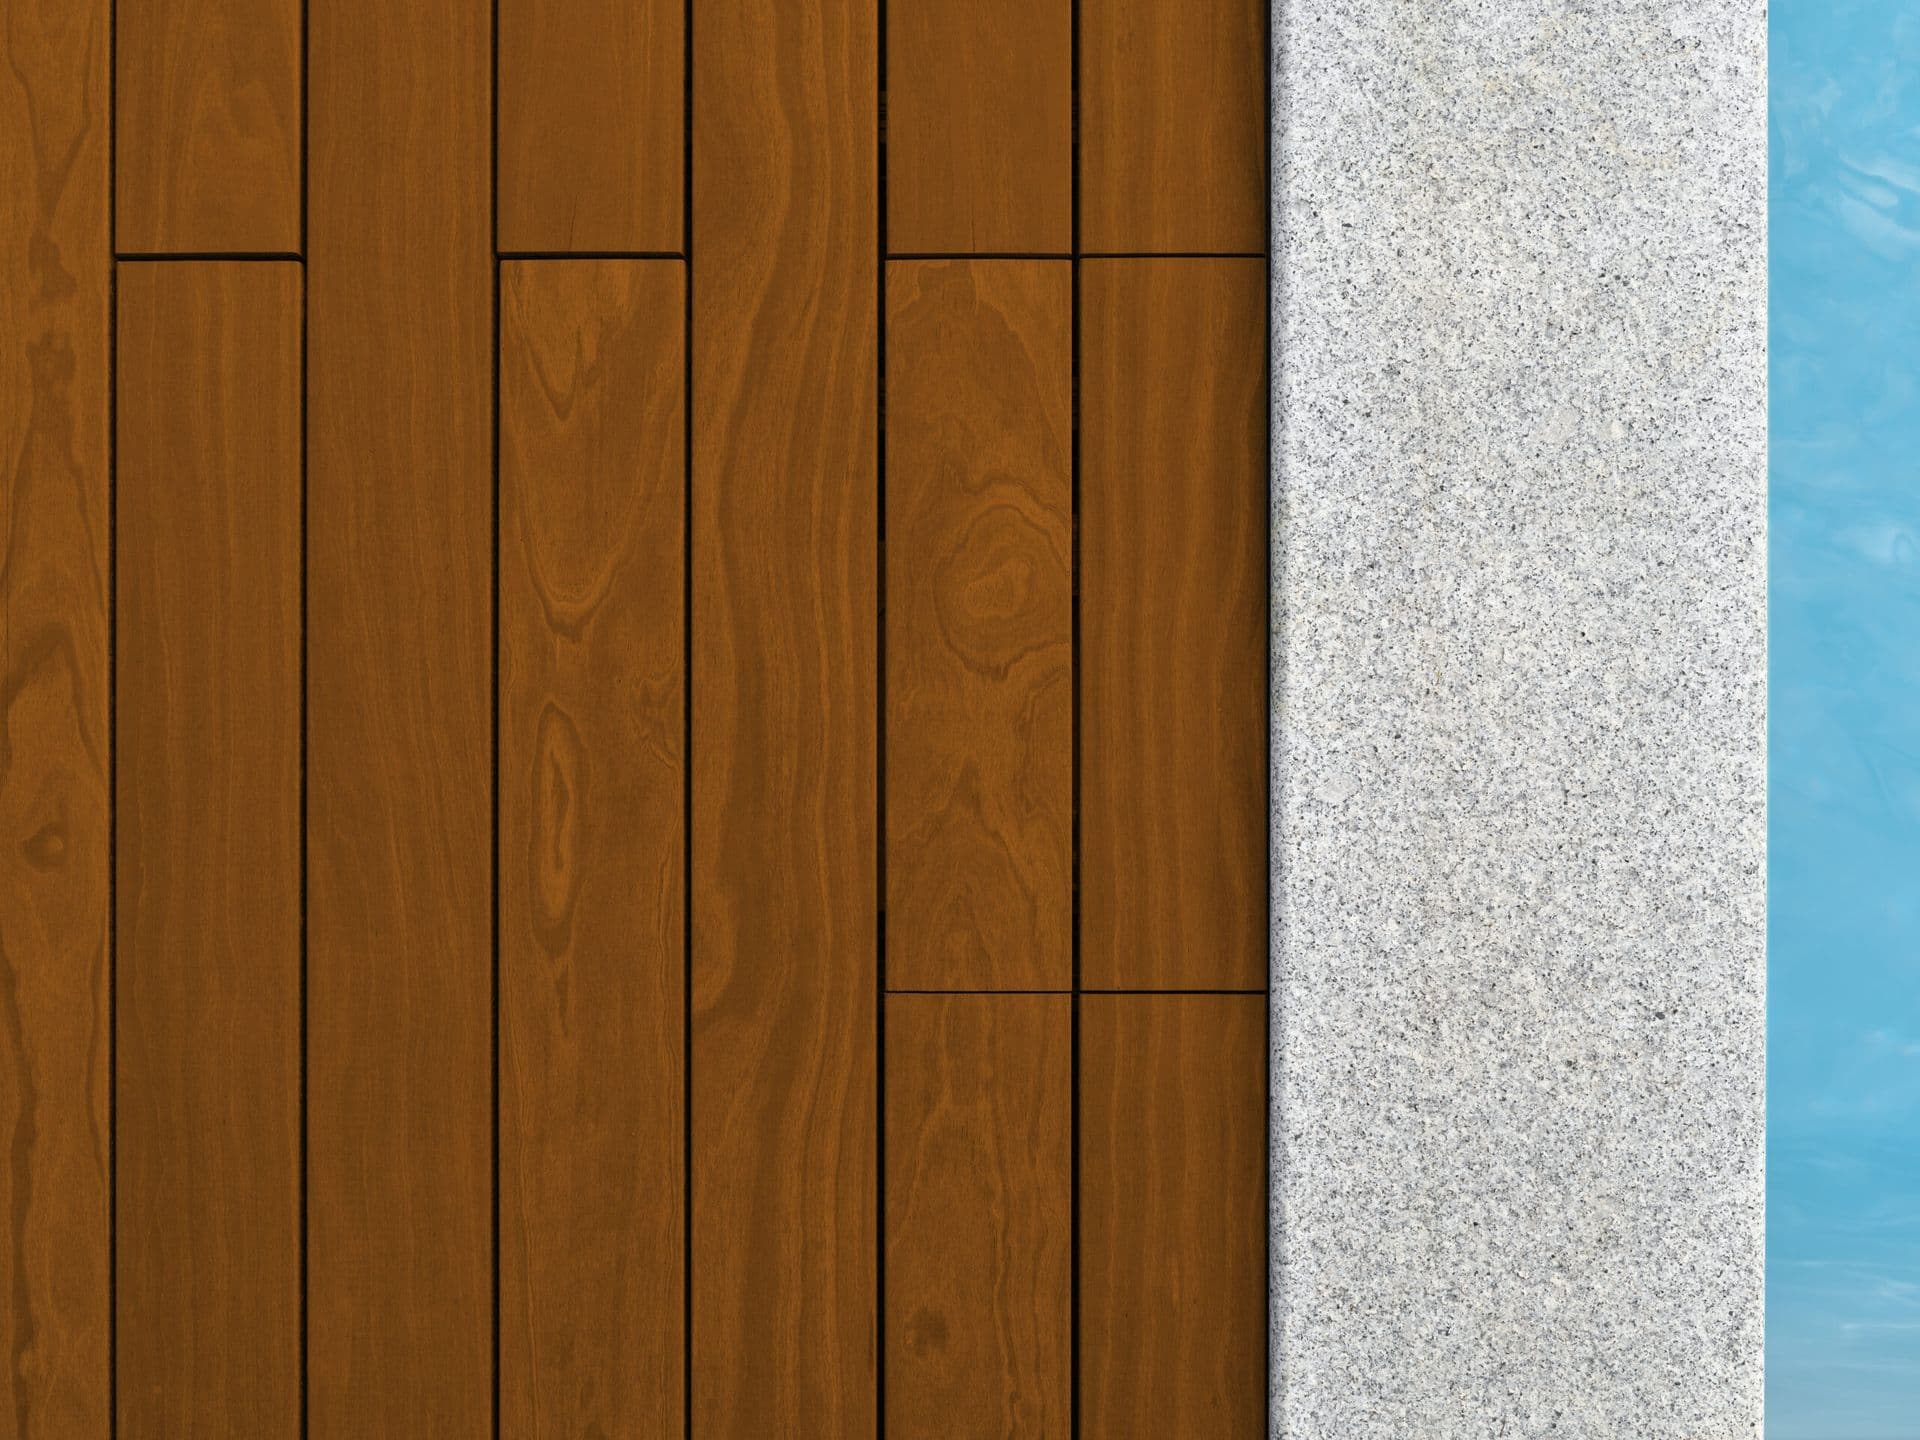
Maximo Accoya is available in various profiles suitable for cladding. When designing a horizontal layout, the chosen profile's dimensions and how its edges meet will define the shadow lines and overall texture of the wall. Common profiles include tongue-and-groove, shiplap, and board-and-batten (though board-and-batten is often associated with vertical designs, the individual boards can be installed horizontally).
Each profile creates a distinct visual effect. Tongue-and-groove and shiplap profiles, for example, are designed to interlock, offering a cleaner, more continuous appearance and often providing some protection against moisture penetration. The specific reveal or overlap of these profiles will dictate the effective coverage per board and must be accounted for in your layout calculations.
Maximo Accoya comes in three primary appearances: Grey, Ipe Brown, and Natural. These finishes offer different starting points for your design palette, with the understanding that natural wood will weather over time if left unfinished. Confirm the catalog finish and request a current physical sample to ensure the color aligns with your vision, as digital representations can vary. Work with Lumber Plus to confirm available profiles and project-specific finishing options.
Coordinating Courses with Windows and Openings
A critical aspect of horizontal cladding design is how the courses align with windows and other wall openings. Poor alignment can lead to awkward cuts, uneven reveals, or an aesthetically disjointed facade. The goal is to achieve a balanced and intentional look.
Start by determining the desired reveal or overlap of your chosen Maximo Accoya profile. Then, measure the heights of all windows and doors, noting their positions relative to the overall wall height. Ideally, you want to avoid very narrow strips of cladding above or below windows, or having a course terminate awkwardly at an opening.
Consider establishing a datum line, such as the top or bottom of a window, and planning courses outward from there. This allows you to adjust the starting height of the first course or the spacing slightly to ensure full or consistent courses around openings. Sometimes, a subtle adjustment to the window trim or flashing detail can also help integrate the cladding more seamlessly.
Fastening Details for Horizontal Maximo Accoya
Proper fastening is essential for the long-term performance and appearance of horizontal Maximo Accoya cladding. The specific fastening method will depend on the chosen profile and the sub-structure. Maximo Accoya's stability helps resist warping and twisting, but correct fastening ensures the boards remain securely in place.
Generally, horizontal cladding is installed over a rainscreen assembly, which provides a drainage plane and ventilation behind the cladding. This typically involves vertical furring strips attached to the sheathing. The cladding boards are then fastened to these furring strips.
For many horizontal profiles, hidden fasteners are preferred to maintain a clean aesthetic. These might involve clips that engage the back of the board or fasteners driven through the tongue of a tongue-and-groove profile. Face fastening, where screws or nails are driven through the face of the board, is also an option, particularly for profiles like shiplap or where a more rustic look is desired. If face fastening, ensure fasteners are appropriate for exterior use and countersunk, with holes filled for a finished appearance. Always refer to the manufacturer's specific fastening recommendations for your chosen profile.
Consider the type of fastener material to prevent staining or corrosion. Stainless steel fasteners are often recommended for exterior wood applications to avoid reactions with the wood or finish.
Worked Example: Horizontal Cladding Layout for a Windowed Wall
Let's consider a hypothetical wall section that is 10 feet wide and 8 feet tall, featuring a single window that is 4 feet wide and 3 feet tall, centered horizontally and 3 feet from the bottom of the wall. We will use a Maximo Accoya shiplap profile with an effective coverage of 5.5 inches per board.
1. **Determine Window Position:** The window's bottom edge is 36 inches from the floor, and its top edge is 72 inches (36 + 36) from the floor. The total wall height is 96 inches.
2. **Calculate Number of Courses:** With a 5.5-inch effective coverage, a 96-inch wall would ideally accommodate 96 / 5.5 = approximately 17.45 courses. Since we cannot have a partial course at the top or bottom, we need to adjust.
3. **Establish a Datum:** Let's align a full course with the bottom of the window. The first course above the foundation would start at 0 inches. To have a full course just below the window, we can aim for a course to end at 33 inches (6 courses * 5.5 inches).
4. **Cladding Below Window:** If we start the first full course at the bottom, we would have 6 courses (6 x 5.5" = 33") up to just below the window.
5. **Cladding Above Window:** The top of the window is at 72 inches. From the floor to the top of the wall is 96 inches. The height from the top of the window to the top of the wall is 96 - 72 = 24 inches. This height can accommodate 24 / 5.5 = approximately 4.36 courses. To avoid a small sliver, we can adjust the reveal slightly if using a flexible profile, or plan for 4 full courses and a trim piece at the very top.
6. **Alternative Datum - Centering:** Another approach is to center the courses on the window. For a 36-inch tall window, this would mean placing full courses above and below the window opening, and using carefully planned cuts for the boards that abut the window sills and headers. This often requires more precise field cuts but can result in a very balanced look.
This example highlights the need for precise measurements and a clear plan to minimize waste and ensure an aesthetically pleasing outcome. Always account for trim, flashing, and movement joints in your final design.
Planning for Movement and Ventilation
Even with a stable material like Maximo Accoya, wood will experience some dimensional change due to temperature and humidity fluctuations. While Maximo Accoya is designed to resist significant warping, planning for movement is still important, especially in horizontal applications.
Ensure sufficient gaps are incorporated at corners, around windows, and at the top and bottom of the wall to allow for slight expansion and contraction. These gaps are typically covered by trim or flashing, maintaining a weather-tight seal while accommodating movement.
Ventilation behind horizontal cladding is crucial for moisture management. A rainscreen system with vertical furring strips creates an air gap, allowing moisture to drain and air to circulate, preventing moisture buildup and promoting the longevity of both the cladding and the wall assembly. Ensure that the top and bottom of the rainscreen cavity are open but protected from insect and rodent entry with appropriate screening.
Complementary Products for Your Horizontal Cladding Project
A successful Maximo Accoya horizontal cladding project often involves more than just the cladding boards themselves. Consider these complementary products to complete your facade:
**Siding and Cladding Accessories:** This category includes a range of trim boards, corner pieces, and specialized flashing materials that are essential for finishing edges, protecting vulnerable areas around openings, and managing water runoff. Selecting materials that are compatible with Maximo Accoya and the overall design is key. (See: [Siding and Cladding](/siding-and-cladding))
**Thermally Modified Wood:** While Maximo Accoya is a modified wood, other thermally modified wood products can be used for accent details or other exterior elements that require similar durability and stability. This can help create a cohesive material palette across your project. (See: [Thermally Modified Wood](/thermally-modified-wood))
**NORX Products:** NORX offers a range of high-performance building materials that might include rainscreen components, fastening systems, or other specialized accessories designed to work with durable cladding solutions. Exploring their offerings can provide valuable system components. (See: [NORX](/brands/norx))
Always ensure that any complementary products are compatible with Maximo Accoya and meet the requirements of your local building codes and design specifications.
Before you order
- Confirm desired Maximo Accoya profile and effective coverage per board.
- Measure all wall dimensions, including heights and widths of windows, doors, and other openings.
- Sketch a detailed elevation drawing, marking all openings and desired course alignments.
- Determine a datum line (e.g., window sill, foundation top) to start your course layout.
- Calculate the number of full courses needed and identify areas requiring cut boards or trim.
- Select appropriate fastening methods and materials based on profile and substructure.
- Plan for rainscreen assembly, including furring strips and ventilation details.
- Specify flashing and trim details around all openings and at corners.
- Account for movement joints at all transitions and terminations.
- Confirm the chosen Maximo Accoya finish with a physical sample.
Confirm installation details, approved uses and warranty terms in the current instructions for the exact product and profile. Your installer should verify the substrate, structure and applicable project requirements.
Questions to help you decide
Can I install Maximo Accoya directly onto studs?
For exterior cladding, it is generally recommended to install Maximo Accoya over a rainscreen assembly, which includes a weather-resistive barrier and vertical furring strips. This creates an essential air gap behind the cladding for drainage and ventilation, protecting the wall assembly from moisture and promoting the longevity of the cladding. Direct installation onto studs typically does not allow for proper moisture management.
How do I calculate the quantity of Maximo Accoya boards for a horizontal layout?
First, calculate the total square footage of the wall area to be clad, subtracting any large openings like windows and doors. Then, determine the effective coverage area of a single Maximo Accoya board of your chosen profile and length. Divide the total wall area by the effective coverage area of one board to get an approximate number of boards. It is crucial to add an allowance for cuts, waste, and future repairs, typically 10-15%, especially for complex layouts with many windows. Consider ordering longer boards to minimize waste from short cuts, and always round up to ensure you have enough material.
What kind of maintenance is required for horizontal Maximo Accoya cladding?
Maximo Accoya is known for its low maintenance requirements due to its stability and resistance to rot. If left unfinished, it will naturally weather to a silver-grey patina over time. If a specific color or finish is desired, periodic reapplication of that finish will be necessary to maintain its appearance. General maintenance typically involves periodic cleaning to remove dirt, debris, or mildew. Always refer to the specific finish manufacturer's guidelines for maintenance schedules and products. Regular inspection for any damage or needed repairs is also recommended.
Ready to Plan Your Maximo Accoya Horizontal Cladding Project?
Request a material quote today! Provide your project dimensions, desired Maximo Accoya profile, and project ZIP code to confirm current availability and service options. Our team can help you with material estimates for your horizontal layout.
Request a material quote →