Understanding the Components of a Countersinking System
A complete countersinking system typically involves several components working in tandem: the pilot drill bit, the countersink cutter, and the fastener itself. US4 offers specialized drill bits designed for hardwoods and structural applications, which are critical for preparing dense materials for fasteners. These are part of the "Drill Bits and Accessories" line.
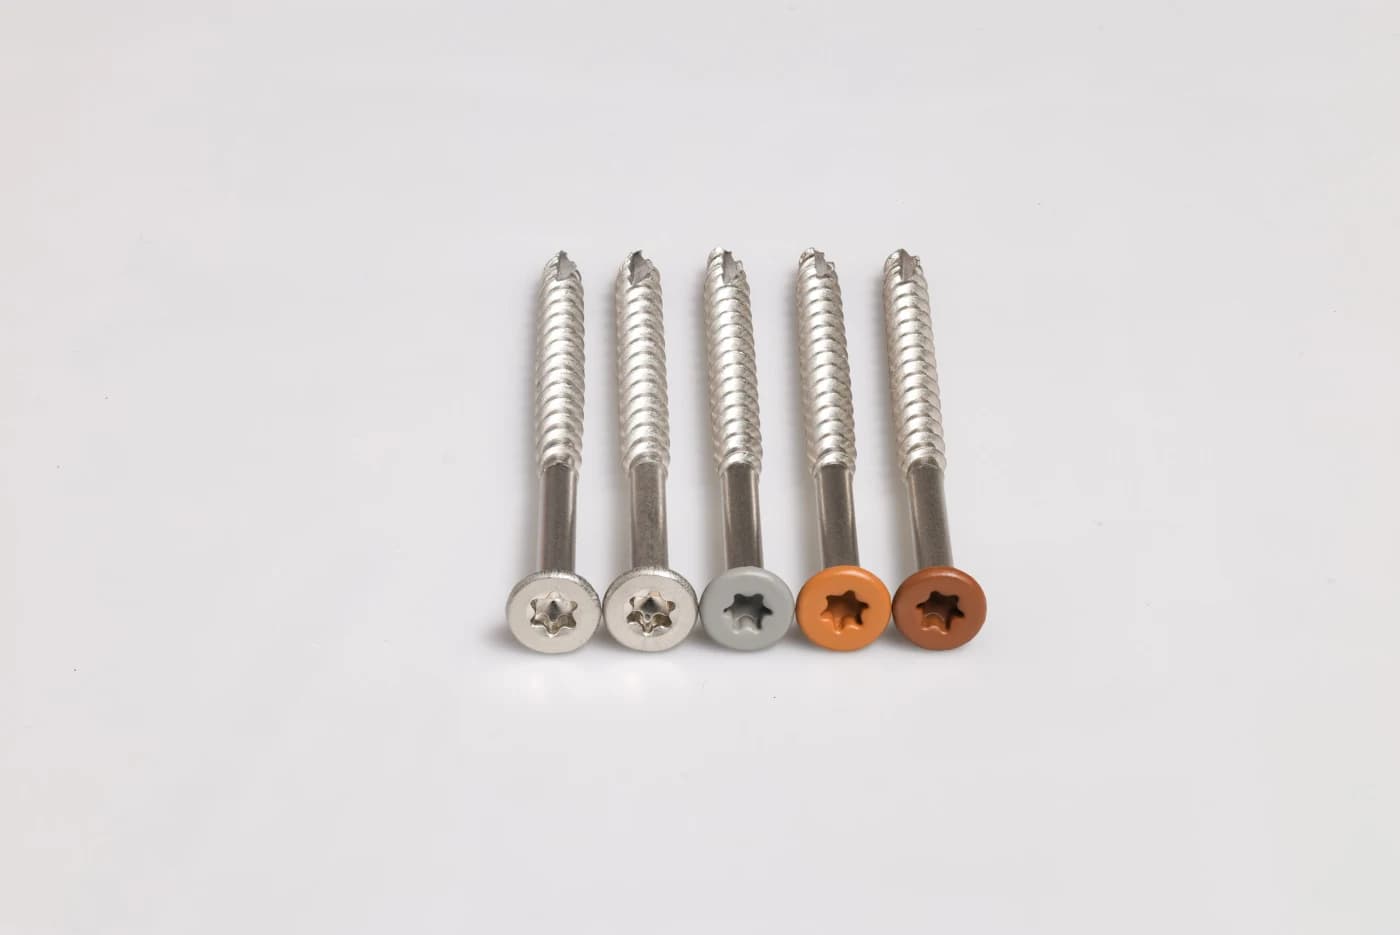
The pilot drill bit creates a hole for the threaded portion of the screw, preventing splitting and reducing driving torque. The countersink cutter then widens the top of this pilot hole to accommodate the screw head. Many US4 countersinking tools integrate these two functions into a single bit for efficiency. The final component is the fastener, and US4 deck screws are available in five finishes, designed to provide strong connections while complementing various board types.
Matching Countersink Diameter to Fastener Head
The most crucial aspect of selecting a countersink is matching its diameter and angle to the head of your chosen fastener. US4 deck screws are designed with specific head profiles that require a corresponding countersink for a flush fit.
Always refer to the fastener manufacturer's specifications for the recommended countersink diameter and angle. For US4 deck screws, which are engineered for high-performance applications including dense tropical decking, a precise fit is essential to prevent material damage and ensure the fastener achieves its intended holding power. The goal is for the screw head's bearing surface to sit fully within the countersunk recess, distributing the load evenly.
Choosing the Right Pilot Bit for Your Material
This means they are designed to cleanly cut through dense materials without excessive heat buildup or dulling. When working with such challenging woods, a high-quality pilot bit is not optional; it is essential to prevent splitting and ensure the screw drives smoothly.
The diameter of the pilot hole must match the shank diameter of your screw, not including the threads. For dense hardwoods, it is often recommended to use a pilot bit slightly larger than what might be used for softer woods to minimize stress on the material during driving. Always test on a scrap piece of the same material to confirm the optimal pilot hole size before beginning your project.
Worked Example: Countersinking US4 Deck Screws in Ipe Decking
Ipe is a very dense hardwood, requiring pre-drilling and stainless steel fasteners for marine-grade applications.
Ensure it is rated for hardwood use.
3. **Select US4 Countersink:** Look for a countersink attachment or combination bit within the US4 line that provides a 3/8-inch diameter and an 82-degree angle. Many US4 drill bits are available as combination pilot/countersink tools, which simplify the process.
4. **Test on Scrap Material:** Before fastening the actual deck boards, perform several test drills and countersinks on a scrap piece of Ipe. Drive a US4 Tropical Timber Brown screw into each test hole. Observe if the screw head sits flush or slightly below the surface, without cracking the wood or leaving a gap. Adjust the countersink depth as needed.
5. **Set Depth Stop:** If using a dedicated countersink bit with an adjustable stop, set the depth to achieve the desired flush finish. If using a combination bit without a stop, practice to achieve consistent depth by feel. For consistent results across a large deck, a depth-stop collar on the drill bit is highly recommended.
Maintenance and Best Practices for Countersinking Tools
Even the most durable US4 drill bits and countersinks require proper care to maintain their performance. Regular cleaning to remove wood dust and resin buildup is essential, as this can affect cutting efficiency and tool life. Store bits in a protective case to prevent damage to the cutting edges.
When working with very dense or abrasive materials, drill bits and countersinks will eventually dull. A dull bit requires more force, generates more heat, and can produce rougher holes or even burn the wood. While US4 tools are designed for demanding use, knowing when to replace a dull bit will ensure consistent, high-quality results throughout your project. Using impact-rated US4 drive bits can also help prevent cam-out and extend the life of your fasteners and tools.
Before you order
- Confirm fastener head type (e.g., flat head, bugle head) and dimensions.
- Determine the desired finish: flush, slightly proud, or slightly recessed.
- Verify the material density (e.g., Ipe, thermally modified wood, composite).
- Select a US4 pilot drill bit matching the fastener's shank diameter and material rating.
- Choose a US4 countersink bit with the correct angle and diameter for the fastener head.
- Consider a combination pilot/countersink bit for efficiency.
- Obtain a depth stop collar for consistent countersink depth.
- Always test on scrap material before starting the main project.
Confirm installation details, approved uses and warranty terms in the current instructions for the exact product and profile. Your installer should verify the substrate, structure and applicable project requirements.
Questions to help you decide
Why is countersinking important for deck screws?
Countersinking ensures that the head of the deck screw sits flush with or slightly below the surface of the decking material. This creates a smoother, safer surface, preventing tripping hazards and snagging. It also contributes to a cleaner aesthetic and can improve the long-term performance of the fastener by distributing stress more evenly.
Can I use a standard drill bit for countersinking?
While a standard drill bit can create a pilot hole, it cannot create the conical recess required for a screw head to sit flush. You need a dedicated countersink bit or a combination pilot/countersink tool to achieve the correct shape and depth for proper fastener seating. US4 offers specialized drill bits and accessories designed for this purpose, especially for dense materials.
How do I prevent splitting wood when countersinking?
To prevent splitting, especially in dense hardwoods, it's crucial to use a sharp, appropriately sized pilot drill bit from the US4 Drill Bits and Accessories line. The pilot hole should be slightly larger for harder woods. Additionally, ensure the countersink is not too deep, which can weaken the material around the fastener. Always test on a scrap piece of the same material to find the optimal pilot and countersink depth.
Request a Material Quote for Your Project
Ready to specify your US4 tools and fasteners? Provide your project dimensions, desired US4 profile, and ZIP code to request a material quote. We will confirm current availability and service options for your order.
Request a material quote →