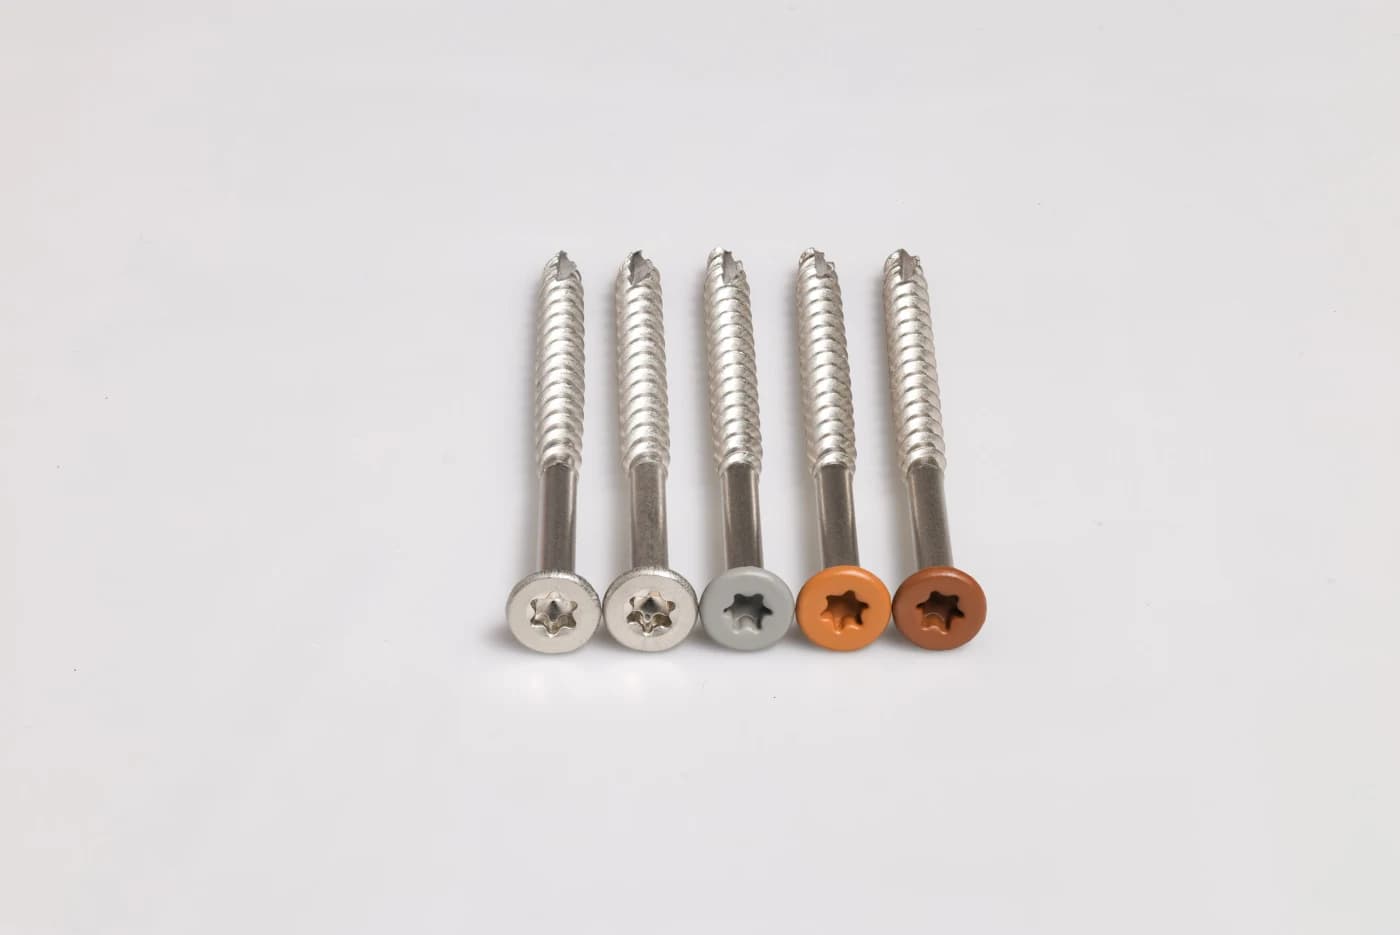
Why a Test Assembly is Essential
A test assembly goes beyond simply checking product specifications. It provides real-world verification of how US4 tools and accessories interact with your chosen decking material and structural components. This is particularly important for projects involving dense hardwoods, composite, or PVC boards, where precise pilot hole sizing, fastener engagement, and finish quality are critical.
Without a test assembly, you risk encountering problems such as improper fastener seating, stripped screws, damaged board edges, or an unsatisfactory finished appearance. These issues can lead to costly delays, material waste, and rework.
Gathering Your Test Materials
To build an effective test assembly, you will need samples of all primary materials and US4 components intended for your project. This includes:
1. **Decking Board Samples:** Obtain a piece of the exact decking board material you plan to use. If you are using different board types (e.g., Ipe for the main deck, thermally modified wood for fascia), acquire samples of each.
2. **Substrate Samples:** Secure a section of the actual framing material (e.g., treated lumber, steel, aluminum) that will support your deck boards. The interaction between the fastener and the substrate is as important as its interaction with the deck board.
4. **US4 Drill Bits:** If pre-drilling is required (common for hardwoods like Ipe), acquire the specific US4 drill bits and countersinking accessories.
Mismatched drive bits can lead to cam-out and stripped fasteners.
6. **Other US4 Tools:** If using US4 router bits for grooving or saw blades for cuts, have these available to test their performance on your board samples.
The Test Assembly Process: A Worked Example
Let's consider a hypothetical project using Ipe decking boards over treated lumber joists, fastened with US4 Tropical Timber Brown deck screws. The process would involve:
2. **Prepare Decking:** Cut two pieces of Ipe decking, each approximately 12 inches long. This allows for multiple test fasteners and observation of spacing.
Ensure the drill bit size is appropriate for the screw diameter and Ipe's density. Observe the drilling ease and hole quality. If using a countersinking bit, test that as well.
Using a US4 Tropical Timber Brown deck screw and the matching US4 impact-rated drive bit, drive the screw through the Ipe board and into the joist. Observe the ease of driving, the final seating of the screw head (flush or slightly below surface), and any splitting or mushrooming of the Ipe.
Test a second fastener on the second board to observe how the system interacts.
Take photos of the completed test assembly for future reference.
This example can be adapted for composite or PVC boards, where pre-drilling might be different, or for projects using hidden clips where the clip's fit into the board groove and its engagement with the substrate are the primary focus.
What to Look For During Testing
When performing your test assembly, pay close attention to the following aspects:
**For Fasteners:** * **Engagement:** Does the screw bite firmly into both the decking material and the substrate? Is there any stripping of the screw head or the receiving material? * **Seating:** Does the screw head sit flush or slightly recessed as intended, without over-driving or damaging the board surface? * **Splitting/Cracking:** Is there any evidence of the decking material splitting, cracking, or mushrooming around the fastener entry point? This is especially critical for dense hardwoods.
**For Drill Bits and Drive Bits:** * **Ease of Use:** How easily does the drill bit create the pilot hole? Is the drive bit securely engaging the fastener head without cam-out? * **Hole Quality:** Are the pilot holes clean and accurately sized? If countersinking, is the countersink uniform and appropriate for the screw head?
**For Router Bits (if applicable):** * **Groove Quality:** If using slotting cutters for hidden clips, does the router bit create a clean, accurate groove that perfectly accommodates the clip? * **Material Removal:** Is the material removal smooth, or is there tear-out or burning?
**Overall Aesthetics:** * Does the chosen fastener finish complement the decking material as desired? Remember that screen approximations of finishes should be verified against physical samples.
Documenting Your Test Results
Keep a detailed record of your test assembly. Include:
1. **Date of Test:** When the test was performed.
2. **Materials Used:** Exact product names, dimensions, and finishes of decking, substrate, and all US4 components.
3. **Tools Used:** Specific drill, driver, router, or saw models.
4. **Observations:** Detailed notes on how each component performed, any difficulties encountered, and the final appearance.
This documentation will be invaluable if you need to troubleshoot issues, adjust your material order, or discuss your project with a supplier or contractor.
Before you order
- Obtain samples of actual decking boards.
- Obtain samples of actual substrate material (framing).
- Acquire specific US4 fasteners, drill bits, and drive bits intended for the project.
- Assemble a small test section, mimicking actual installation steps.
- Document observations on fastener engagement, seating, and board integrity.
- Assess drill bit and drive bit performance.
- Verify the aesthetic match of fastener finishes.
- Take photos of the test assembly for reference.
- Adjust material choices or installation methods based on test results.
Confirm installation details, approved uses and warranty terms in the current instructions for the exact product and profile. Your installer should verify the substrate, structure and applicable project requirements.
Questions to help you decide
Why can't I just trust the manufacturer's specifications?
Manufacturer specifications provide general guidelines and performance ratings, but they cannot account for every unique project variable. Factors like the exact density of a specific batch of hardwood, the moisture content of treated lumber, or slight variations in board milling can all influence how tools and fasteners perform. A test assembly verifies compatibility under your specific project conditions.
What if my test assembly reveals problems?
If your test assembly reveals problems, such as splitting, poor fastener seating, or difficult drilling, do not proceed with your full order. Instead, review your choices. You might need to adjust the drill bit size, consider a different fastener type, or consult with a Lumber Plus specialist about alternative US4 components or installation techniques. This is precisely why testing beforehand is so valuable.
How many fasteners or boards do I need for a test assembly?
Typically, two to three short pieces of your decking board (e.g., 12-18 inches long) and one piece of your substrate material are sufficient. This allows you to test multiple fasteners, observe spacing, and practice any pre-drilling or routing steps. You only need a small quantity of each US4 component for testing.
Ready to Plan Your US4 Tool and Accessory Order?
Once you have completed your compatibility testing, request a material quote with your project dimensions, exact US4 profile, and ZIP code. Confirm current availability and service options for all US4 tools and accessories.
Request a material quote →