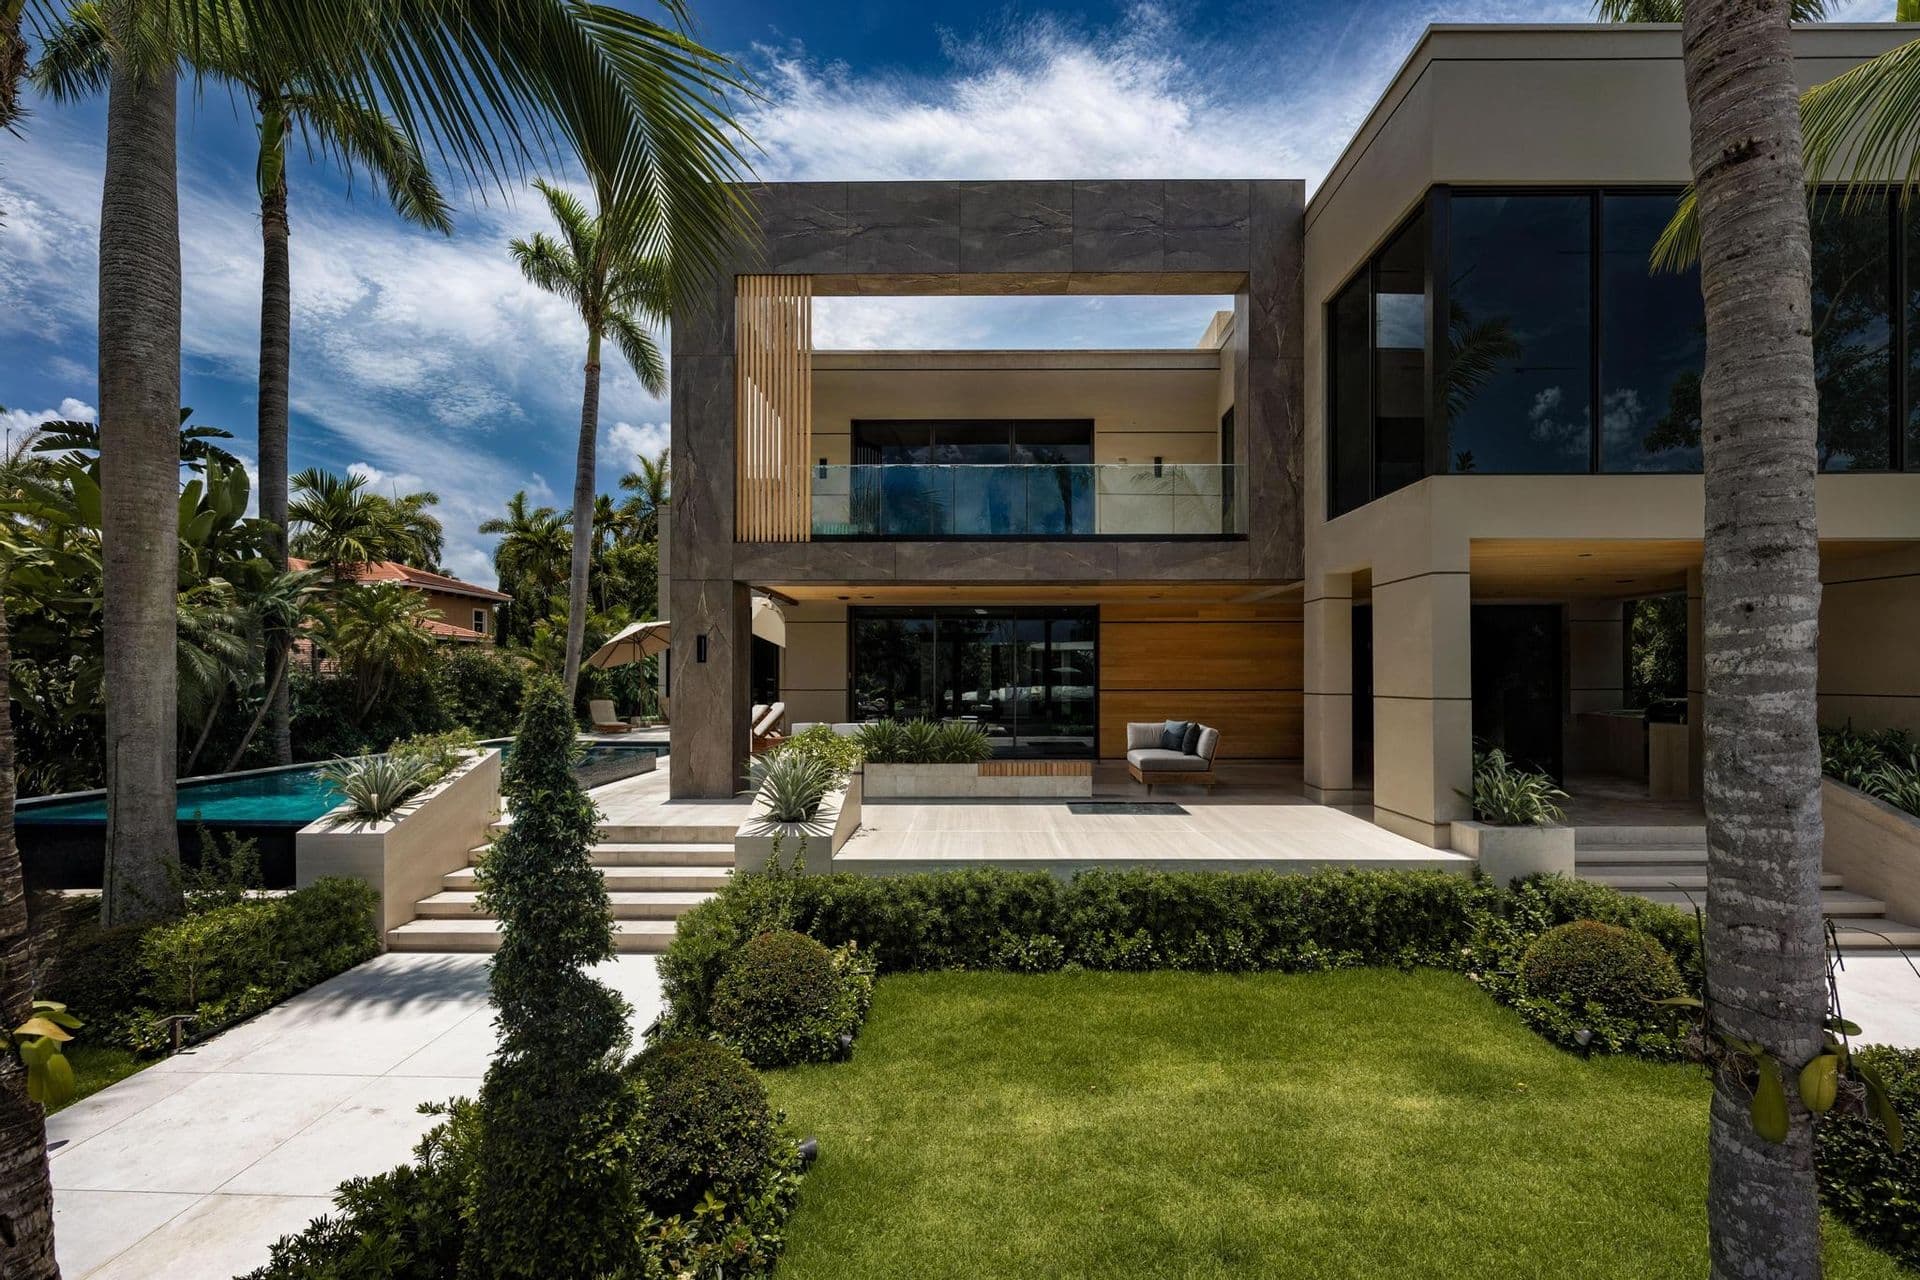
Understanding Vertical Siding's Visual Impact
Vertical siding can dramatically alter the perceived proportions of a structure. It tends to draw the eye upwards, making a building appear taller and more commanding. This effect can be particularly useful for single-story homes or structures with broad, low profiles that could benefit from added visual height. The continuous vertical lines can also create a sense of formality and modernity.
Conversely, horizontal siding typically emphasizes width and stability. The choice between vertical and horizontal often comes down to the desired architectural statement and how the siding interacts with other design elements, such as window placement and rooflines. A vertical orientation can also create a compelling contrast when paired with other materials like stone or stucco, or with horizontally oriented architectural features.
Substructure Requirements for Vertical Siding
A critical difference for vertical siding compared to horizontal is the substructure. For vertical siding, a horizontal furring system is typically required to provide adequate fastening points and to create a rainscreen gap. This system consists of horizontal wood or metal furring strips installed over the weather-resistive barrier (WRB).
The furring strips must be securely fastened to the structural studs of the wall. The spacing of these horizontal furring strips depends on the length of your siding boards and the required fastening intervals. Generally, furring strips should be spaced to align with the ends of siding boards and at intermediate points to prevent bowing or cupping. This horizontal furring also creates the necessary air cavity behind the siding, promoting drainage and ventilation.
For species like Ipe, Cumaru, Garapa, Angelim, Jatoba, and Tigerwood, which are often used in siding applications, the substructure must be robust enough to support their density and weight. Thermally modified wood options, such as Ayous, Ash, or Clear Radiata, offer lighter alternatives while still requiring a well-planned substructure. Maximo Accoya also presents a stable option for siding applications.
Managing Moisture and Drainage
Effective moisture management is paramount for any exterior siding, but particularly for vertical installations. The horizontal furring strips create a series of small ledges that could potentially trap moisture if not properly detailed. To counteract this, it is essential to ensure a continuous drainage path. This involves careful detailing at the base of the wall, around openings, and at the top.
A rainscreen assembly is highly recommended for vertical siding. This system includes a weather-resistive barrier, a drainage plane (the air gap created by furring), and the exterior cladding. Proper flashing at all penetrations (windows, doors, vents) and at the base and top of the wall is crucial to direct water away from the wall assembly. Using insect screens or weep holes at the bottom of the rainscreen cavity can prevent pests while allowing drainage and ventilation.
Starting and Finishing Details
The starting and finishing details for vertical siding are critical for both performance and appearance. At the base of the wall, the siding should terminate at least 6-8 inches above grade or impervious surfaces (like patios or driveways) to prevent moisture wicking and splash-back. A starter trim or flashing is often used to provide a clean base and direct water away from the foundation.
At the top of the wall, the siding should be protected by a drip edge or soffit detail to prevent water from entering the wall assembly from above. These details are not merely functional; they contribute significantly to the overall aesthetic of the facade. Attention to clean lines and proper alignment at these transitions is key to a professional finish.
For vertical installations, the end-grain of the siding boards will be exposed at the top and bottom. Sealing these end grains with a suitable end-grain sealant can help reduce moisture absorption and minimize checking or splitting, prolonging the life of the siding.
Worked Example: Vertical Siding on a 10-foot Wall Section
Consider a hypothetical 10-foot wide by 8-foot tall wall section to be clad with vertical hardwood siding. We'll use 1x6 (nominal) siding boards, which typically have an actual width of 5.5 inches. Assume a tongue-and-groove or shiplap profile for a clean, interlocking fit. The wall has standard 16-inch on-center (OC) studs.
First, install a weather-resistive barrier over the sheathing. Next, horizontal furring strips (e.g., 1x3 material, actual 2.5 inches wide) should be installed. To support the 8-foot siding boards and provide intermediate fastening, you could place furring strips at the bottom (0 inches), 32 inches, 64 inches, and the top (96 inches). This provides four horizontal lines of support, ensuring each 8-foot board is fastened at regular intervals.
For the 10-foot width, you'll need approximately (10 feet * 12 inches/foot) / 5.5 inches/board = 21.82 boards. This means you would purchase 22 full boards to cover the width, with the last board potentially needing a rip cut. If using 8-foot long boards, this wall section would require 22 boards * 1 = 22 boards. For the furring, you'd need 4 rows of 10-foot strips, totaling 40 linear feet of furring material.
Always account for waste due to cuts, damage, and potential adjustments. A common practice is to add 10-15% to your material estimate for siding. Ensure proper flashing is installed at the base, top, and any window/door openings within this section.
Before you order
- Confirm local building codes for vertical siding and rainscreen assemblies.
- Verify structural integrity of existing wall studs for horizontal furring attachment.
- Plan horizontal furring layout, spacing, and fastening schedule.
- Detail all flashing requirements for base, top, and penetrations.
- Select appropriate siding profile (e.g., tongue-and-groove, shiplap) for vertical application.
- Consider end-grain sealing for exposed board ends.
- Calculate material quantities, including waste factor for siding and furring.
- Determine desired aesthetic impact: emphasizing height vs. width.
Confirm installation details, approved uses and warranty terms in the current instructions for the exact product and profile. Your installer should verify the substrate, structure and applicable project requirements.
Questions to help you decide
Can any hardwood siding profile be installed vertically?
While many profiles can be installed vertically, some are better suited than others. Profiles designed with interlocking features like tongue-and-groove or shiplap are often preferred for vertical applications as they provide better weather protection and a cleaner aesthetic. Beveled or lap siding can also be used, but may require more meticulous detailing to prevent water ingress.
What is the primary benefit of a rainscreen system for vertical siding?
The primary benefit of a rainscreen system for vertical siding is enhanced moisture management and improved durability. The air gap created by the furring strips allows any water that penetrates the siding to drain freely down and out, preventing it from reaching the structural wall. It also promotes ventilation, which helps to dry out the wall assembly and reduce the risk of mold, rot, and thermal bridging.
How do I calculate the amount of hardwood siding needed for a vertical layout?
To calculate the amount of hardwood siding, first measure the total square footage of the wall area to be covered. Then, divide this by the coverage area of a single board (which is typically its width multiplied by its length, accounting for any overlap in profiles). Always add a waste factor, usually 10-15%, to account for cuts, defects, and future repairs. For vertical applications, ensure the board lengths you select are appropriate for your wall height, minimizing unnecessary cuts and maximizing efficiency. For example, an 8-foot wall will be most efficient with 8-foot or 16-foot long boards.
Ready to Plan Your Vertical Hardwood Siding Project?
Request a material quote with your project dimensions, desired profile, and ZIP code. We'll help you confirm current availability and service options for your hardwood siding needs. Explore our full range of siding and cladding products, including Thermally Modified Wood, Maximo Accoya, and Norx composite options.
Request a material quote →