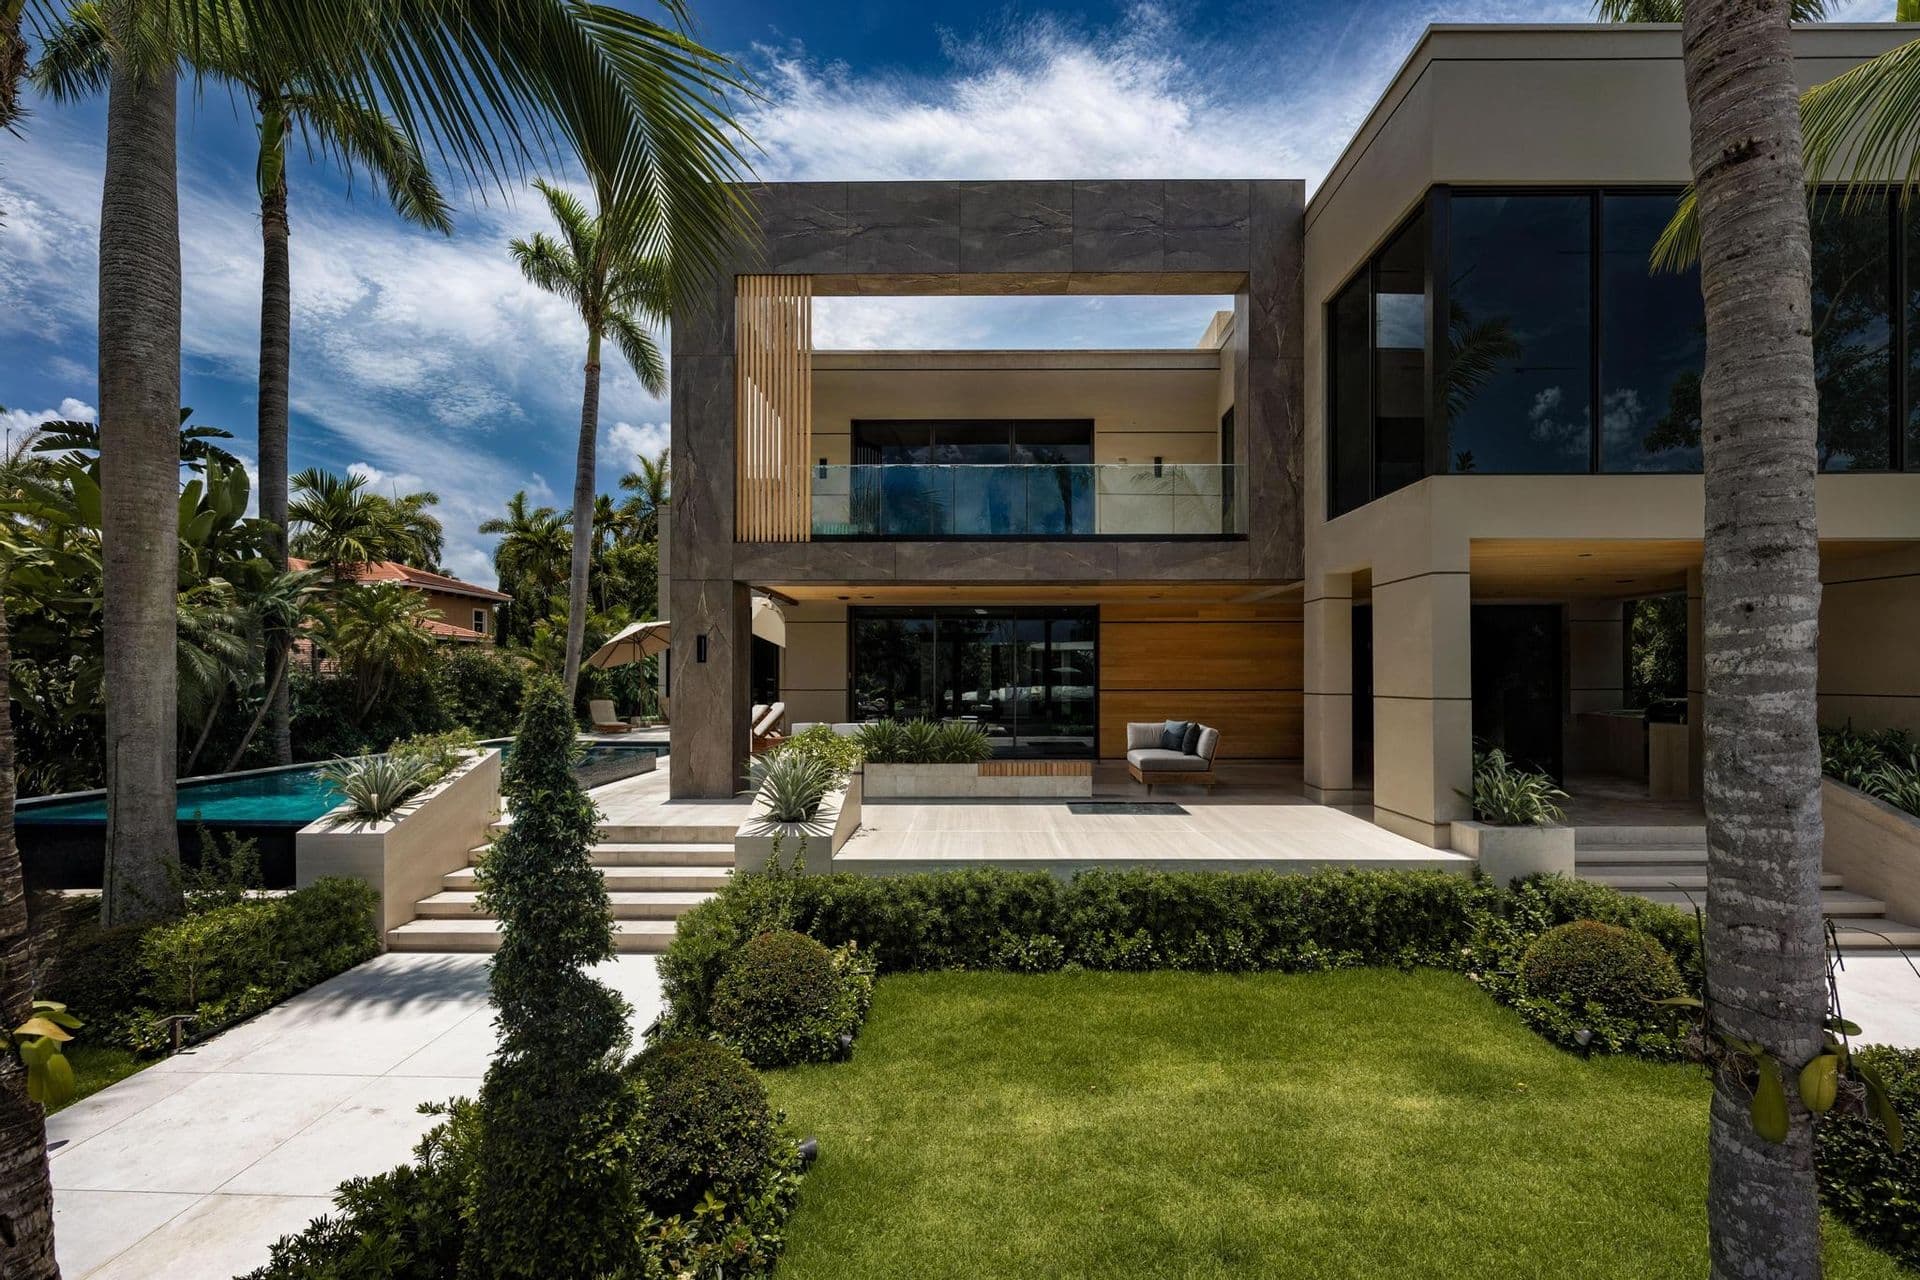
Selecting Hardwood for Horizontal Siding
The choice of hardwood species is critical for horizontal siding, as it influences appearance, stability, and long-term performance. Species like Ipe and Cumaru are known for their density and natural resistance to decay, making them suitable for exterior applications. Thermally modified woods, such as thermally modified Ayous or Ash, offer enhanced stability due to their modification process, which can reduce movement related to moisture changes.
Consider the desired aesthetic: some hardwoods offer a bold, dramatic grain, while others provide a cleaner, more contemporary look. The profile of the siding board also plays a significant role. Common profiles for horizontal applications include tongue-and-groove, shiplap, and lap siding, each offering distinct shadow lines and installation methods. Maximo Accoya, an acetylated wood, provides exceptional dimensional stability, which can be advantageous for maintaining precise horizontal lines over time.
For a project requiring specific performance characteristics, exploring options like Scandinavian Thermally Modified Wood may be beneficial, particularly for coastal environments where stability is paramount.
Understanding Board Profiles and Exposure
Horizontal siding relies on specific board profiles to achieve its characteristic appearance and function. Shiplap profiles, for example, feature a rabbeted edge that allows boards to overlap, creating a tight joint and a distinct shadow line. Tongue-and-groove profiles interlock, offering a very secure fit and a uniform surface. Lap siding, a classic choice, involves each board overlapping the one below it, allowing for expansion and contraction while shedding water effectively.
The 'exposure' of horizontal siding refers to the visible width of each board once installed. This measurement is crucial for planning the layout and determines the visual rhythm of the facade. A wider exposure can create a more expansive look, while a narrower exposure might suggest a finer texture. Always confirm the effective exposure for your chosen profile, as it will be less than the nominal board width due to the overlap or interlock.
Coordinating Courses with Windows and Doors
A key challenge in horizontal siding layout is coordinating courses with window and door openings. Ideally, siding courses should align cleanly with the tops and bottoms of windows and doors, or at least maintain a consistent pattern around them. This often requires careful planning and potentially adjusting the board exposure slightly across an elevation, or using transition pieces.
Begin by establishing a horizontal datum line, typically starting from the bottom of the wall, ensuring the first course is perfectly level. Then, calculate the number of courses needed to reach the top of the wall or the underside of key architectural features, such as window sills or headers. Small adjustments to the exposure can be distributed evenly across courses to ensure that full boards meet openings without awkward slivers. For instance, if a window sill aligns perfectly with the top edge of a course, it creates a more finished look than if a small strip of siding is needed.
Fastening Details for Horizontal Siding
Proper fastening is essential for the longevity and appearance of horizontal hardwood siding. Fasteners must be corrosion-resistant, such as stainless steel, to prevent staining and ensure durability. The type of fastener and fastening method will depend on the chosen siding profile and the substructure.
For profiles like shiplap or tongue-and-groove, concealed fasteners are often preferred to maintain a clean, unblemished surface. These fasteners are typically driven through the tongue or the overlapping lip of the board, making them invisible once the next board is installed. For lap siding, face fastening is common, where fasteners are driven through the face of the board into the structural framing.
Always follow manufacturer recommendations for fastener type, length, and spacing. Proper fastening accounts for the natural movement of wood, allowing for expansion and contraction without causing boards to buckle or split. It also ensures the siding remains securely attached to the wall, even under varying weather conditions.
Worked Example: Calculating Horizontal Siding Courses
Let's consider a hypothetical wall section: a 10-foot wide wall with a total height of 8 feet, featuring a window that is 3 feet high, with its sill 3 feet from the ground. We plan to use a shiplap profile hardwood siding with an effective exposure of 5.5 inches per board.
First, determine the number of full courses below the window. The distance from the ground to the window sill is 3 feet (36 inches). Dividing 36 inches by the 5.5-inch exposure gives approximately 6.54 courses. To avoid cutting a board mid-course at the sill, we can plan for 6 full courses below the window, which covers 6 * 5.5 inches = 33 inches.
Next, consider the section above the window. The total height of the wall is 8 feet (96 inches). The window top is at 3 feet (sill height) + 3 feet (window height) = 6 feet (72 inches) from the ground. The remaining height above the window is 96 inches - 72 inches = 24 inches. Dividing 24 inches by 5.5 inches gives approximately 4.36 courses.
This example illustrates that precise alignment often involves slight adjustments to the effective exposure or the introduction of trim elements to achieve a clean finish. It is always recommended to create a detailed layout drawing for each elevation, marking all openings and planned course lines.
Before you order
- Have you selected a hardwood species suitable for exterior horizontal application?
- Is the chosen siding profile (e.g., shiplap, tongue-and-groove, lap) appropriate for your design and installation method?
- Do you know the effective exposure of your chosen siding profile?
- Have you planned the horizontal course layout, considering window and door alignments?
- Are the fastening details specified, including fastener type, material, and spacing?
- Have you accounted for trim details around windows, doors, and corners?
- Is there a plan for a continuous, level starting line for the first course?
- Have you considered the long-term appearance and maintenance requirements of the selected hardwood?
- Will your chosen profile and installation method allow for proper water shedding?
Confirm installation details, approved uses and warranty terms in the current instructions for the exact product and profile. Your installer should verify the substrate, structure and applicable project requirements.
Questions to help you decide
What is the best hardwood for horizontal siding?
The 'best' hardwood depends on your project's specific needs, including aesthetic preference, budget, and local climate. Dense, naturally durable species like Ipe or Cumaru are popular for their longevity. Thermally modified woods such as Ayous or Ash, and acetylated woods like Maximo Accoya, offer enhanced stability against moisture, which can be beneficial for horizontal applications to maintain straight lines and reduce movement. Each offers distinct appearance and performance characteristics.
How do I ensure straight lines with horizontal siding?
Ensuring straight lines begins with a perfectly level starting course. Use a laser level or a builder's level to establish a precise datum line for the first board. Subsequent courses should be installed carefully, checking for levelness periodically. Consistent fastening techniques and proper spacing for expansion are also crucial. For long runs, snap chalk lines or use string lines to guide each course, especially when working with visible face-fastened profiles.
Can I mix different siding profiles or materials horizontally?
While it is possible to mix different siding profiles or materials, it requires careful planning to ensure proper integration and water shedding. Each material and profile will have different fastening requirements, expansion characteristics, and visual depths. If mixing, ensure that transition details are meticulously designed to prevent water ingress and maintain a cohesive aesthetic. Often, a transition trim piece is used to bridge the gap between different materials or profiles.
Plan Your Hardwood Siding Project
Ready to bring your horizontal hardwood siding vision to life? Request a material quote today. Provide your project dimensions, desired profile, and ZIP code to confirm current availability and service options for your area.
Request a material quote →