
Understanding Cumaru Deck Tiles for Small Spaces
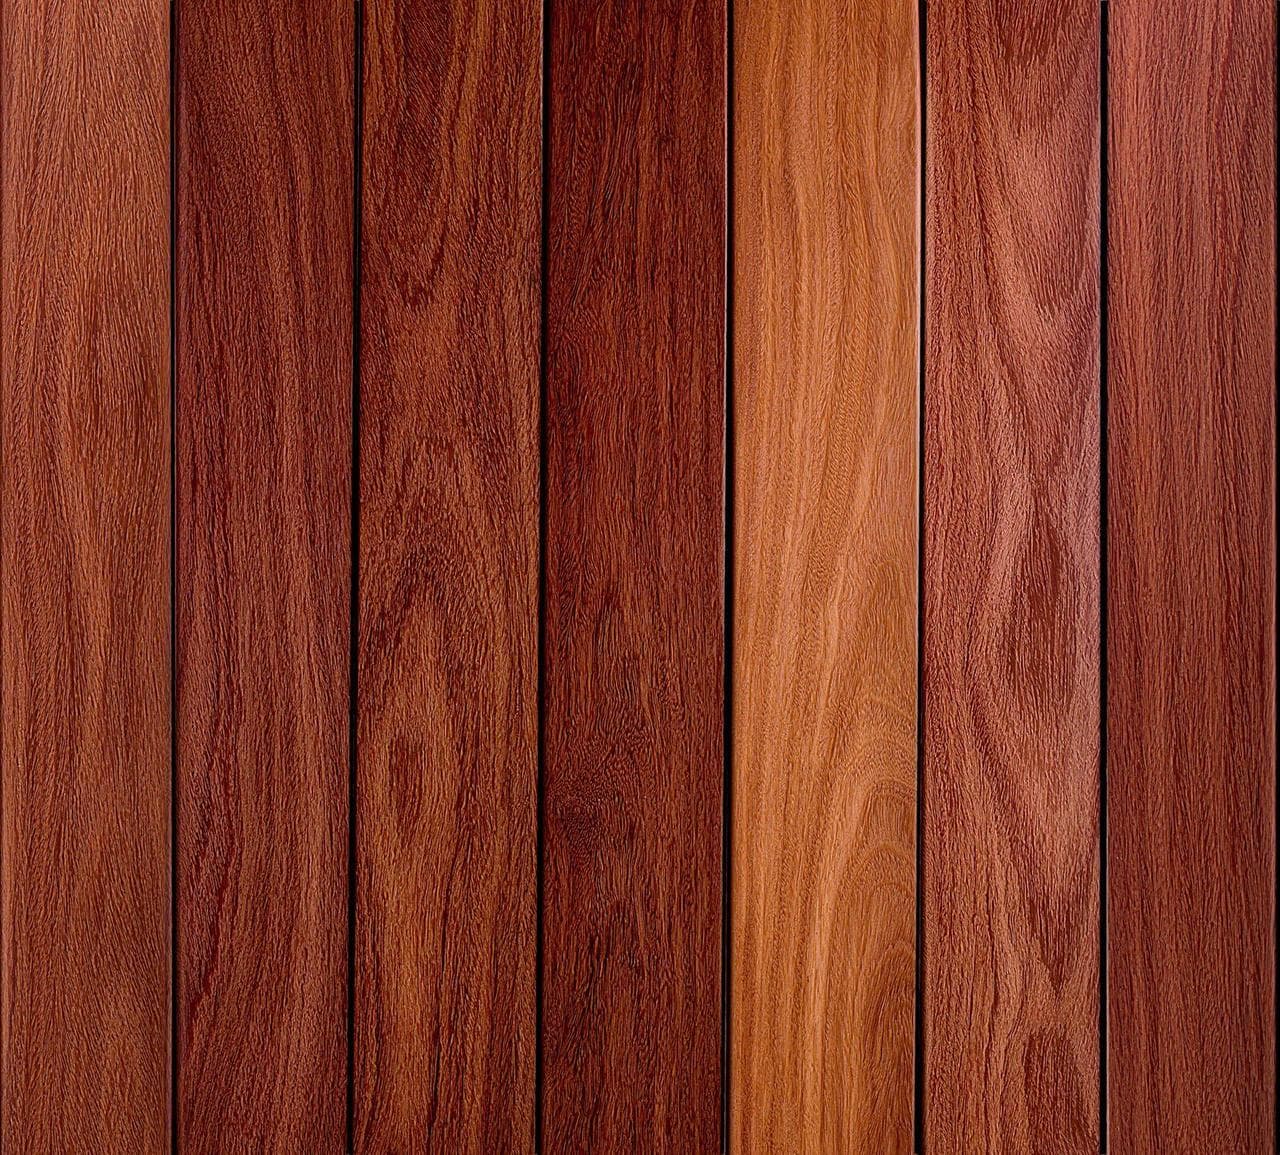
Cumaru deck tiles offer a rich reddish-brown grain, providing the strength and character of tropical hardwood for outdoor applications. They are available in two standard sizes: 12 x 12 inches (1 square foot per tile) and 24 x 24 inches (4 square feet per tile). The choice of tile size significantly impacts the visual scale and the number of seams in a small space. For smaller terraces, the 12 x 12 inch tile can offer more flexibility in navigating irregular shapes or creating intricate patterns, while the 24 x 24 inch tile can provide a more expansive, less segmented look for open areas.
The inherent density of Cumaru makes it a durable choice for outdoor environments, suitable for areas that experience foot traffic or support outdoor furniture. Its natural properties contribute to a long-lasting surface that can withstand various weather conditions, making it a practical option for terraces and balconies.
The Challenge of Narrow Cut Strips
In small or irregularly shaped terraces, it's common to encounter situations where standard-sized deck tiles don't perfectly fit the dimensions. This often leads to the need for cutting tiles. While some cutting is inevitable, the goal in a small space is to avoid creating numerous narrow strips, especially along primary circulation paths or visible edges.
Narrow cut strips can detract from the visual appeal of the installation, make the surface feel less stable, and potentially increase material waste. They can also be more difficult to install securely and may be prone to shifting or damage over time. Planning a layout that minimizes these strips, or places them in less conspicuous areas, is crucial for a professional and durable finish.
Strategy: Zone Planning and Central Alignment
For a small terrace, consider dividing the space into functional zones, such as a seating area, a plant display area, or a clear pathway. This helps in mentally segmenting the area and can guide your tile layout. Instead of starting the tile layout from one corner and working outwards, consider a central alignment strategy.
Central alignment involves laying out full tiles from the center of your primary zone or the entire terrace, working outwards towards the edges. This approach helps distribute any necessary cuts more evenly to the perimeter, often resulting in wider, more manageable cut pieces at the edges. This method is particularly effective for rectangular or square spaces where you want symmetry or a dominant central feature.
Worked Example: A 7-foot by 9-foot Terrace
Let's consider a hypothetical rectangular terrace measuring 7 feet (84 inches) by 9 feet (108 inches). We plan to use 24 x 24 inch Cumaru deck tiles.
If we were to start tiling from one corner, say the 0,0 point, along the 7-foot (84-inch) width, we would lay three full 24-inch tiles (3 x 24 = 72 inches). This would leave a remaining strip of 12 inches (84 - 72 = 12 inches). Along the 9-foot (108-inch) length, we would lay four full 24-inch tiles (4 x 24 = 96 inches), leaving a remaining strip of 12 inches (108 - 96 = 12 inches). This results in a 12-inch wide strip along two edges of the terrace.
Now, let's apply the central alignment strategy. For the 84-inch width, we need 3.5 tiles (84 / 24 = 3.5). For the 108-inch length, we need 4.5 tiles (108 / 24 = 4.5). To distribute the cuts, we can center the layout. This means the cut pieces at each end will be 12 inches wide (24 inches / 2 = 12 inches).
Specifically, along the 84-inch width: Start with a 12-inch cut tile, then three full 24-inch tiles (72 inches), and finish with another 12-inch cut tile. Total: 12 + 72 + 12 = 96 inches. Wait, this calculation is incorrect. Let's re-evaluate.
The goal is to have equal cuts on both sides. For 84 inches (7 feet) with 24-inch tiles: 84 / 24 = 3.5. This means we need 3 full tiles plus half a tile. To distribute this, we'd have a 12-inch cut tile, then three 24-inch full tiles, and another 12-inch cut tile. This adds up to 12 + 72 + 12 = 96 inches. This is incorrect. The remaining length should be distributed. For 84 inches, three full tiles cover 72 inches. The remaining 12 inches need to be split. So, we'd have 6-inch cuts on both sides, with three full tiles in between. This means (6 inches + 24 inches + 24 inches + 24 inches + 6 inches) = 84 inches. This layout uses three full tiles and two 6-inch cut tiles.
For 108 inches (9 feet) with 24-inch tiles: 108 / 24 = 4.5. This means we need 4 full tiles plus half a tile. Distributing this means 12-inch cuts on both sides, with four full tiles in between. So, (12 inches + 24 inches + 24 inches + 24 inches + 24 inches + 12 inches) = 120 inches. This is incorrect. The remaining length should be distributed. For 108 inches, four full tiles cover 96 inches. The remaining 12 inches need to be split. So, we'd have 6-inch cuts on both sides, with four full tiles in between. This means (6 inches + 24 inches + 24 inches + 24 inches + 24 inches + 6 inches) = 108 inches. This layout uses four full tiles and two 6-inch cut tiles.
Comparing the two methods: The corner-start method resulted in two 12-inch wide strips. The central alignment method results in four 6-inch wide strips. While both involve cuts, the 6-inch strips might be considered too narrow for a primary visible edge. This example highlights that even with central alignment, careful consideration of the resulting cut sizes is necessary. In this specific case, the 12-inch strips from the corner-start might be more practical than the 6-inch strips from central alignment, depending on the desired aesthetic and structural stability. The key is to assess the specific dimensions and choose the method that yields the most functional and visually appealing result, even if it means adjusting the alignment slightly off-center to achieve wider border cuts.
Considering the 12 x 12 Inch Cumaru Tile
If the 24 x 24 inch tile creates cuts that are too narrow or numerous, consider using the 12 x 12 inch Cumaru deck tile. This smaller format provides greater flexibility for tight spaces and intricate layouts.
Revisiting our 7-foot (84-inch) by 9-foot (108-inch) terrace with 12 x 12 inch tiles:
For the 84-inch width: 84 / 12 = 7 full tiles. No cuts needed along this dimension.
For the 108-inch length: 108 / 12 = 9 full tiles. No cuts needed along this dimension.
In this specific example, using the 12 x 12 inch tiles results in a layout with no cuts, which is ideal for minimizing waste and simplifying installation. This demonstrates the importance of considering both tile sizes when planning a small terrace project, especially when dimensions are close to multiples of the tile size.
Planning for Obstacles and Features
Small terraces often feature fixed elements like columns, planters, or built-in benches. When planning your Cumaru deck tile layout, account for these obstacles from the outset. Rather than cutting around them haphazardly, try to integrate them into your zone planning.
For example, if a column is present, plan your tile grid to either meet the column with full tiles or to have symmetrical, larger cuts around it. For built-in planters, consider outlining them with a border of cut tiles that are wider and more stable than narrow strips. This thoughtful approach ensures a cohesive look and avoids creating weak points in the deck surface.
Remember that deck tiles are a finish material and should not be considered structural support for heavy items like large planters. Always ensure the underlying structure can support the intended loads.
Edge Finishing and Transitions
The edges of your Cumaru deck tile installation are particularly visible in a small space. Plan for how these edges will be finished. Options may include leaving the raw cut edge (if the cut is clean and the tile edge is hidden), adding a trim piece, or ensuring that any necessary cuts are made as cleanly and straight as possible.
Consider transitions to adjacent surfaces, such as a door threshold or a railing post. The height of the deck tiles, especially if installed on a pedestal system, needs to be factored in to ensure smooth and safe transitions. Ensure that the chosen Cumaru deck tile profile works with any existing or planned thresholds.
Before you order
- Measure the precise dimensions of your terrace, including any irregularities or fixed obstacles.
- Sketch out your terrace layout, identifying primary functional zones (e.g., seating, circulation).
- Consider both 12 x 12 inch and 24 x 24 inch Cumaru deck tiles for your layout.
- Calculate how many full tiles of each size would fit along each dimension.
- Determine the size of the remaining strips if you start tiling from one corner.
- Determine the size of the remaining strips if you use a central alignment strategy.
- Evaluate which strategy (corner-start, central alignment, or a modified approach) yields the most aesthetically pleasing and practical cut sizes for your specific dimensions.
- Plan how to address any fixed obstacles or irregular shapes, aiming for wider, more stable cuts.
- Consider the desired edge finish and any necessary transitions to adjacent surfaces.
Confirm installation details, approved uses and warranty terms in the current instructions for the exact product and profile. Your installer should verify the substrate, structure and applicable project requirements.
Questions to help you decide
Can Cumaru deck tiles be cut to fit custom shapes?
Yes, Cumaru deck tiles can be cut to fit custom shapes or around obstacles. It is recommended to use appropriate woodworking tools and follow safety guidelines. Plan your cuts carefully to minimize waste and ensure stability, especially for narrow pieces.
Which Cumaru tile size is better for a small terrace?
The 'better' size depends on your specific terrace dimensions and design goals. 12 x 12 inch tiles offer greater flexibility for irregular spaces and can reduce the need for narrow cuts in some layouts. 24 x 24 inch tiles can create a more expansive feel with fewer seams in open areas. It's often beneficial to calculate layouts with both sizes to see which one results in the most efficient and aesthetically pleasing outcome for your project.
How do I calculate the number of Cumaru deck tiles needed for a small terrace?
First, measure the total square footage of your terrace. Then, divide this by the area of a single tile (1 square foot for 12 x 12 inch tiles, 4 square feet for 24 x 24 inch tiles). This gives you the area-equivalent coverage. However, it's crucial to sketch a layout to account for cuts, waste, and any specific patterns. Always add an overage, typically 5-10%, to cover cuts, mistakes, and future replacements. For precise planning, consider creating a scaled drawing of your terrace and mapping out the tile placement.
Ready to Transform Your Small Terrace?
Request a material quote with your project dimensions, desired Cumaru deck tile profile, and ZIP code to confirm current availability and service options. Explore Cumaru deck tiles and other options like Ipe deck tiles and Garapa deck tiles to find the perfect fit for your outdoor space.
Request a material quote →