
Understanding Cumaru Deck Tiles
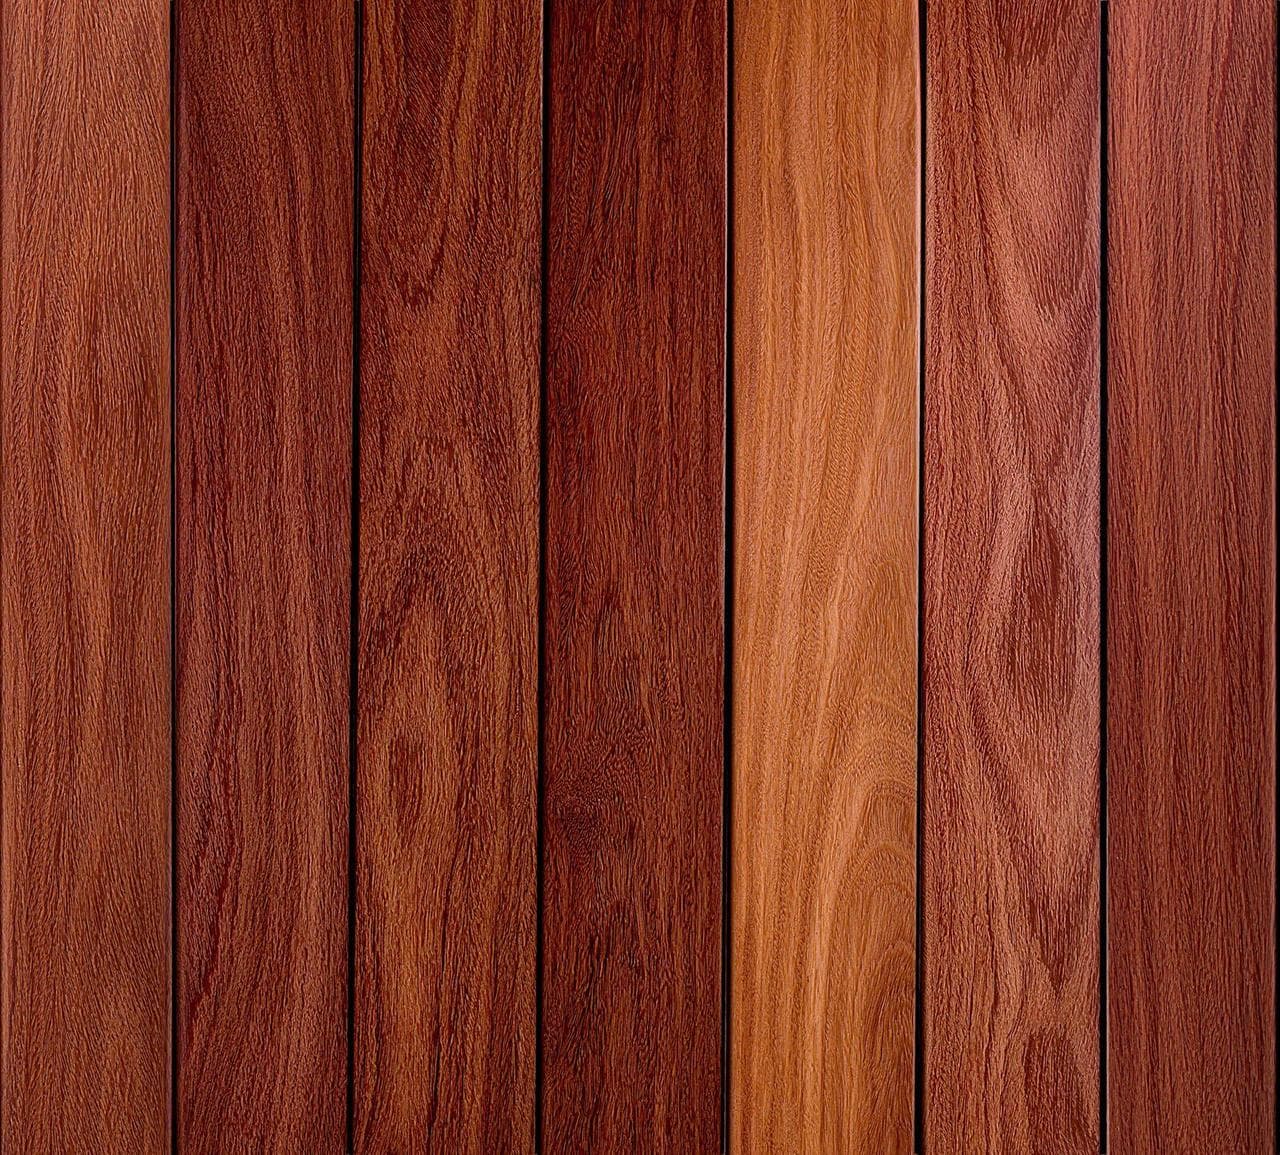
Cumaru deck tiles are crafted from a tropical hardwood known for its rich reddish-brown grain. This material offers both strength and character, making it a suitable choice for various outdoor applications, including terraces and balconies. They are available in standard sizes, such as 12" x 12" (1 square foot per tile) and 24" x 24" (4 square feet per tile). The specific dimensions of your chosen tile size will significantly influence your cutting plan and material calculations.
The construction of Cumaru deck tiles typically involves slats of Cumaru wood affixed to a plastic or wood base. This base often includes interlocking tabs or a grid structure designed for easy installation on flat, stable surfaces or with compatible pedestal systems. Understanding this construction is crucial when planning cuts, as it dictates how much of the tile can be removed while maintaining structural integrity and connection points.
Measuring and Mapping Obstacles
The first step in planning around obstacles is to accurately measure and map them within your project area. Use a tape measure to determine the exact dimensions of each obstacle (e.g., column width, railing post size) and its precise distance from existing walls or edges where your tile layout will begin. Sketch a detailed floor plan of your area, marking all fixed elements.
Consider the shape of each obstacle. Square or rectangular columns are generally simpler to cut around than circular ones, though both are achievable with the right tools and technique. Note the height of the obstacles as well; some may require cuts that allow the tile to slide underneath, while others may simply abut the base.
Developing a Tile Layout and Cut Plan
Once obstacles are mapped, you can develop a tile layout. Begin by laying out full tiles from a prominent starting point, typically an exterior wall or the longest straight edge. This helps minimize visible cuts and ensures a balanced appearance. Mark where each full tile would fall and identify which tiles will intersect with an obstacle.
For each tile that meets an obstacle, draw the exact cut lines directly onto your layout plan. This visual map helps you anticipate challenges and optimize material use. Aim to keep cut pieces as large as possible to maintain stability. Avoid very narrow strips of wood or base material, as these can be fragile or difficult to secure.
When cutting around a column, for example, a single tile might need a notch removed from its corner or edge. For a railing, several tiles might require straight cuts to fit snugly against the posts. Consider if the obstacle can be enclosed by multiple cut tiles or if a single tile needs a more complex cut.
Tools and Techniques for Cutting Cumaru Deck Tiles
Cutting Cumaru deck tiles requires appropriate woodworking tools. A miter saw or table saw is suitable for straight, precise cuts, which are common when trimming tiles to fit edges or around rectangular obstacles. For more intricate cuts, such as notches or curves, a jigsaw or band saw may be necessary. Always use blades designed for hardwood to ensure clean cuts and prevent splintering.
Before making any cuts, secure the tile firmly to a stable work surface. Mark your cut lines clearly on the Cumaru wood surface. When cutting the underlying base, ensure you understand its material and structure. Some bases are plastic and can be cut with a utility knife or saw, while others are wood and require standard woodworking tools. Take care to preserve any interlocking tabs or connection points on the remaining parts of the tile that you intend to use.
Always wear appropriate personal protective equipment, including safety glasses, hearing protection, and gloves, when operating power tools.
Worked Example: Cutting Around a Square Column
Imagine you are installing 24" x 24" Cumaru deck tiles on a terrace that has a 6" x 6" square structural column located 30" from one wall and 48" from an adjacent wall. Your layout starts from the corner where these two walls meet.
1. **Layout from the Walls:** The first tile from the corner will be a full 24" x 24" tile. The second tile along the first wall will also be a full 24" x 24" tile, extending to 48". Along the second wall, the first tile is 24" x 24", extending to 24".
2. **Locate the Column:** The column begins at 30" from the first wall and 48" from the second. This means the column falls within a single tile that starts at 24" from the first wall and 24" from the second wall. Specifically, the column will be in the top-right quadrant of this 24" x 24" tile.
3. **Calculate the Cut:** The column starts 6" into the tile from the top edge (30" - 24" = 6") and 24" in from the left edge (48" - 24" = 24"). Since the column is 6" x 6", you need to cut a 6" x 6" square notch from the corner of the tile. However, this is not a corner of the physical tile, but an internal corner. The column is 24" from one wall, meaning it aligns with the edge of a tile. It starts 30" from the other wall, meaning it is 6" into the next tile. This means the column will actually sit across two tiles.
Let's refine this: If the column is 30" from Wall A and 48" from Wall B, and tiles are 24"x24":
Tile 1 (0-24" from Wall A, 0-24" from Wall B)
Tile 2 (0-24" from Wall A, 24-48" from Wall B)
Tile 3 (24-48" from Wall A, 0-24" from Wall B)
Tile 4 (24-48" from Wall A, 24-48" from Wall B)
The column starts at 30" from Wall A and 48" from Wall B. This means it crosses the boundary between Tile 3 and Tile 4. More precisely, the column's corner is at (30", 48").
Looking at Tile 3 (24-48" from Wall A, 0-24" from Wall B): The column starts 6" into this tile from the left (30"-24") and is entirely outside its 0-24" range from Wall B. So Tile 3 is not affected.
Looking at Tile 4 (24-48" from Wall A, 24-48" from Wall B): The column starts 6" into this tile from the left (30"-24") and is exactly on the right edge of this tile (48" from Wall B aligns with 48" from Wall B). So a 6" x 6" notch needs to be removed from the top-right corner of Tile 4, if we consider Wall A as 'top' and Wall B as 'right'.
This means one 24"x24" tile (Tile 4) will require a 6"x6" corner notch. The cut piece will be 6"x6", and the remaining tile will be an L-shape that fits around the column. Ensure the plastic base is also cut cleanly and that any remaining connection points are still viable or secured through other means.
Calculating Material Needs for Cut Tiles
When calculating material, always account for potential waste from cuts. For simple edge cuts, you might get two usable pieces from one tile. However, complex cuts around columns or irregular shapes often result in significant waste. It's prudent to factor in an overage, typically 10-15% beyond the calculated area, especially for projects with many obstacles or intricate layouts.
For the worked example, one 24" x 24" tile (4 sq ft) is required to be notched. This tile itself is counted in your total square footage. The removed 6" x 6" piece is waste. No other tiles are affected by this specific column. If multiple columns or complex shapes are involved, each cut tile needs to be assessed individually for its contribution to waste versus usable area. Always purchase full tiles; do not assume offcuts from one area can perfectly fit another.
Before you order
- Have I accurately measured all fixed obstacles, including their dimensions and distances from walls?
- Do I have a detailed floor plan showing the proposed tile layout and all obstacles?
- Which Cumaru deck tile size (12"x12" or 24"x24") best accommodates the obstacles and minimizes cuts?
- Have I identified every tile that will need to be cut around an obstacle?
- For each cut tile, have I drawn the precise cut lines on my layout plan?
- Do I have the necessary tools (miter saw, table saw, jigsaw, appropriate blades) for cutting Cumaru hardwood and its base?
- Have I accounted for material overage (e.g., 10-15%) to cover waste from cuts?
- Are there any very small or fragile cut pieces that might require additional support or fastening?
- Will the cuts compromise the interlocking mechanism of the tiles, and if so, how will they be secured?
- Have I considered how the cut edges will look and if any edge finishing is needed?
Confirm installation details, approved uses and warranty terms in the current instructions for the exact product and profile. Your installer should verify the substrate, structure and applicable project requirements.
Questions to help you decide
Can I use a regular saw blade to cut Cumaru deck tiles?
Cumaru is a dense tropical hardwood. For clean and efficient cuts, it is recommended to use saw blades specifically designed for hardwoods. Using an inappropriate blade can lead to splintering, rough edges, and strain on your equipment.
How do I secure cut tiles that no longer interlock?
If a cut tile loses its interlocking tabs, it may need to be secured differently. Depending on the installation method, this could involve using construction adhesive, small screws into a supporting substructure (if applicable and approved for your system), or ensuring it is tightly constrained by surrounding full tiles and edges. Consult the specific installation guidelines for your deck tile system.
What if an obstacle is circular?
Cutting around a circular obstacle requires more advanced tools, such as a jigsaw or band saw, to create a smooth curve. You might need to make several small straight cuts to approximate the curve, then sand or refine the edge. Alternatively, for large circular obstacles, you might use multiple small, straight-cut tile pieces arranged around the curve to create a faceted edge.
Ready to Plan Your Cumaru Deck Tile Project?
Request a material quote today by providing your project dimensions, desired Cumaru deck tile profile (e.g., 12"x12" or 24"x24"), and your ZIP code. Our team can help confirm current availability and service options for your project.
Request a material quote →